
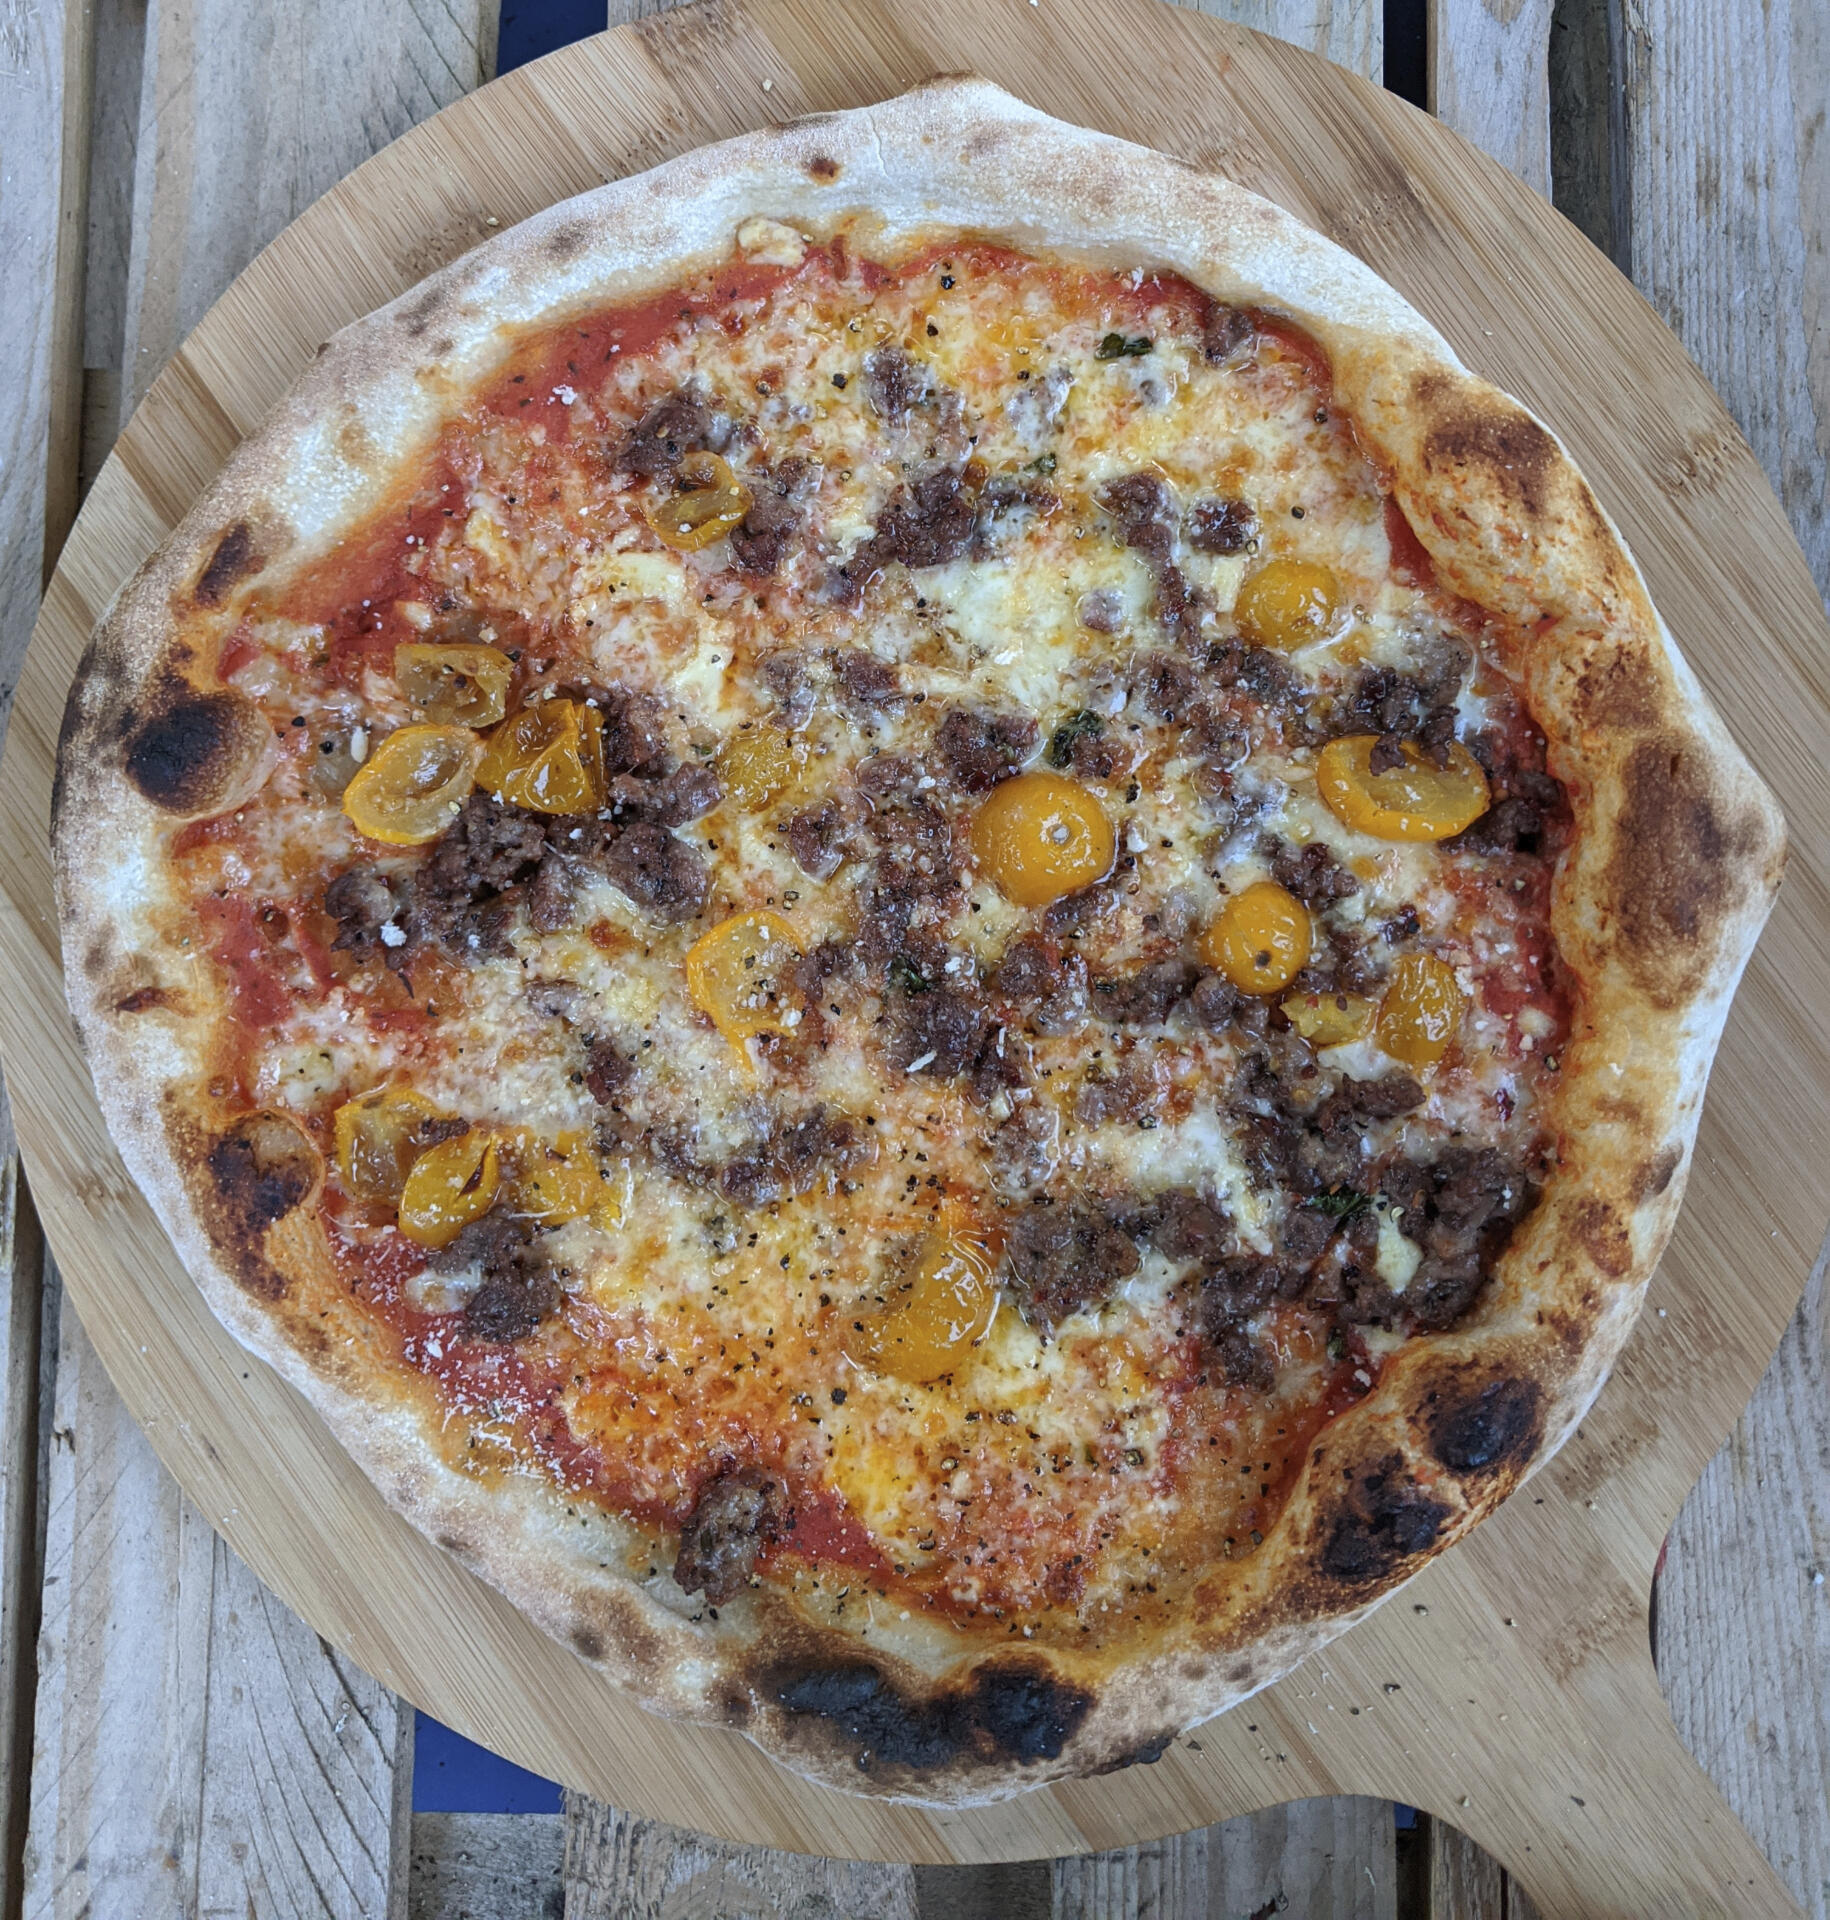
Multi Award winning, Pizza, made with love in Yorkshire.
In Crust, We Trust.

About ME
Meet the man behind the pizza
Recipes
Staple recipes to get you going

Hints, Tips & Help
A collection of hints & tips to help with your quest for pizza
Street Food & Events
To see where you can find me, click below

FrozenFellas
Want to Know more about the FrozenFella pizza range click here!
Contact
If you'd like to make a booking, or ask a question, click below to get in touch

FrozenFella Range
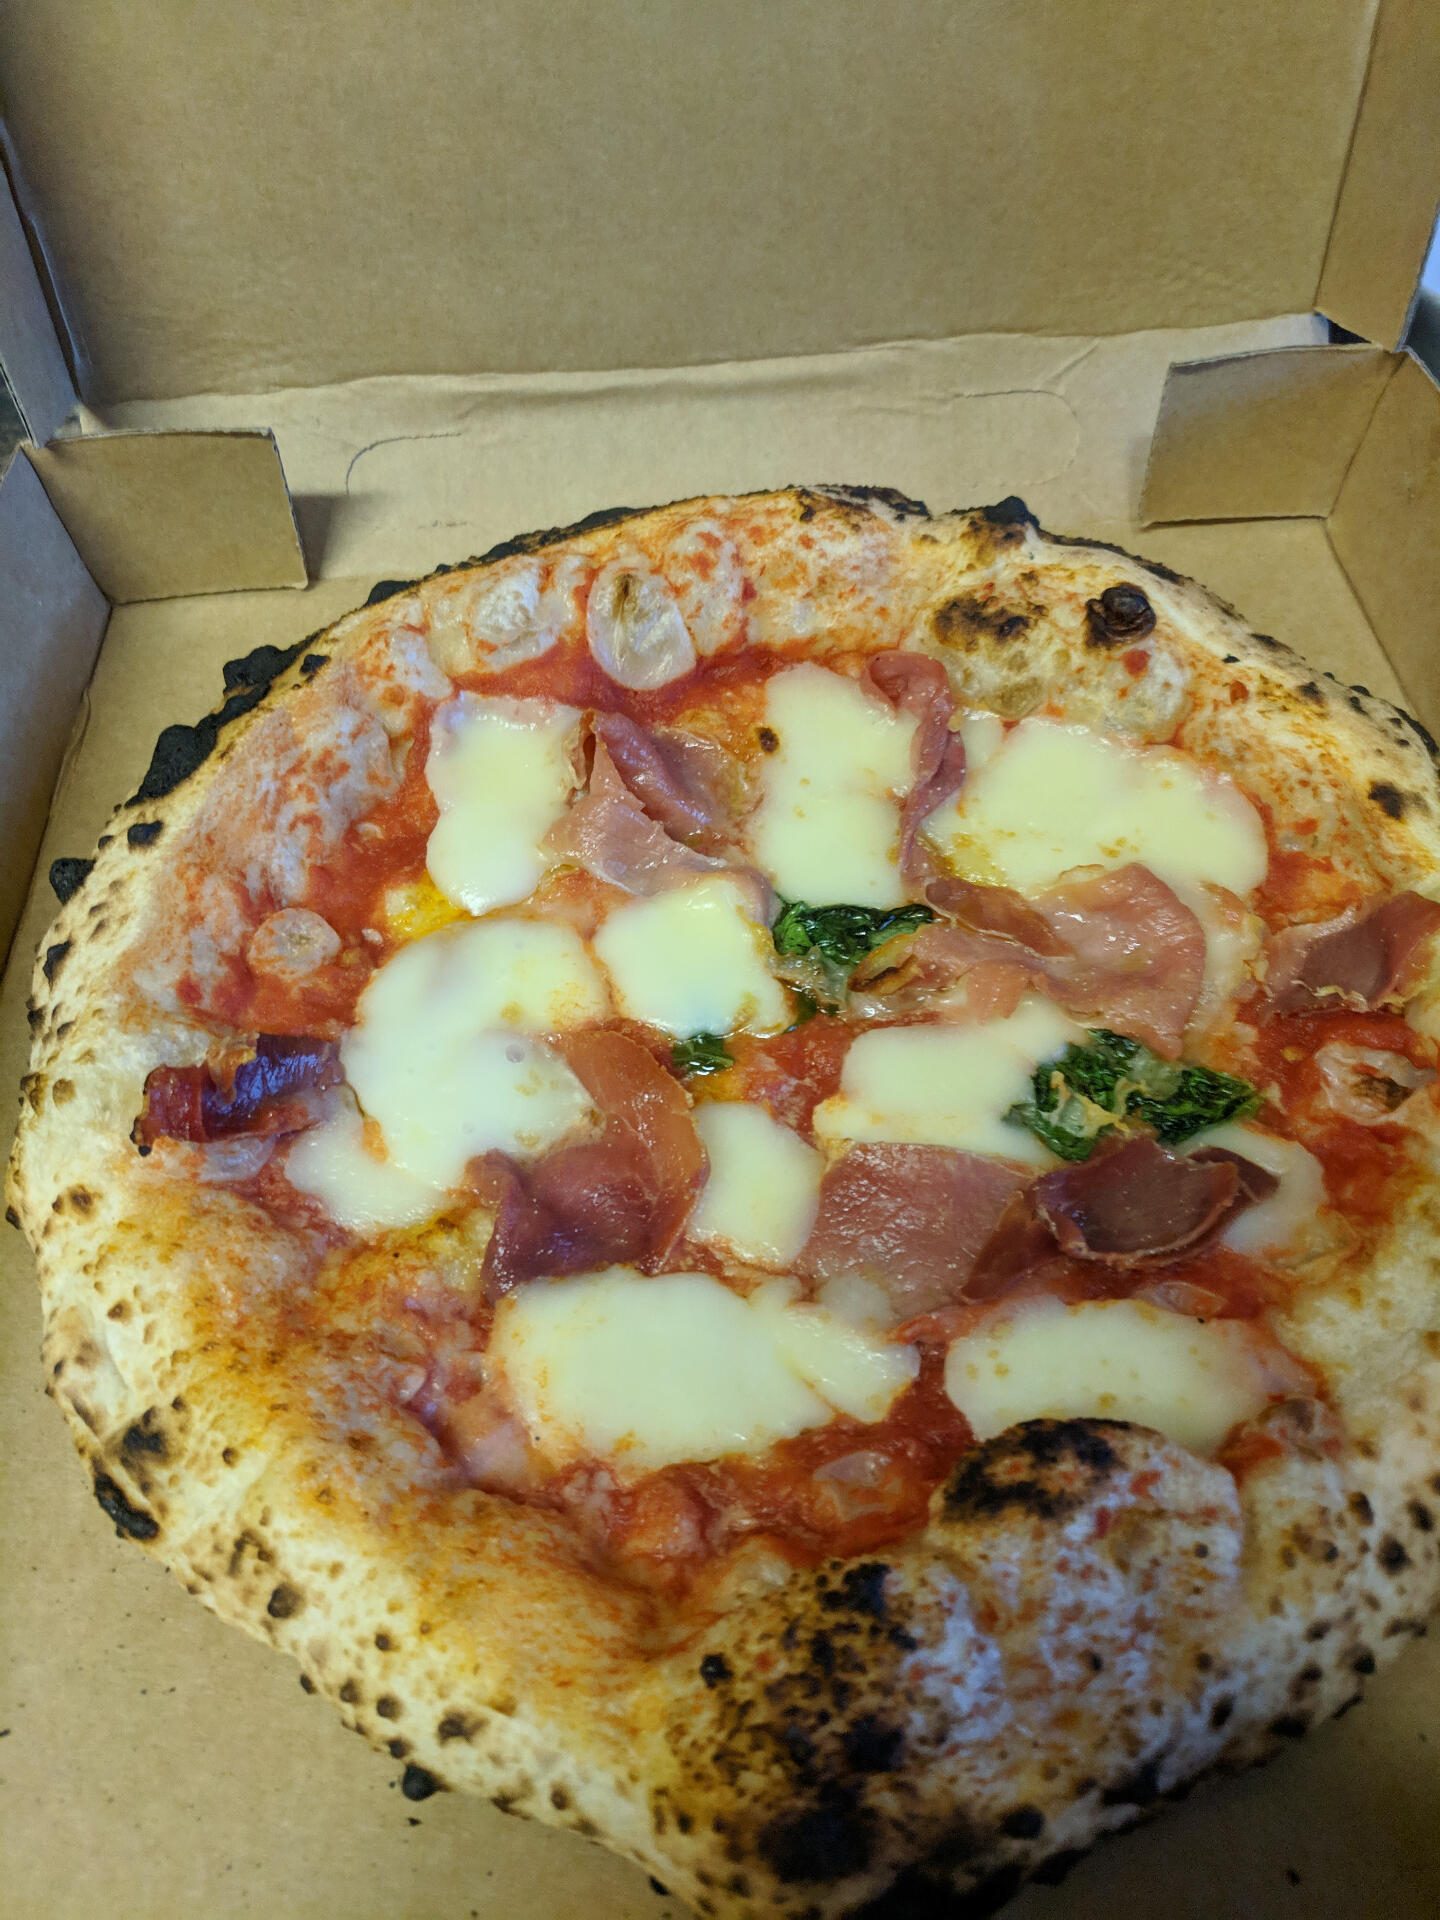
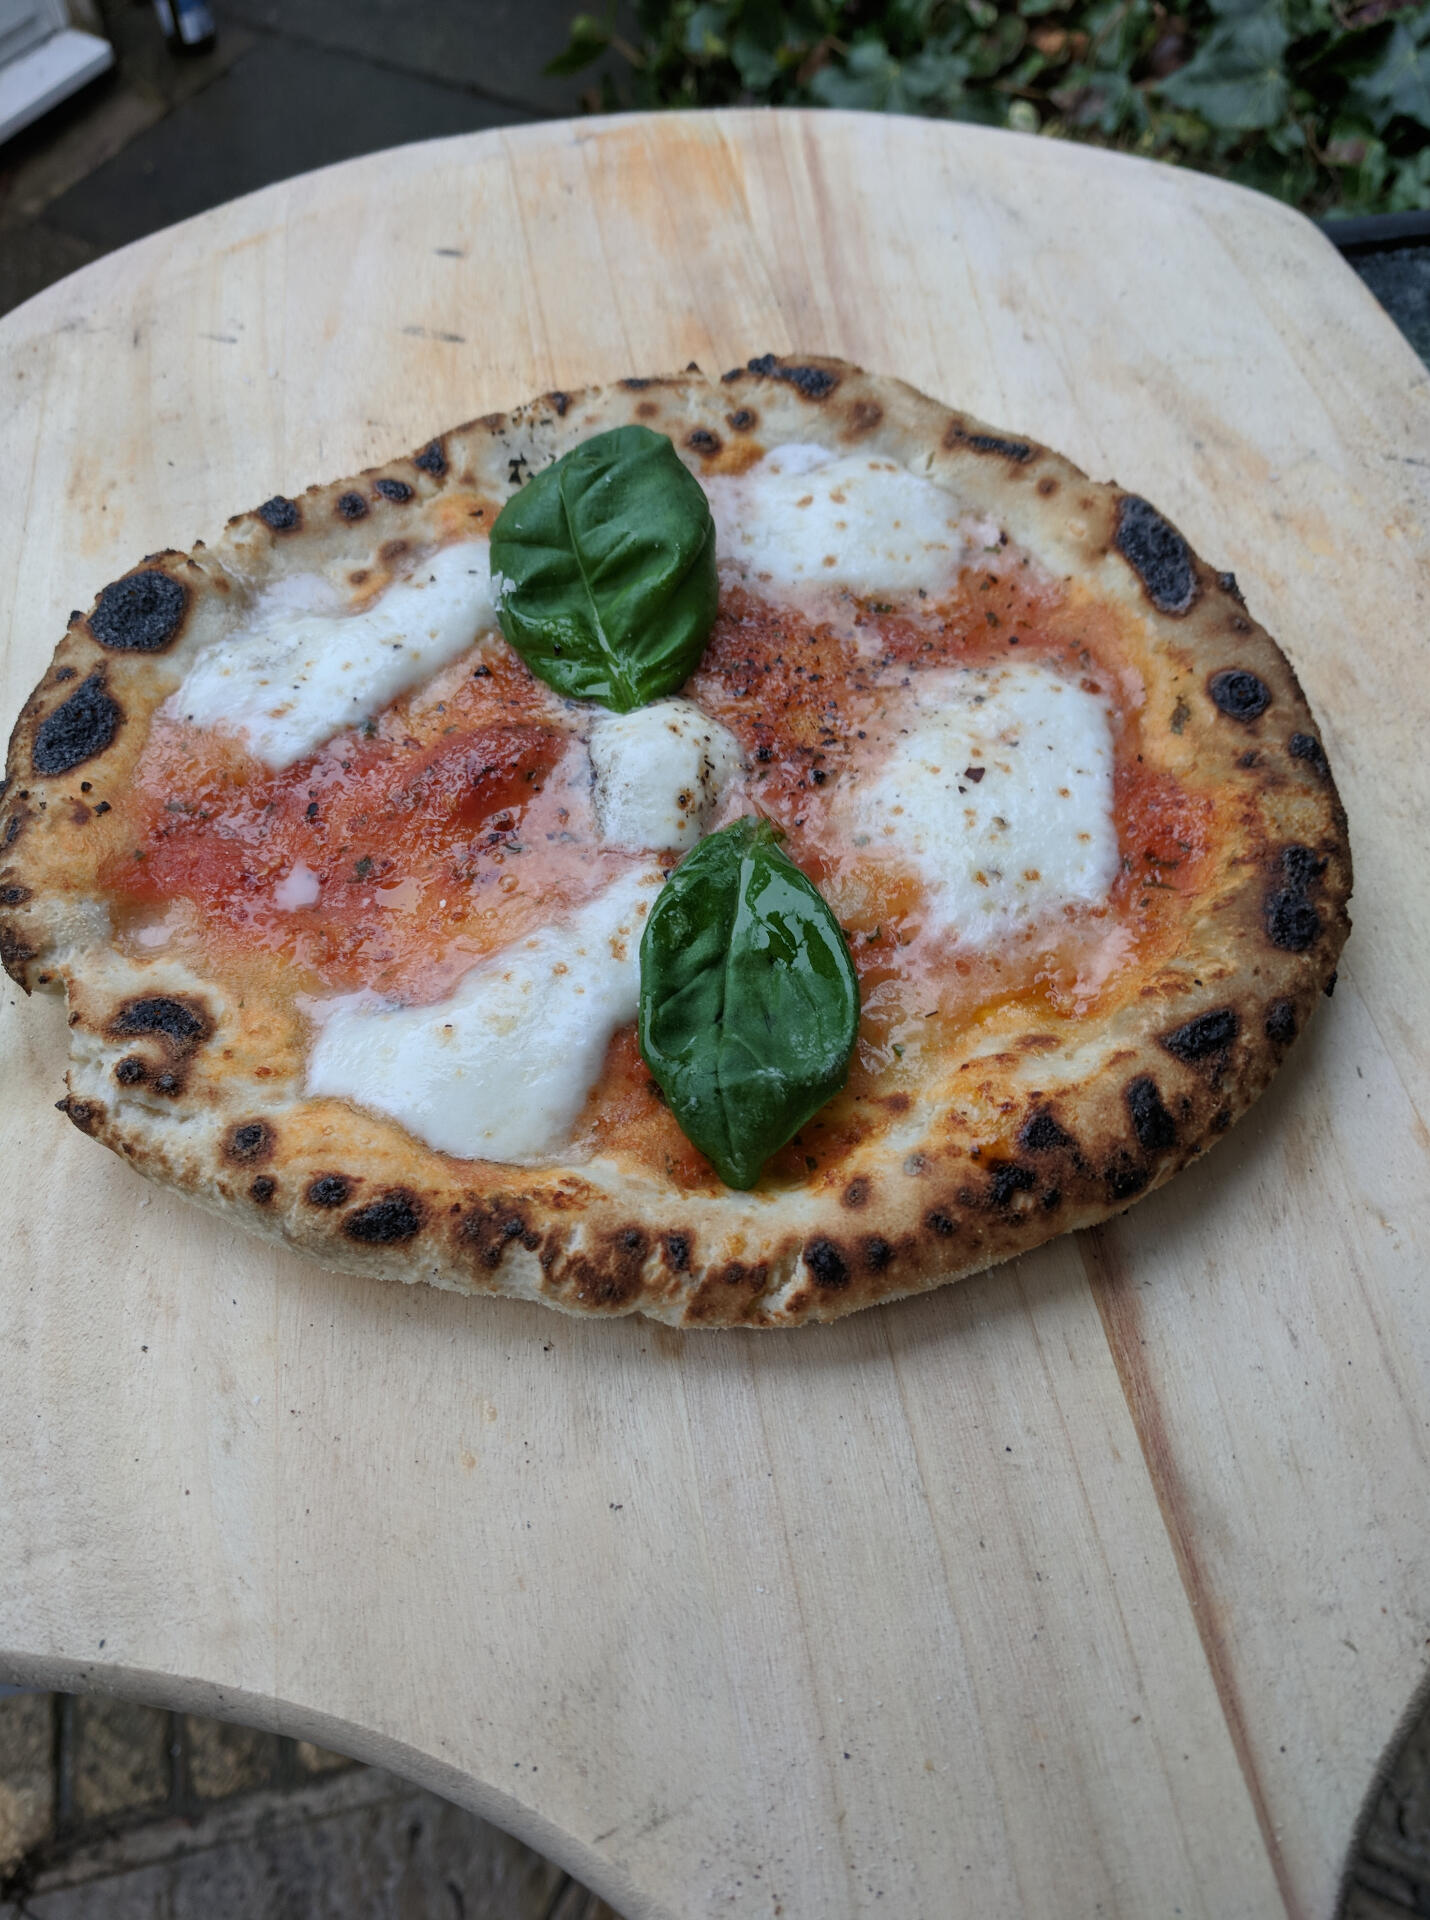
The FrozenFella range, is a part cooked Neapolitan pizza, vacuum sealed and frozen, this ensures a product that captures the essence of a fresh Neapolitan pizza, but reheats from frozen in a home oven.

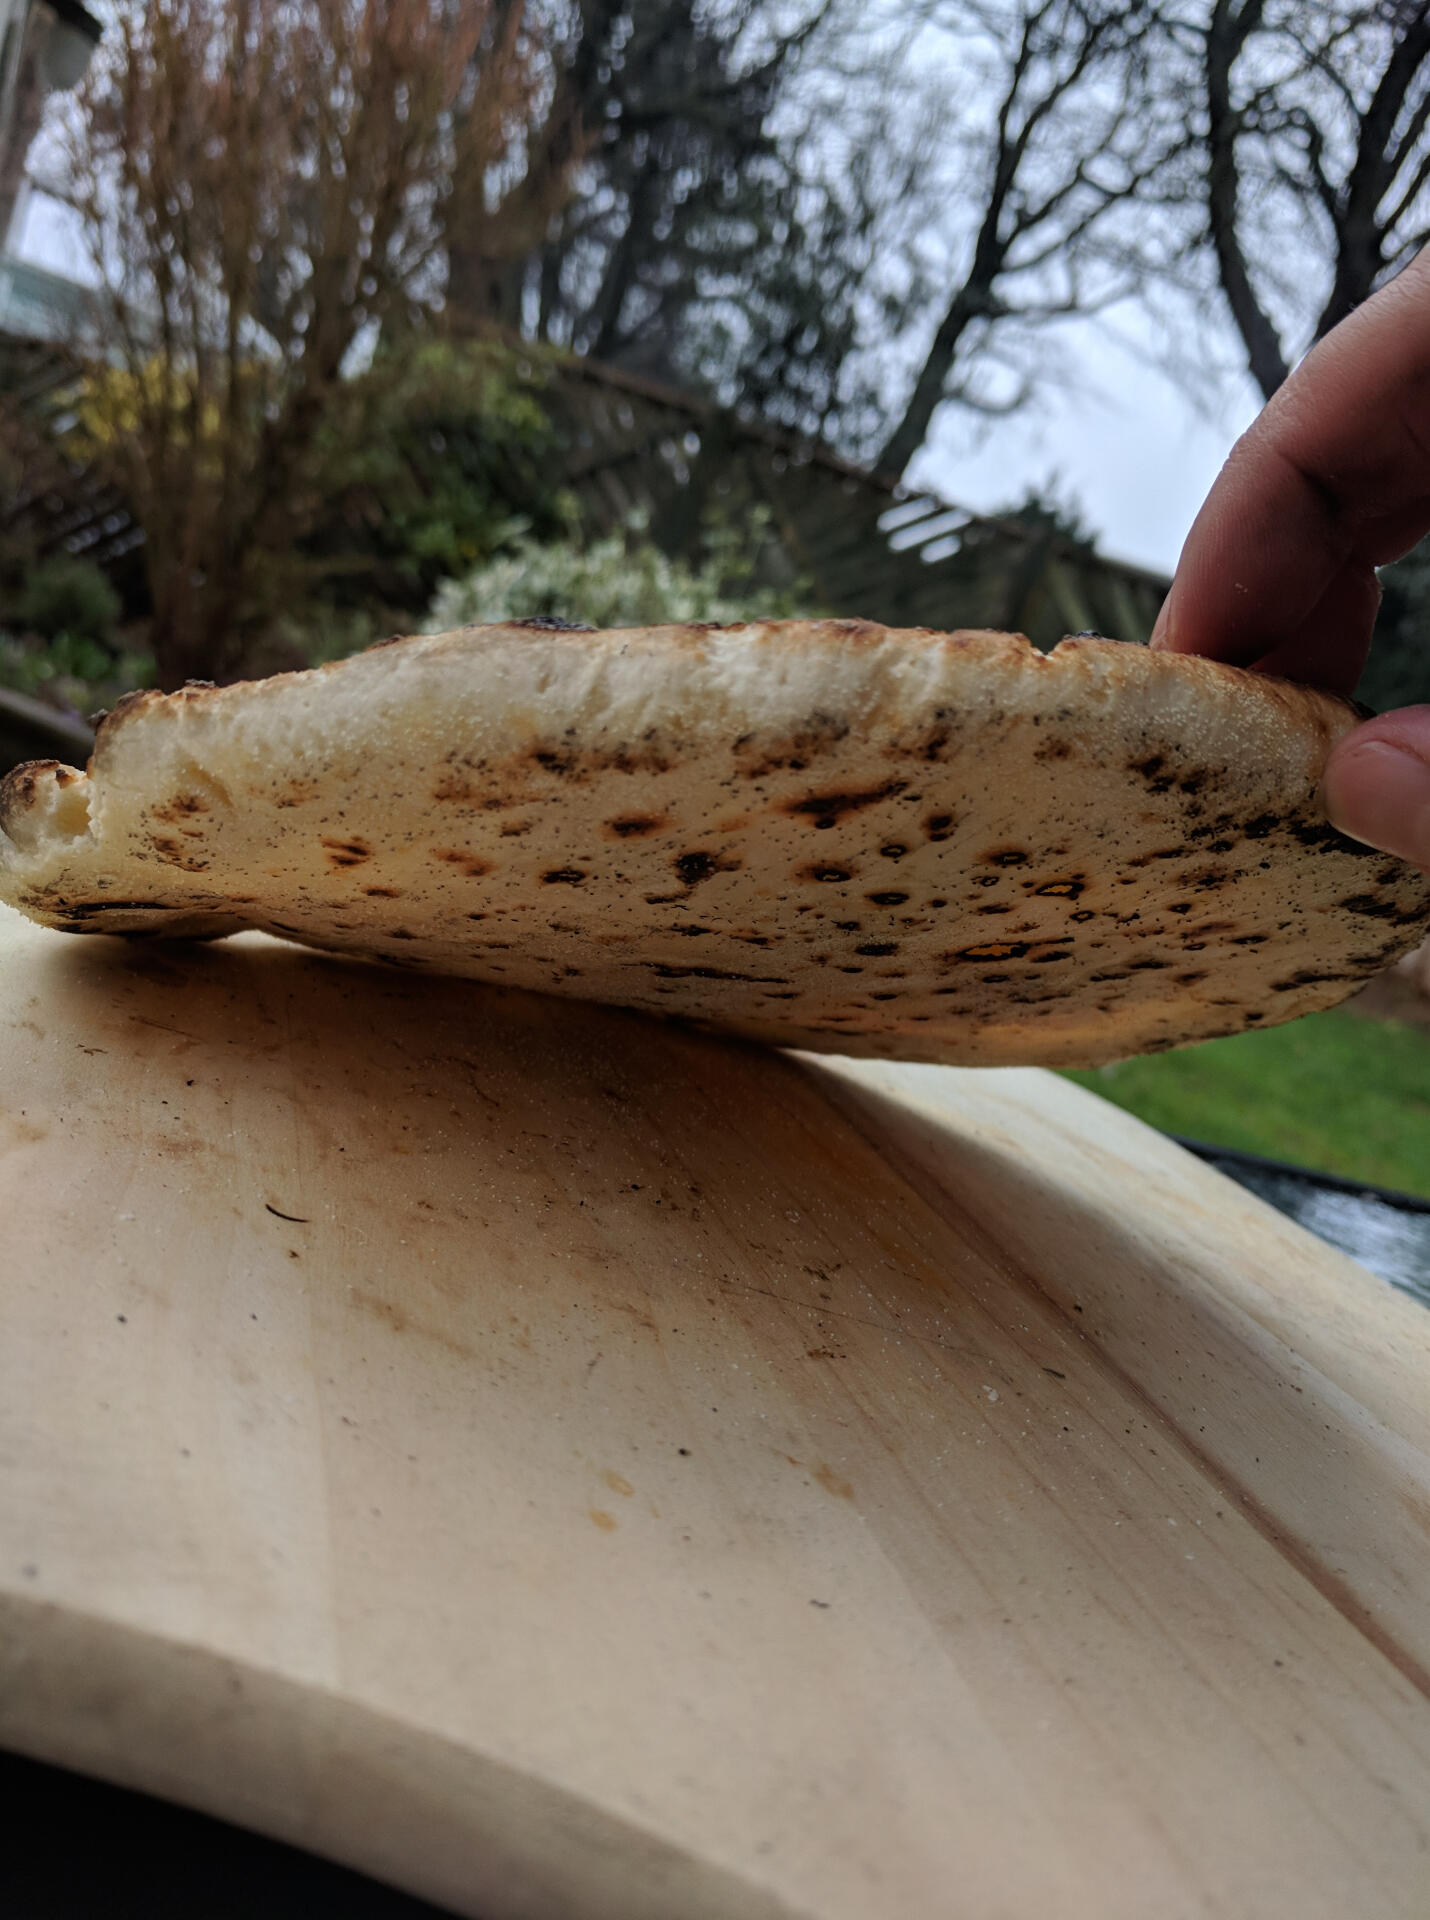
While nothing is quite the same as a fresh Neapolitan pizza, the dough recipe designed for the FrozenFella range ensures the pizza will retain a light crust, with a slight crunch, and a soft base, a key characteristic of Neapolitan pizza.
Nutritional Information
All Pizzas are hand made using the best ingredients, these may change from time to time, and will be reflected on the pizzas packaging.
Additionally as a small trader, Mozzafella is currently exempt from a full nutritional Analysis.If you require additional information please use the contact page.

Special thanks to Few and Far, and Edwards Street Bakery
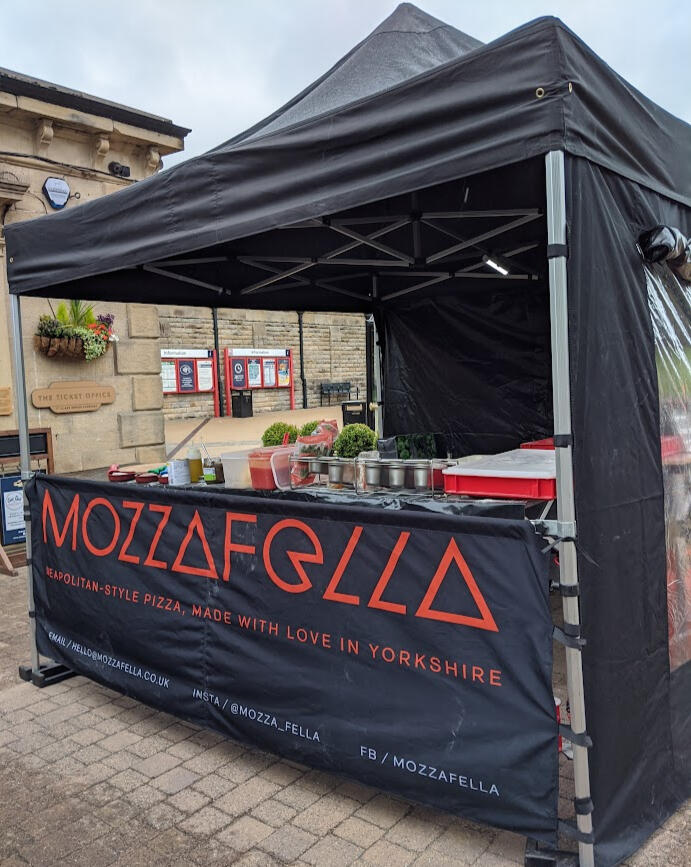
Street Food Stalls & Events

If you want to see me in action, check head to Instagram or facebook to check out my upcoming events , if you'd like to enquire about a private event click here.
Please Check Facebook or Instagram for my most up to date listings
Mozzafella
Best in Region (UK) - European Pizza championships 2023
Finalist National Pizza awards 2022
Winner New York Category, Best Pizza Chef UK 2022
Winner Best Pizza Chef UK 2021
Winner Best pizzeria in England 2019

Hello I’m Dan aka MozzaFella.I’ve always loved pizza, and have always been fascinated by the culture & community that’s grown up around it, particularly in America and parts of Italy, something that’s sadly missing in the UK. I’ve been making pizza at home for years, first with a conventional oven, then with a pizza stone, gleaning tips from various places.
I set up MozzaFella after getting my first pizza oven, (an Uuni 3) as a resource hub for people who want to make great pizza at home. There are loads of great communities around the web full of tips on ovens, making pizza, cooking, etc. But I couldn’t find a single ‘hub’ of all this collective knowledge. My mission is to give you all the knowledge and help you need to make great pizza at home, that tastes a million times better, and is much better for you than what’s available at the big takeaway chains & supermarkets.
With more cost effective cooking options than ever (such as the Uuni, PizzaShelf, ZIGZAG, Roccbox, and many more in development), I feel we’re on the cusp of a pizza revolution, and I want to help you become part of it. Pizza’s roots are firmly with the working man, and it should be a tasty food accessible to all, as opposed to expensive mass produced, often poor quality food.
Recipes

DOUGHS AND SAUCE
Hints, Tips & Help
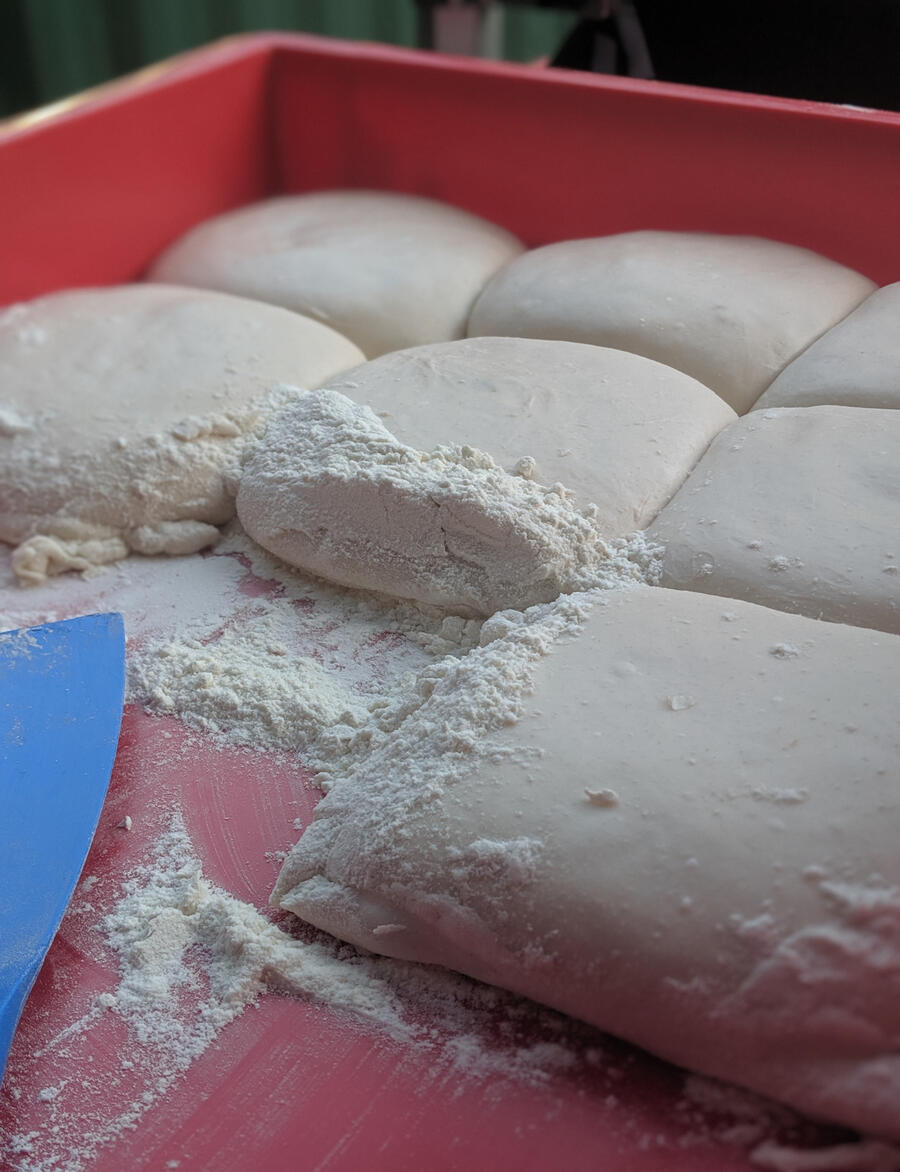
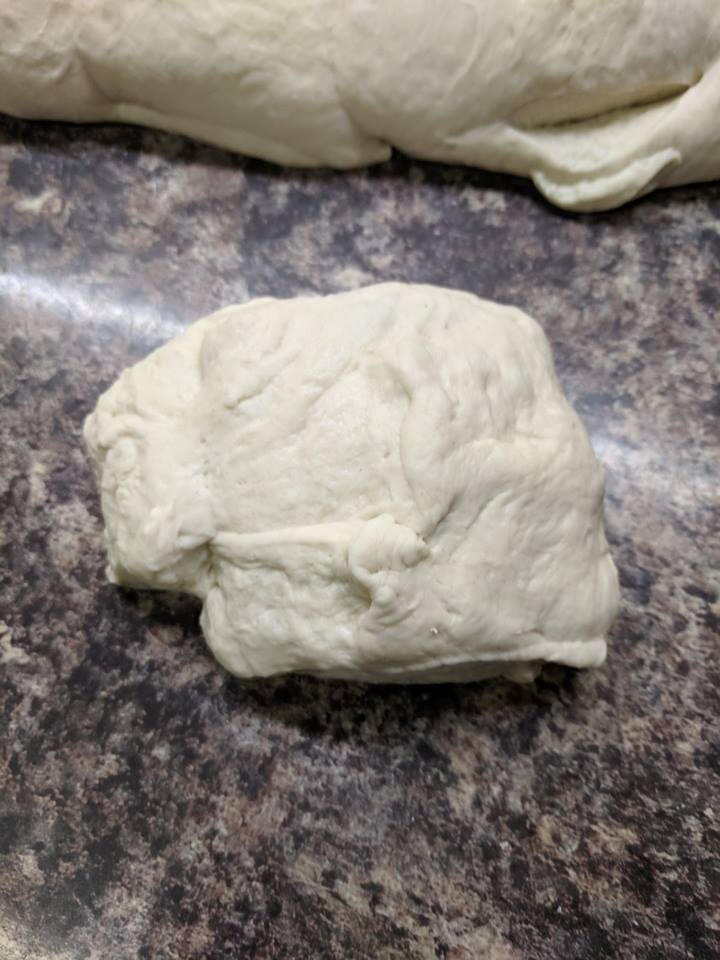
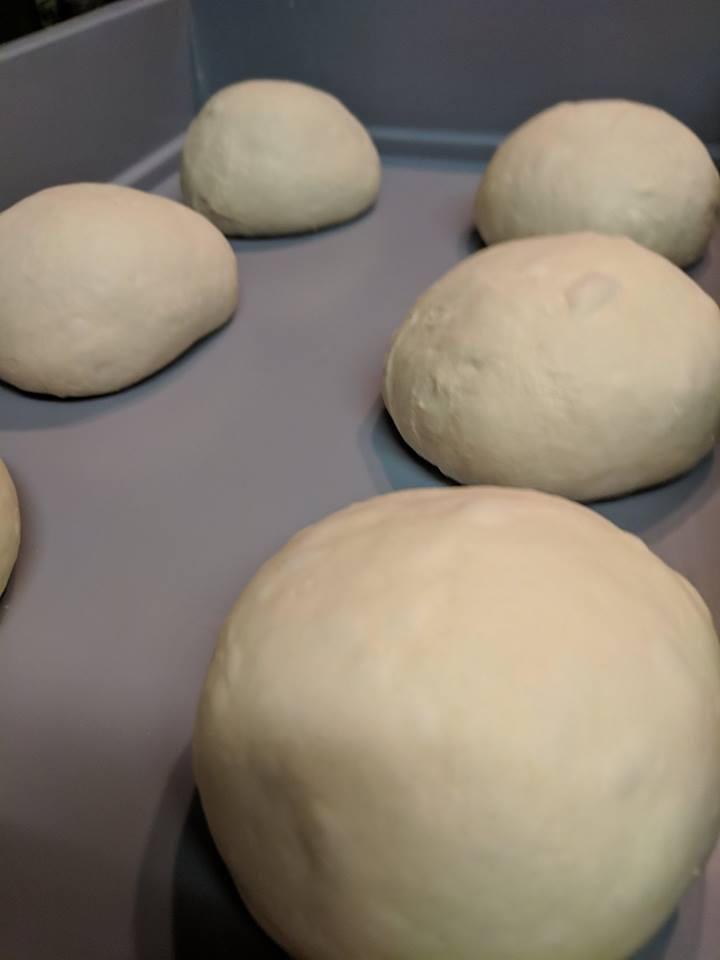
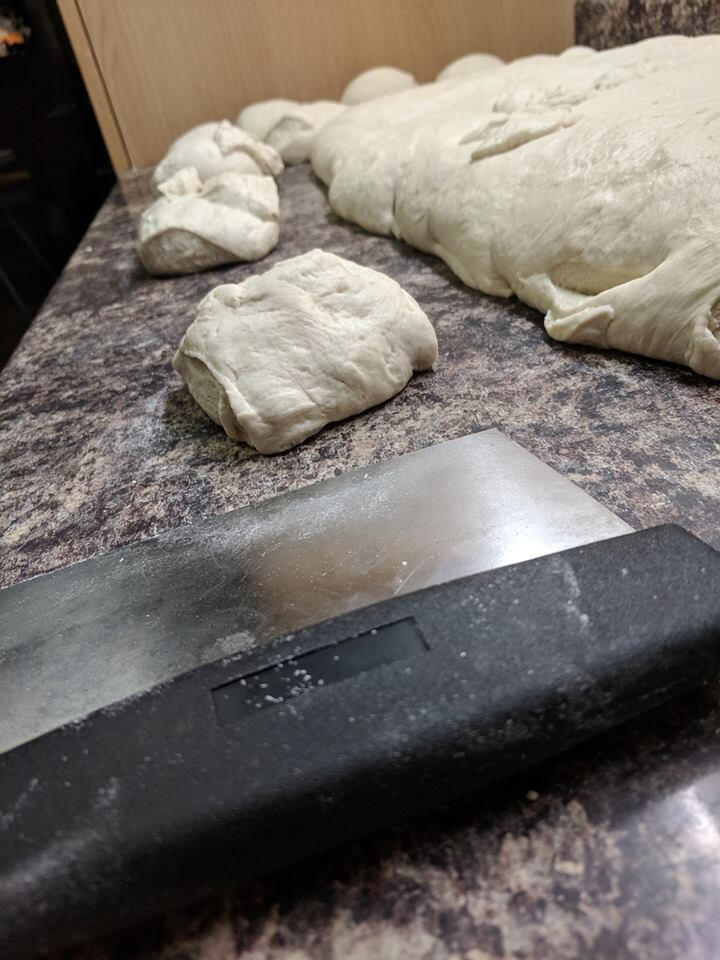
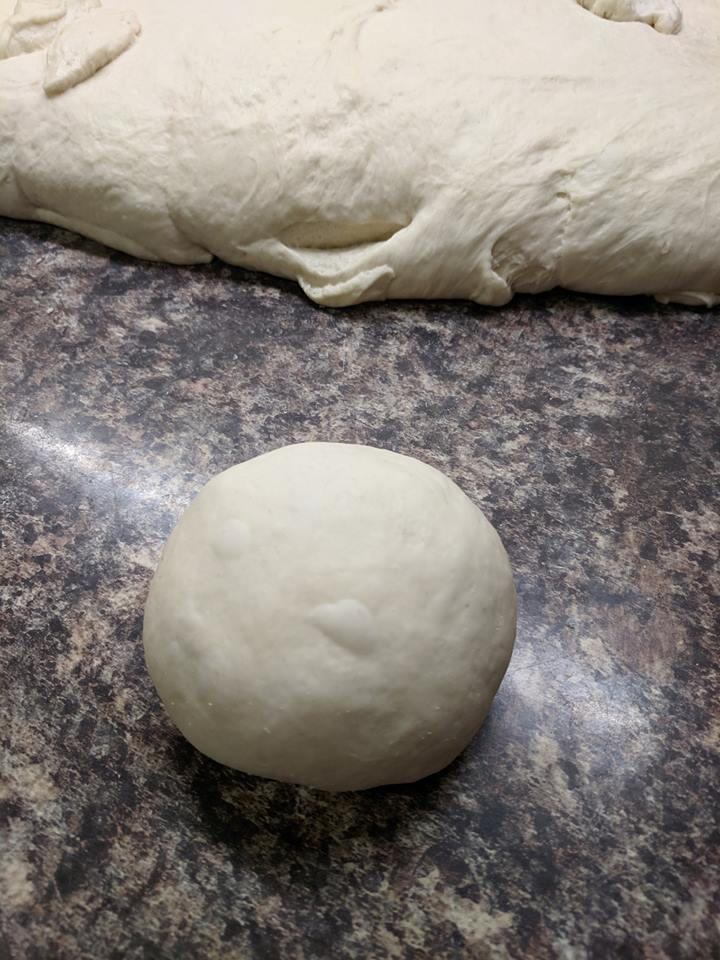
Dough balling
The first time I balled dough, I had absolutely no idea what I was doing and made a huge mess, so I though I'd make a quick video to help anyone who's unsure!
ooni
The ooni ovens are fantastic but, like anything there's many ways to help you get the most out of your cooking experience.
or at most home goods shops.
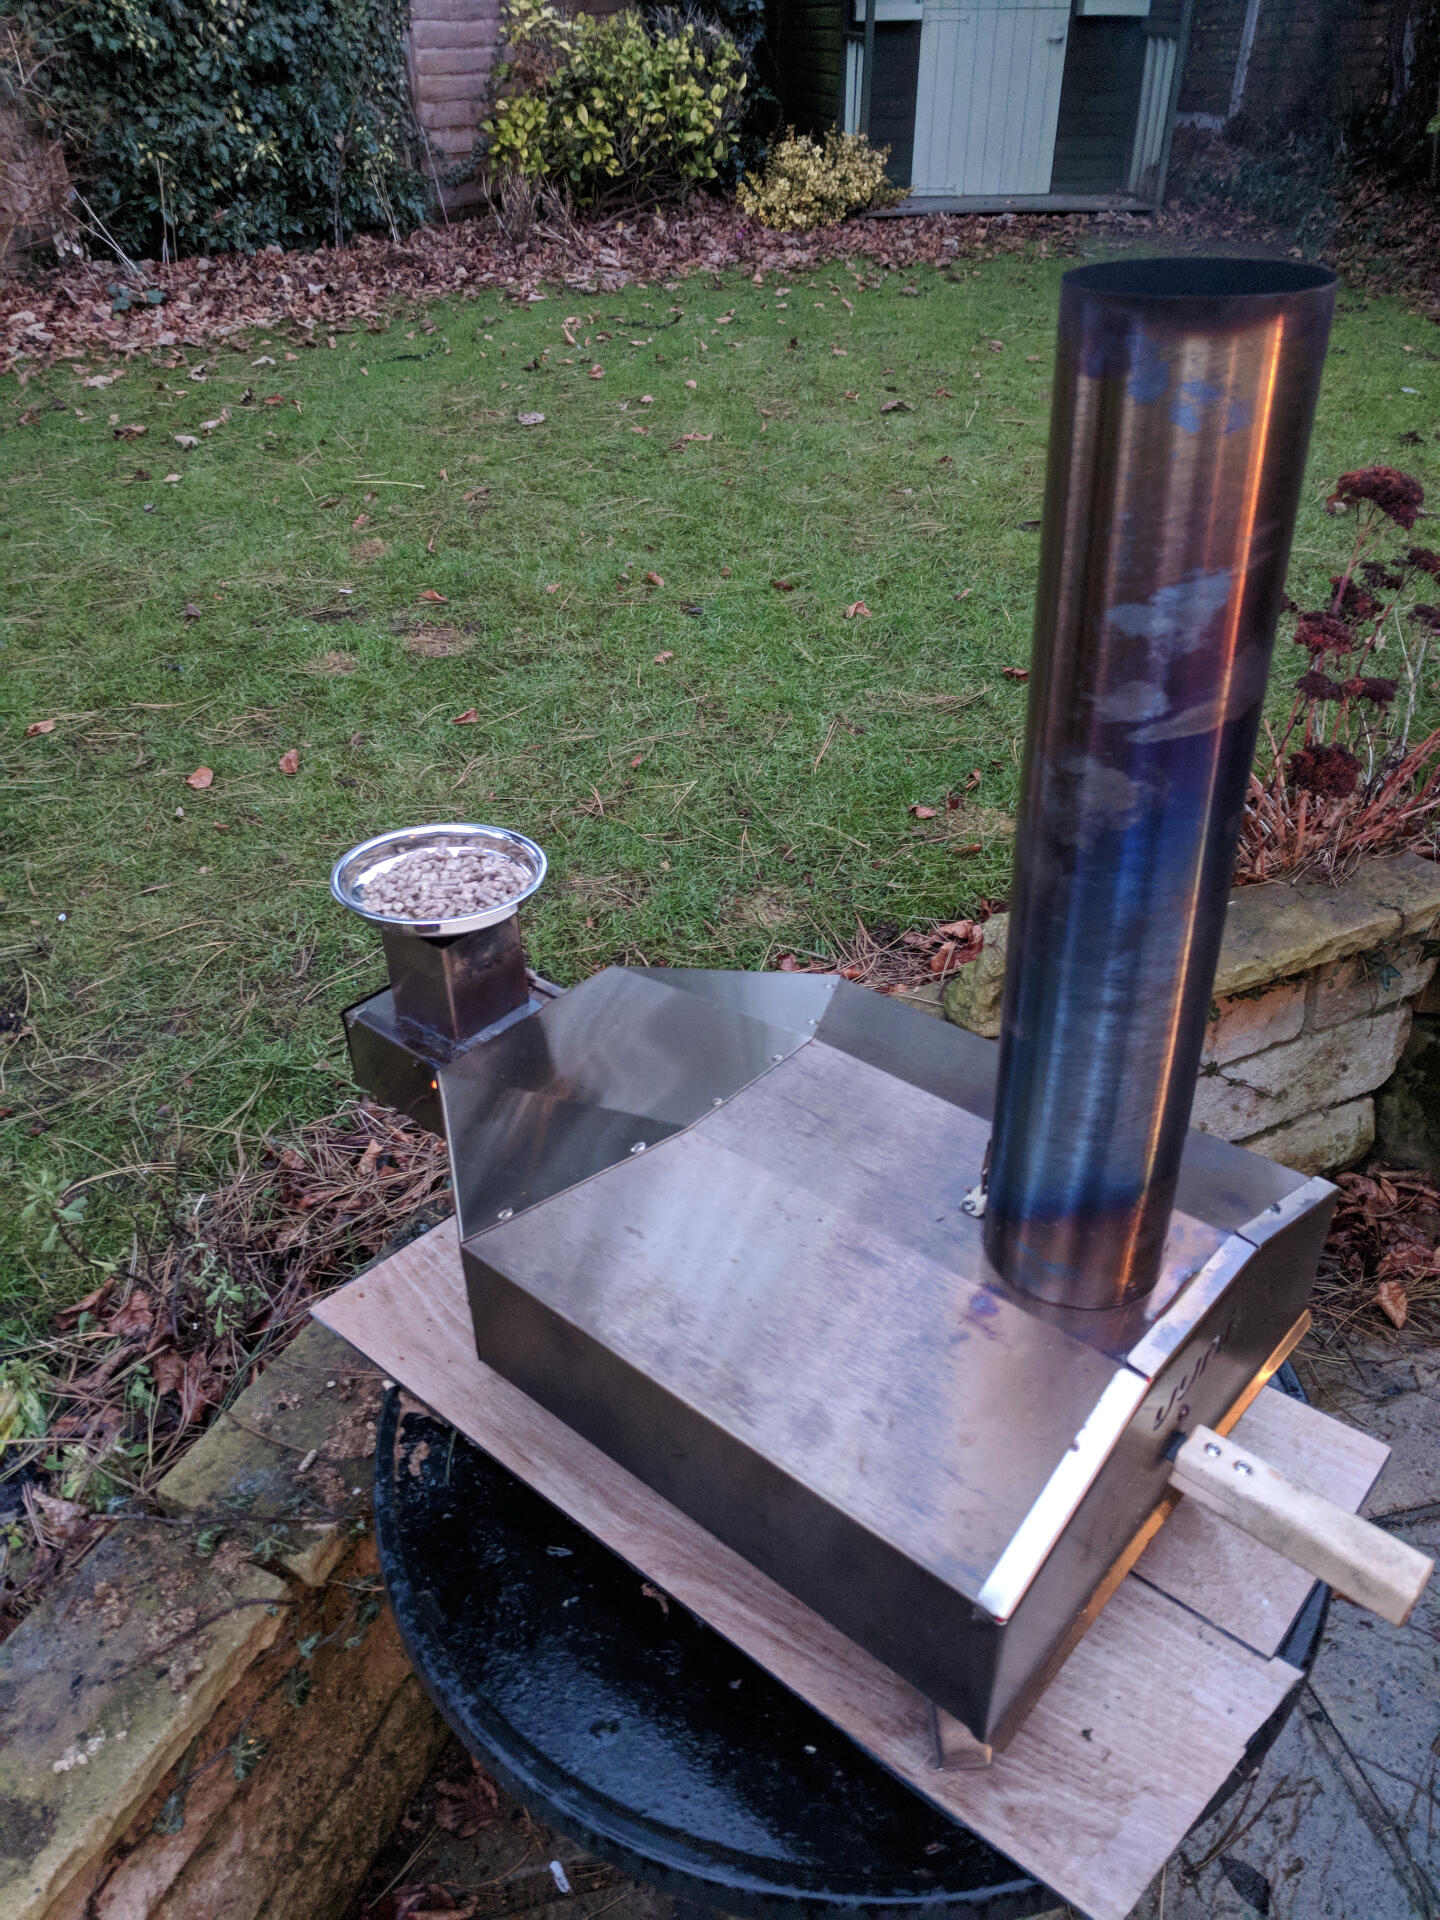
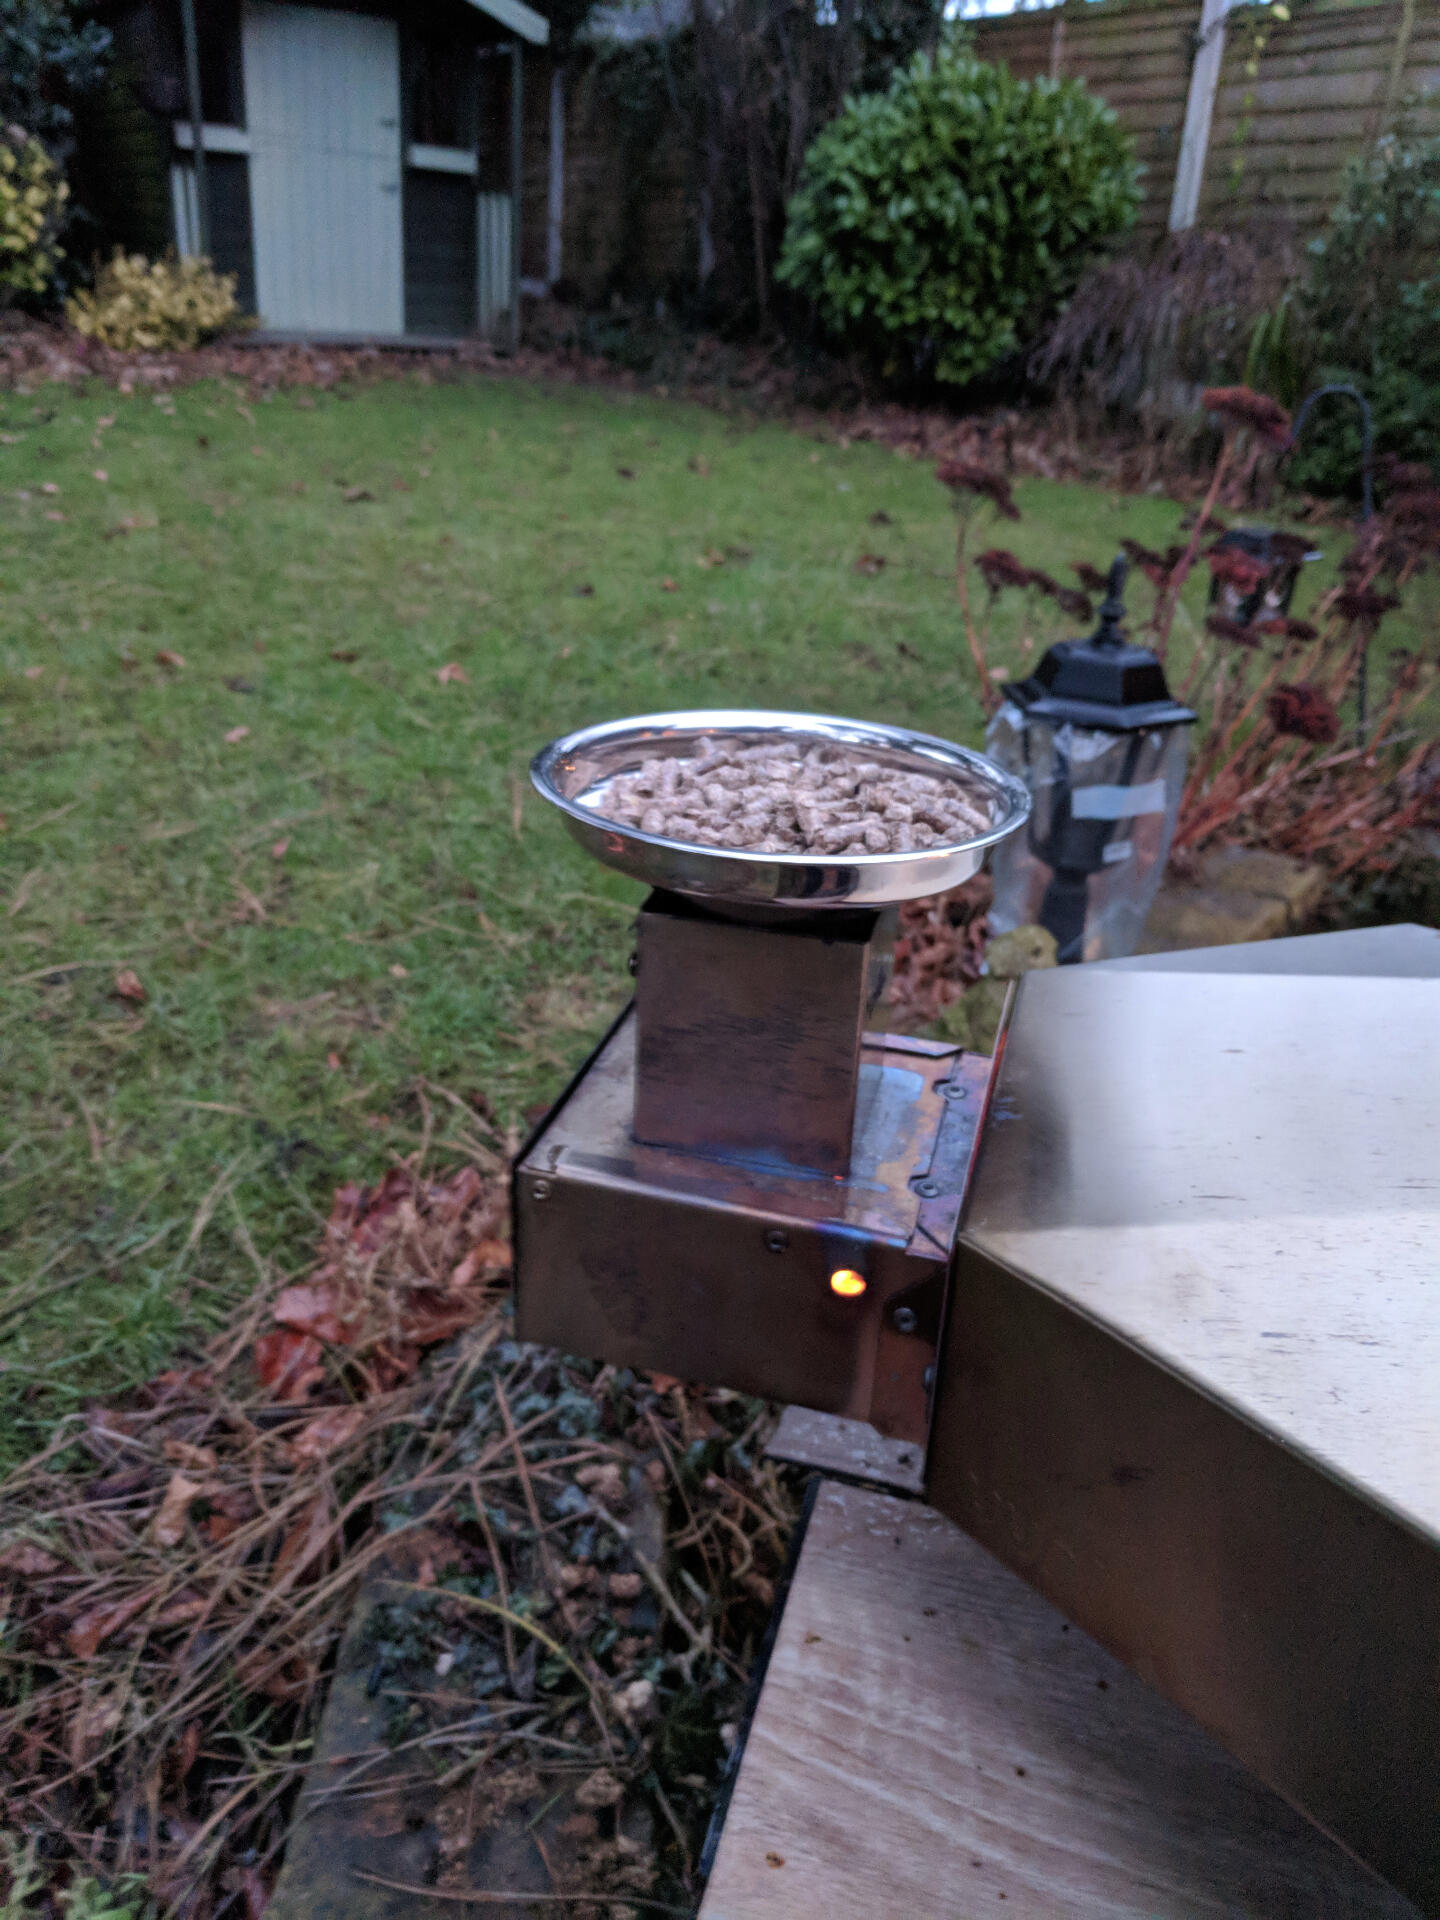
Pellets
If you are using wood pellets, we highly recommend good quality hardwood, they're more expensive than softwood, but last longer, produce more heat and less soot. I'd also recommend you look at extending the hopper by using a jam funnel, this 'hack' takes some of the stress away from the cooking experience, and will help you maintain your temperature.
you can find one on Amazon or at most home goods shops.
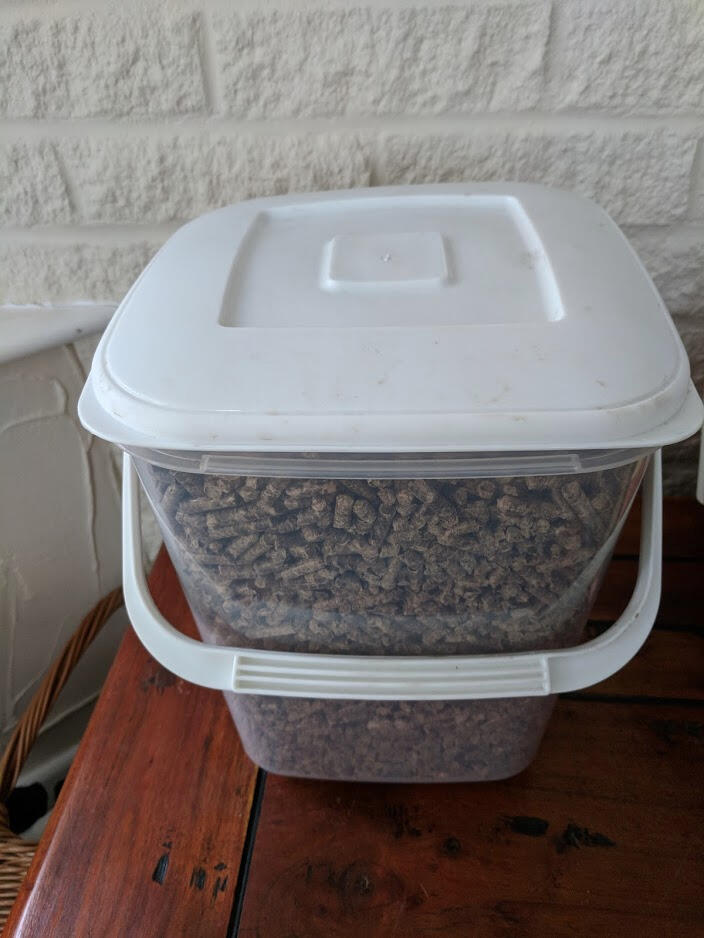
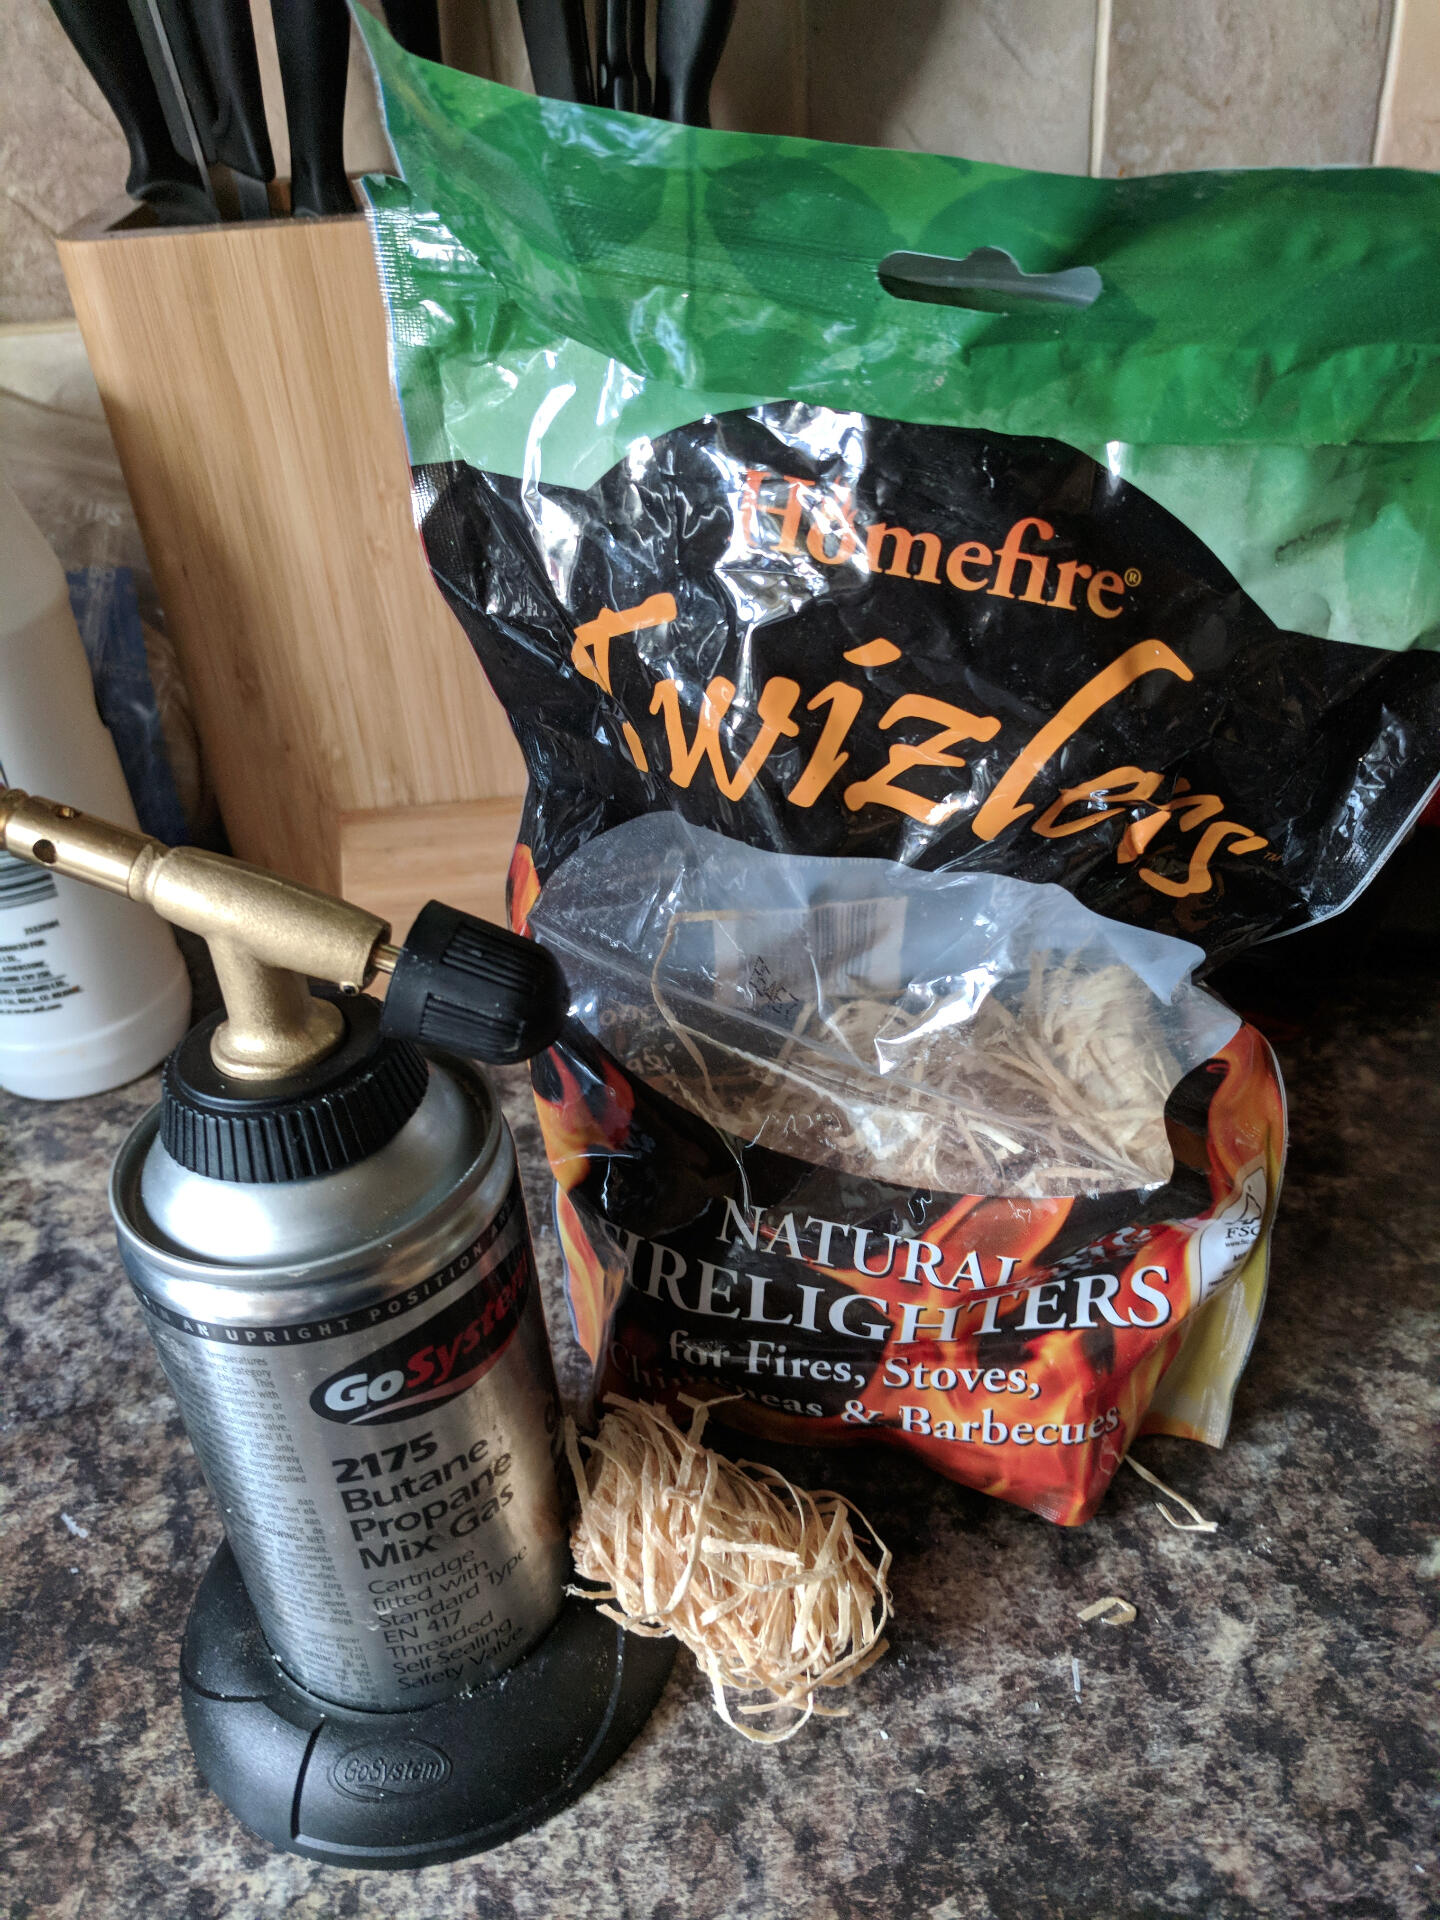
make sure to store your pellets in an airtight container.For Lighting your ooni, try using natural wood firelighters, or a chefs torch.
Temperature
The ooni 3 doesn't have an in built thermometer, so we highly recommend you invest in a laser thermometer that can read temperatures in excess of 500c/932f, you can find these on Amazon, BBQ stockists or any the big retailersWeather
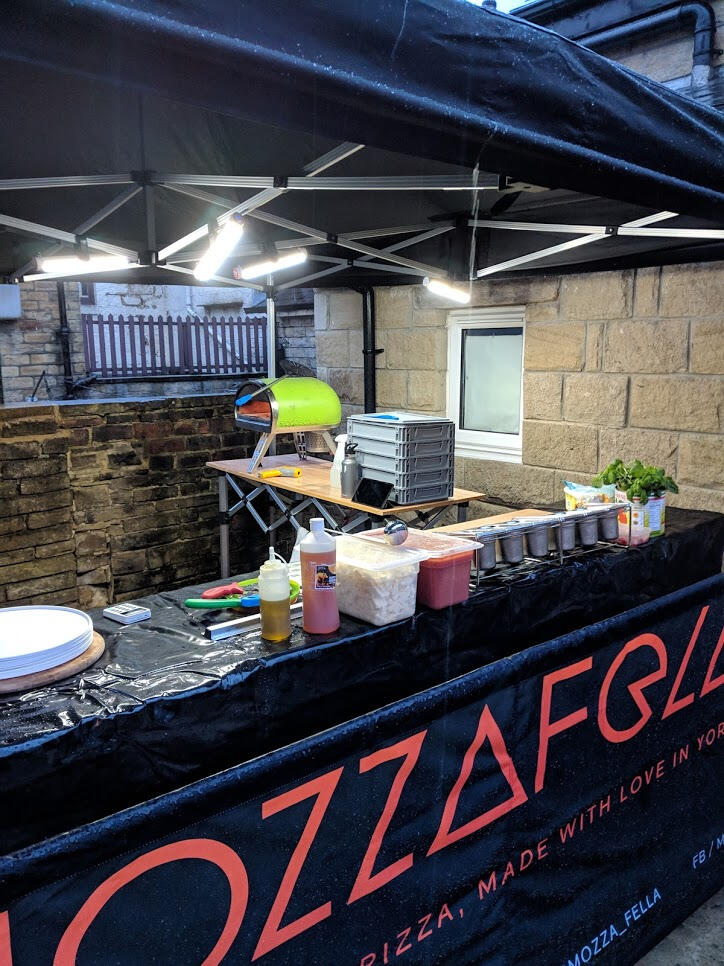
The ooni should perform well in any weather except strong wind, we've cooked in deep snow, storms etc without any issue, but to make your cooking experience a little less soggy you may want to invest in some sort of shelter, our setup uses a BBQ Gazebo that cost around £50.
If you do place something over your oven, you must vent the chimney (unless you are a gas user) to prevent any fire damage.

Launching
I recommend using a wooden peel to launch your pizza's and turning with the metal one, you can find these in on Amazon or alternatively Rinikt.com have some great deals.

Gas
If wood pellets aren't for you, then gas is your friend, Lakeland currently have the adapter for £48.99 including shipping and a 3 year warranty.Uuni recommend cooking without the door on if using gas, this should prevent the buildup of natural gasses.
there have been instances of poor performance associated with the regulator supplied by Uuni, if you are having issues you should contact them directly, alternatively you can get a replacement regulator, we recommend this oneThe ooni 3 gas adapter isn't available in all countries at the moment, should you be tempted to buy the UK version, please ensure you check if it's compatible with your countries specific regulators.
If you used this tip, send me a photo on Facebook or Instagram
Launching a Pizza
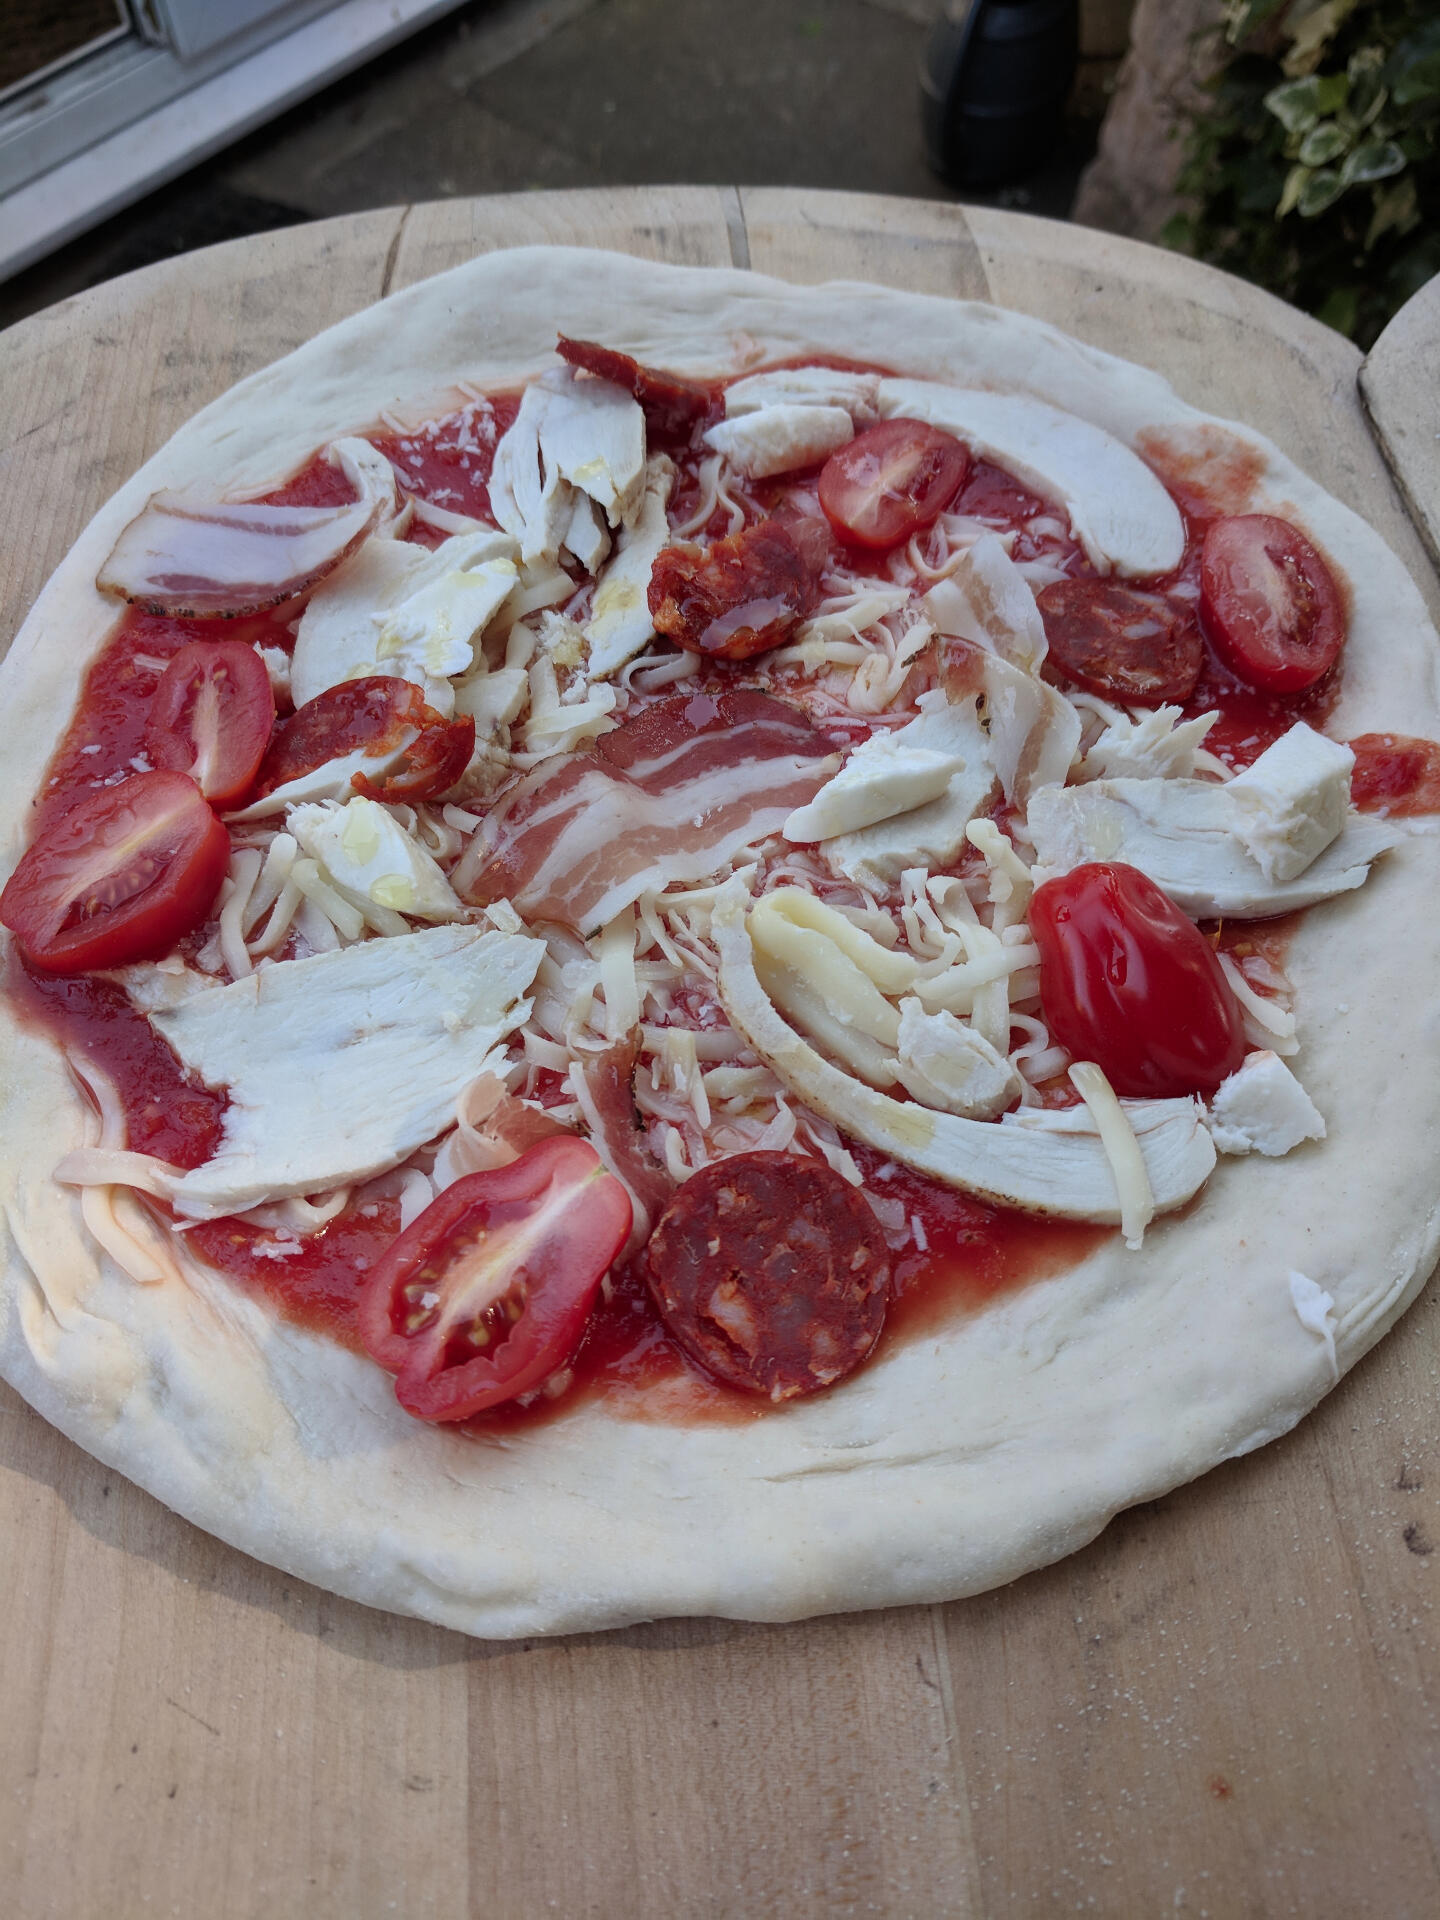
Once your pizza is stretched and topped, it's time to 'launch' it.
We highly recommend you use a wooden pizza peel, dusted in semolina flour to do this.Make sure your pizza moves around on the peel by giving it a gentle shake, if it doesn't, do not attempt to launch it, instead lift any stuck pieces and sprinkle more flour underneath.Once you are confident your pizza is ready to go, thrust the peel into the opening of your oven, your pizza should glide in.Use a metal peel to turn and remove your pizza, these are thinner and heat resistant.
If you used this tip, send me a photo on Facebook or Instagram
Dough Stretching
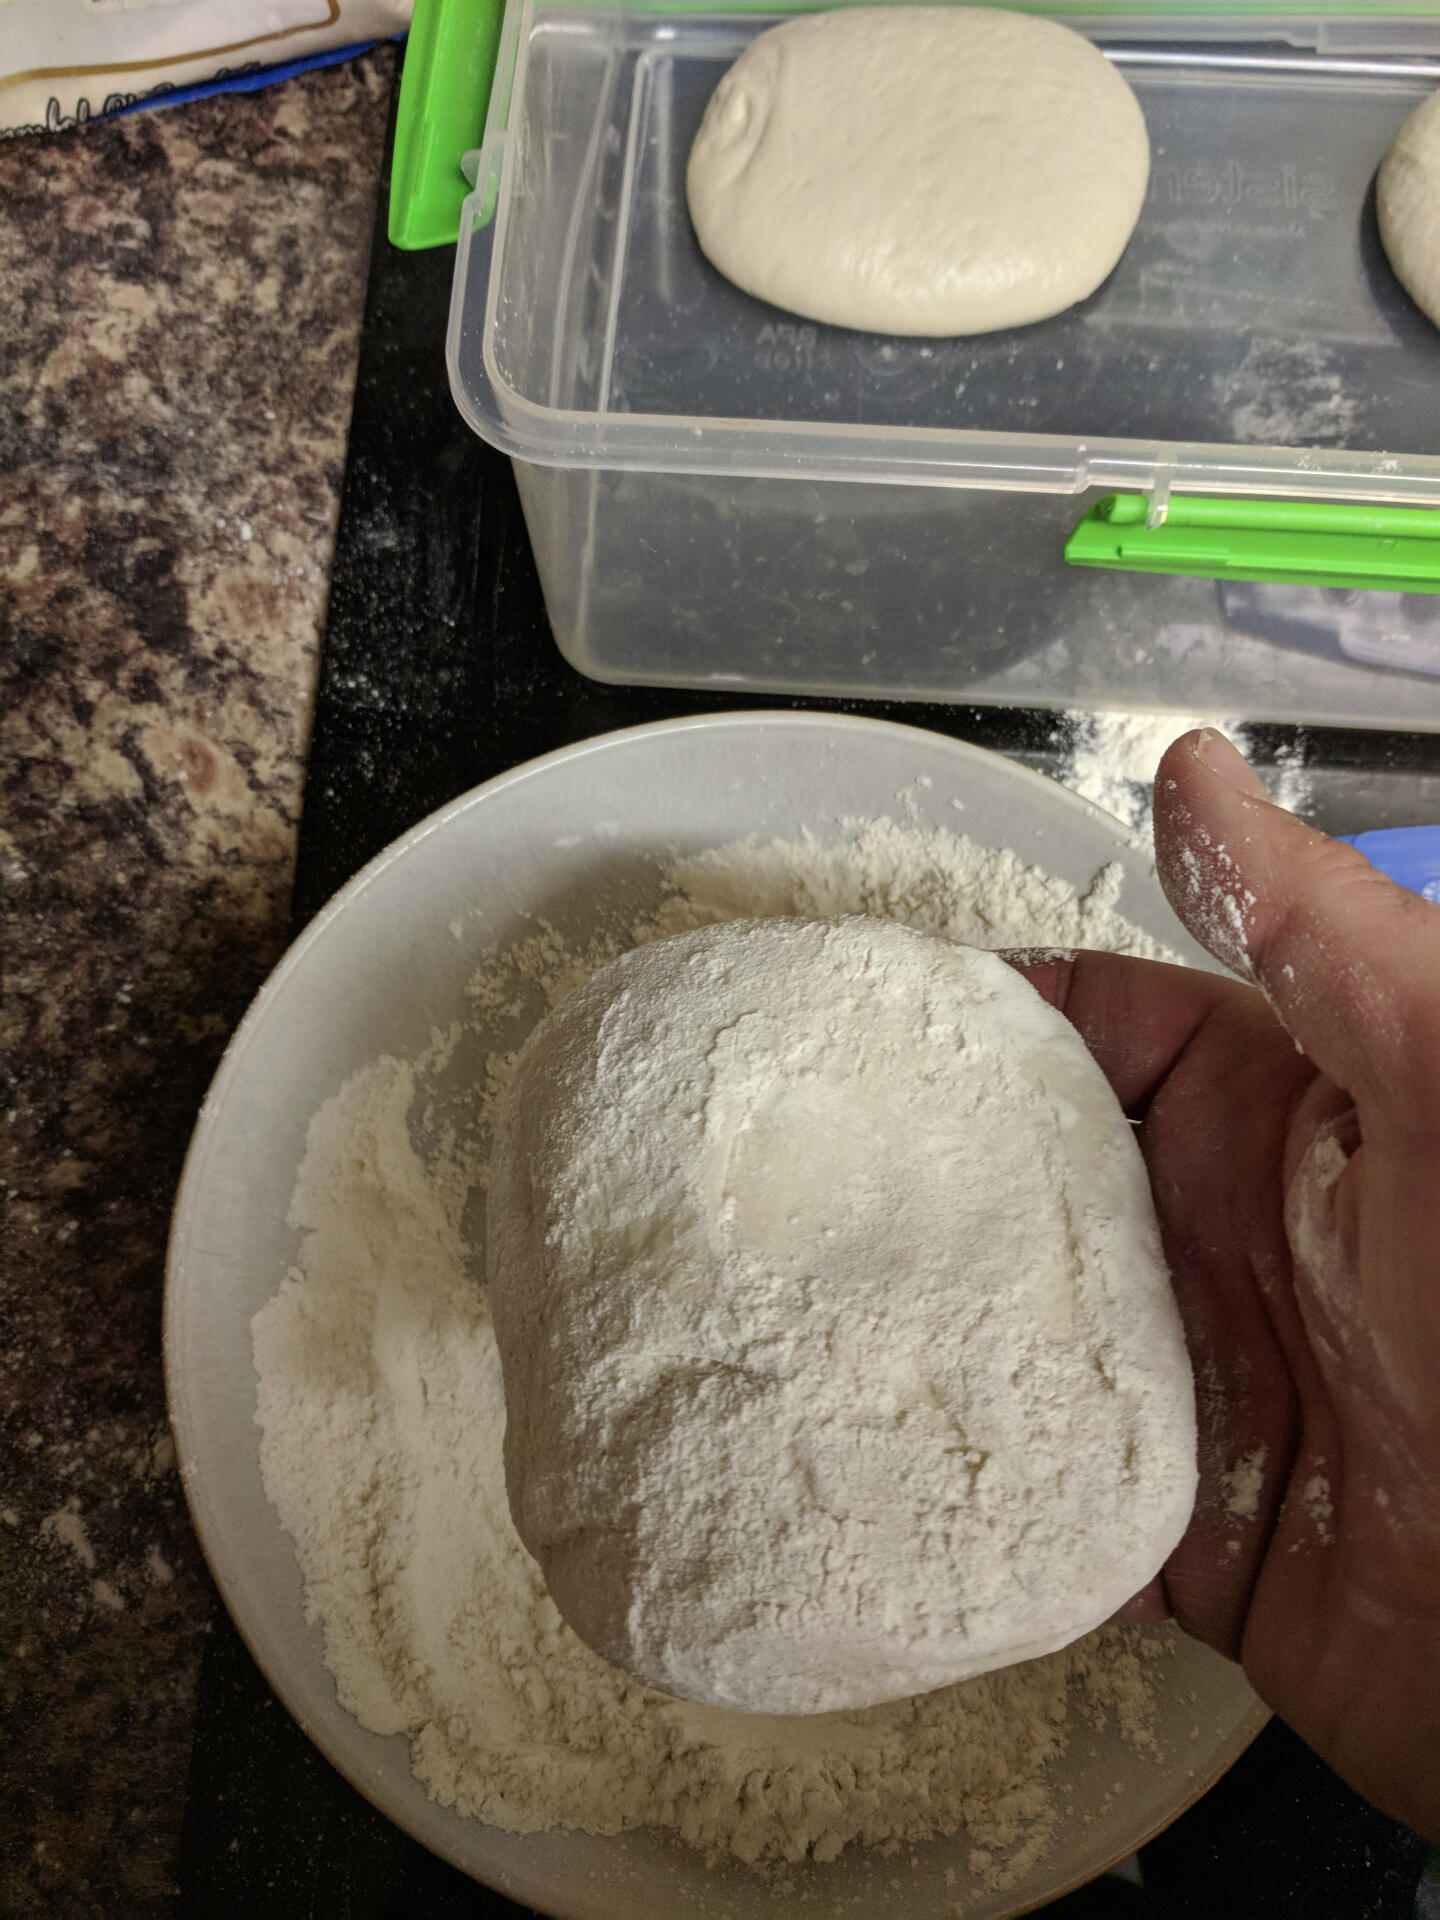
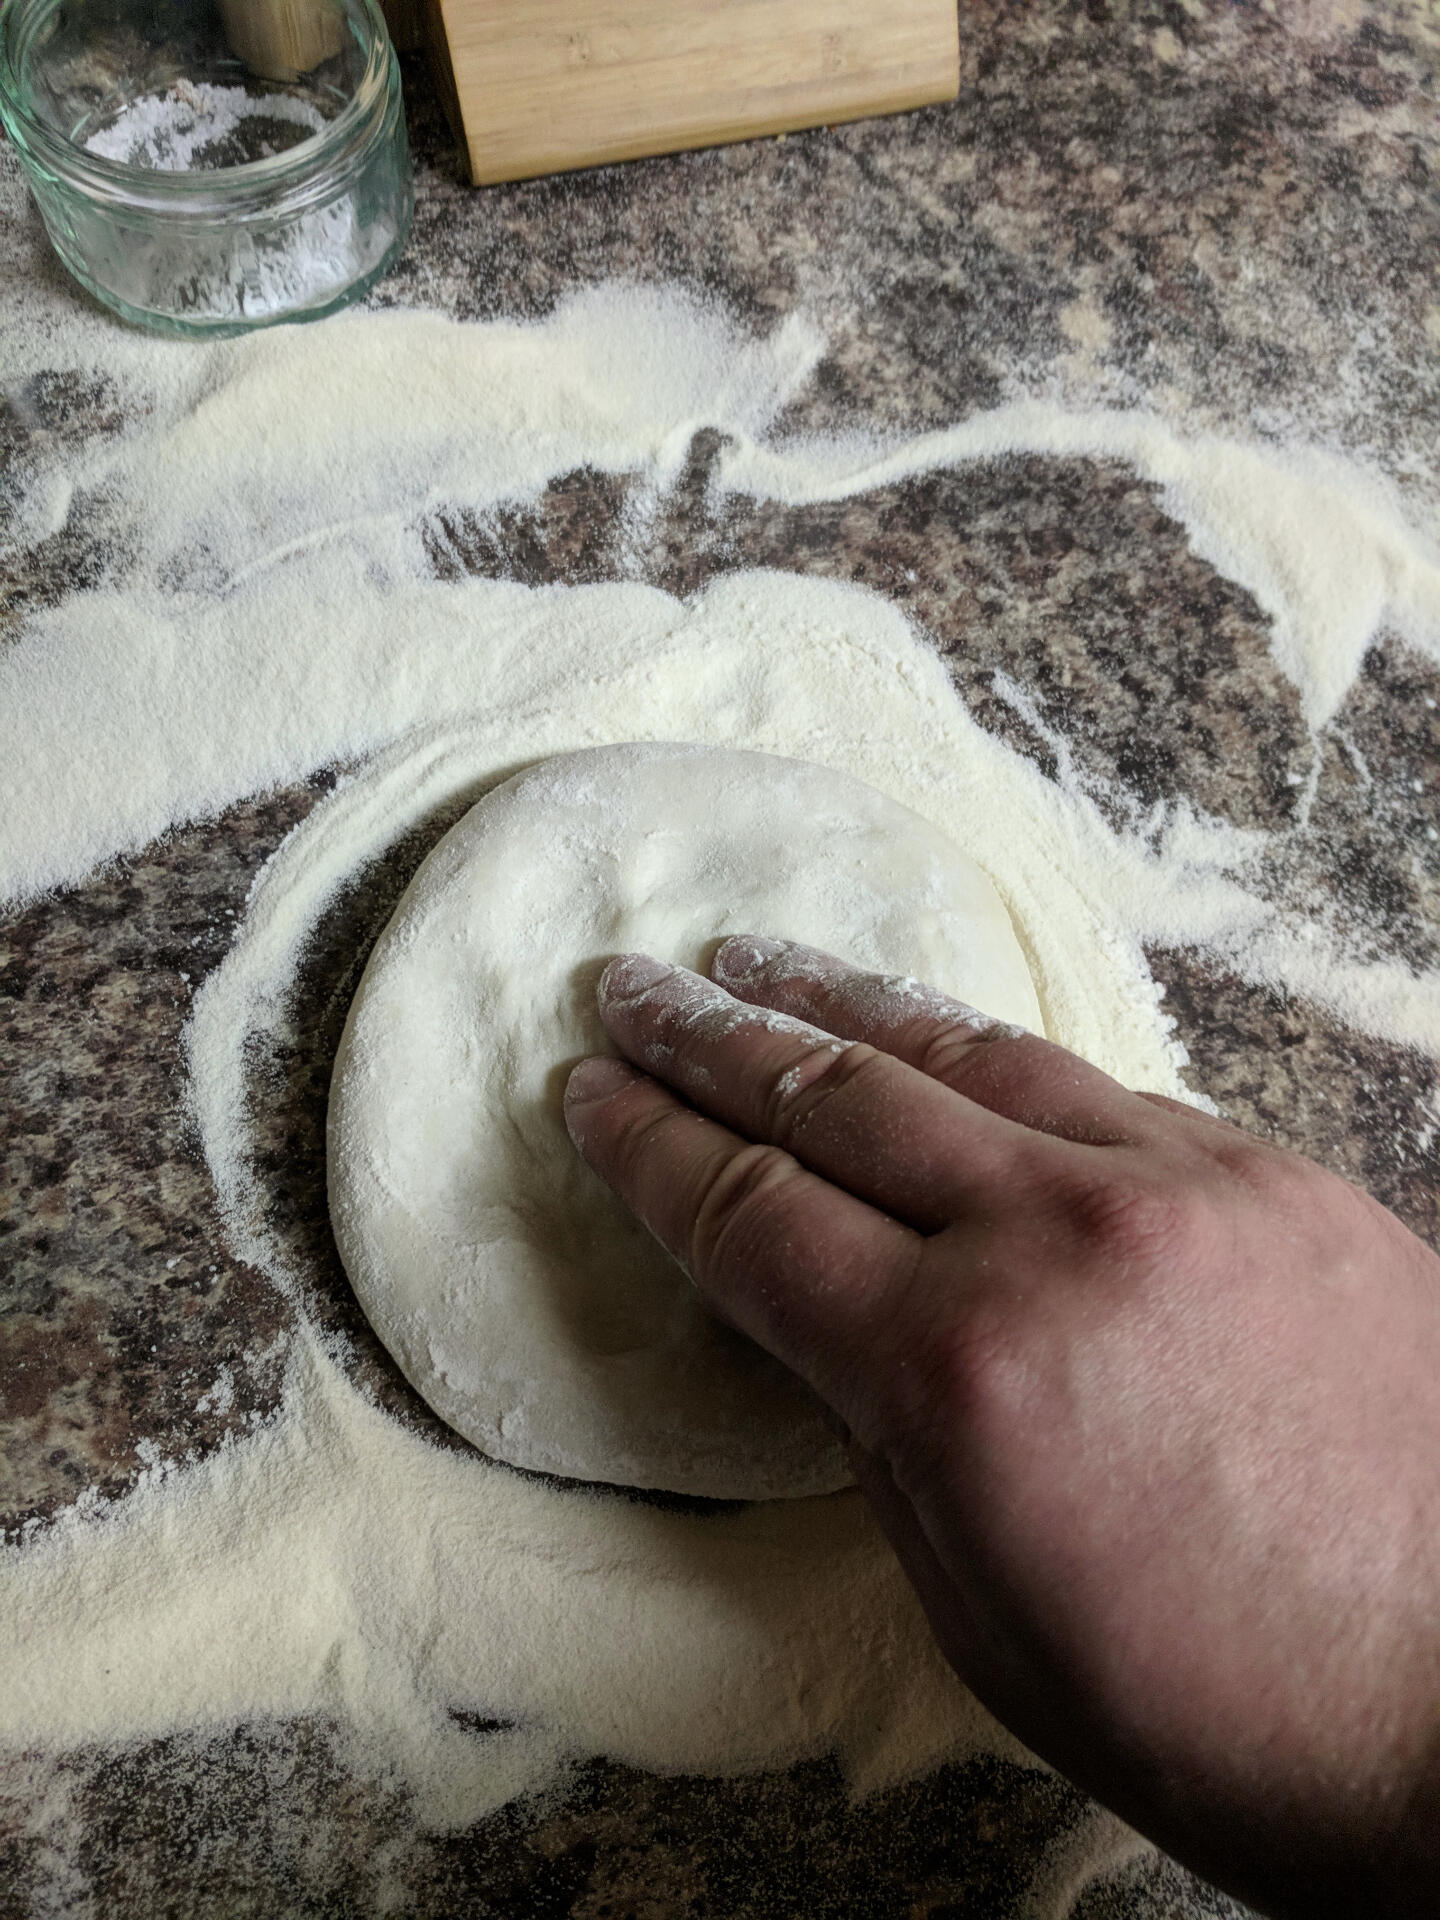
Remove your dough from it's container with a dough scraper and give it a quick 'bath' in some '00' flour.Cover your work surface in semolina and place the dough down.
Begin by pressing down about a cm or so from the edge of the dough, working your way around, this will establish your crust.Flip your dough and repeat the process, then flip back to the original side, and work the centre once.
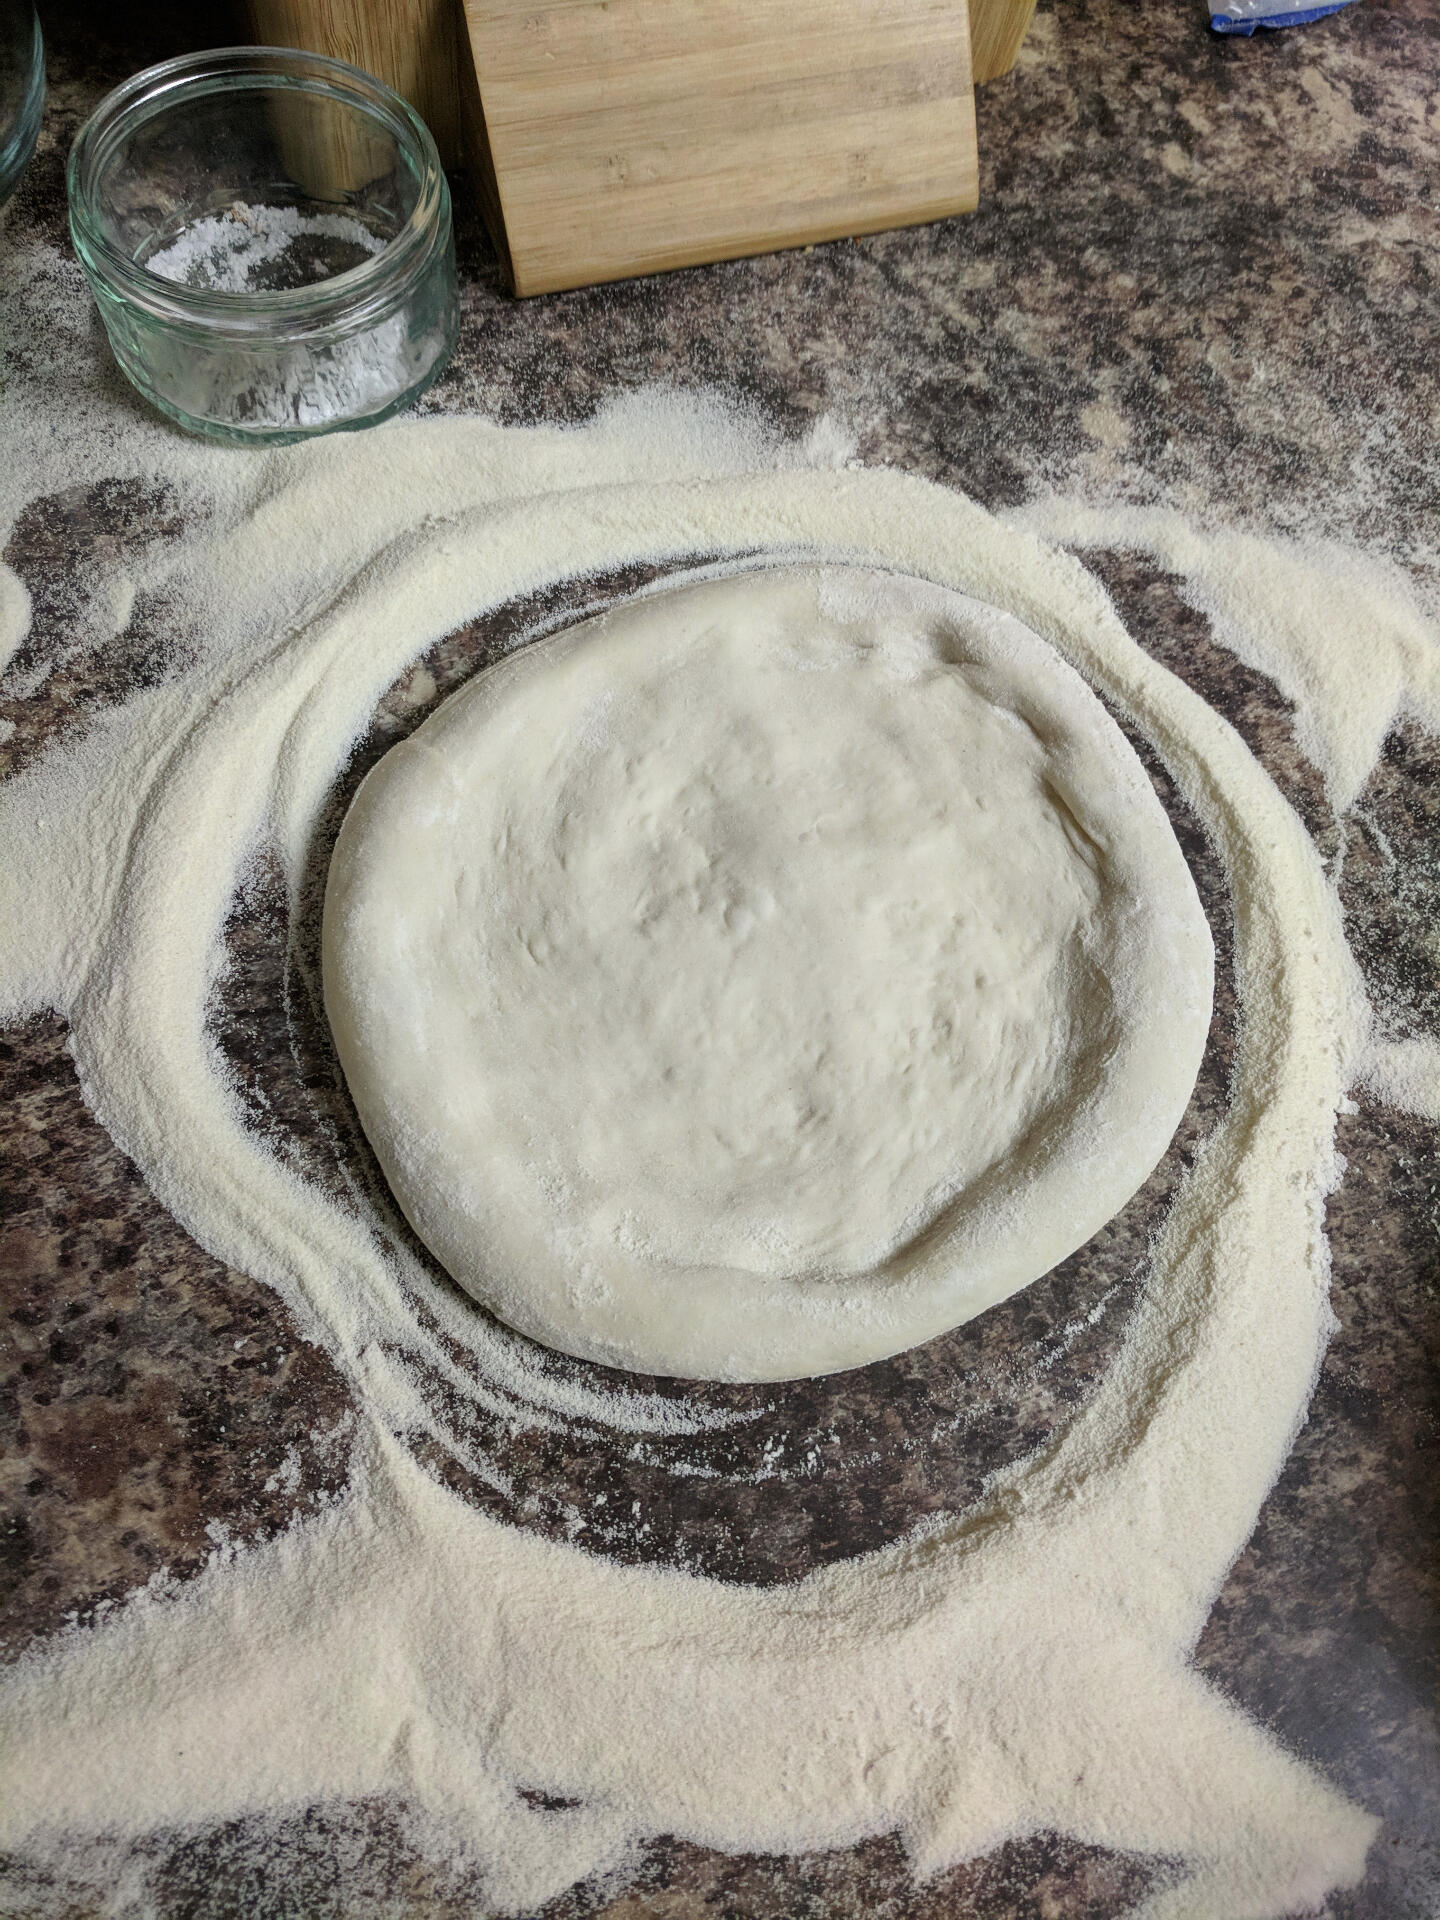
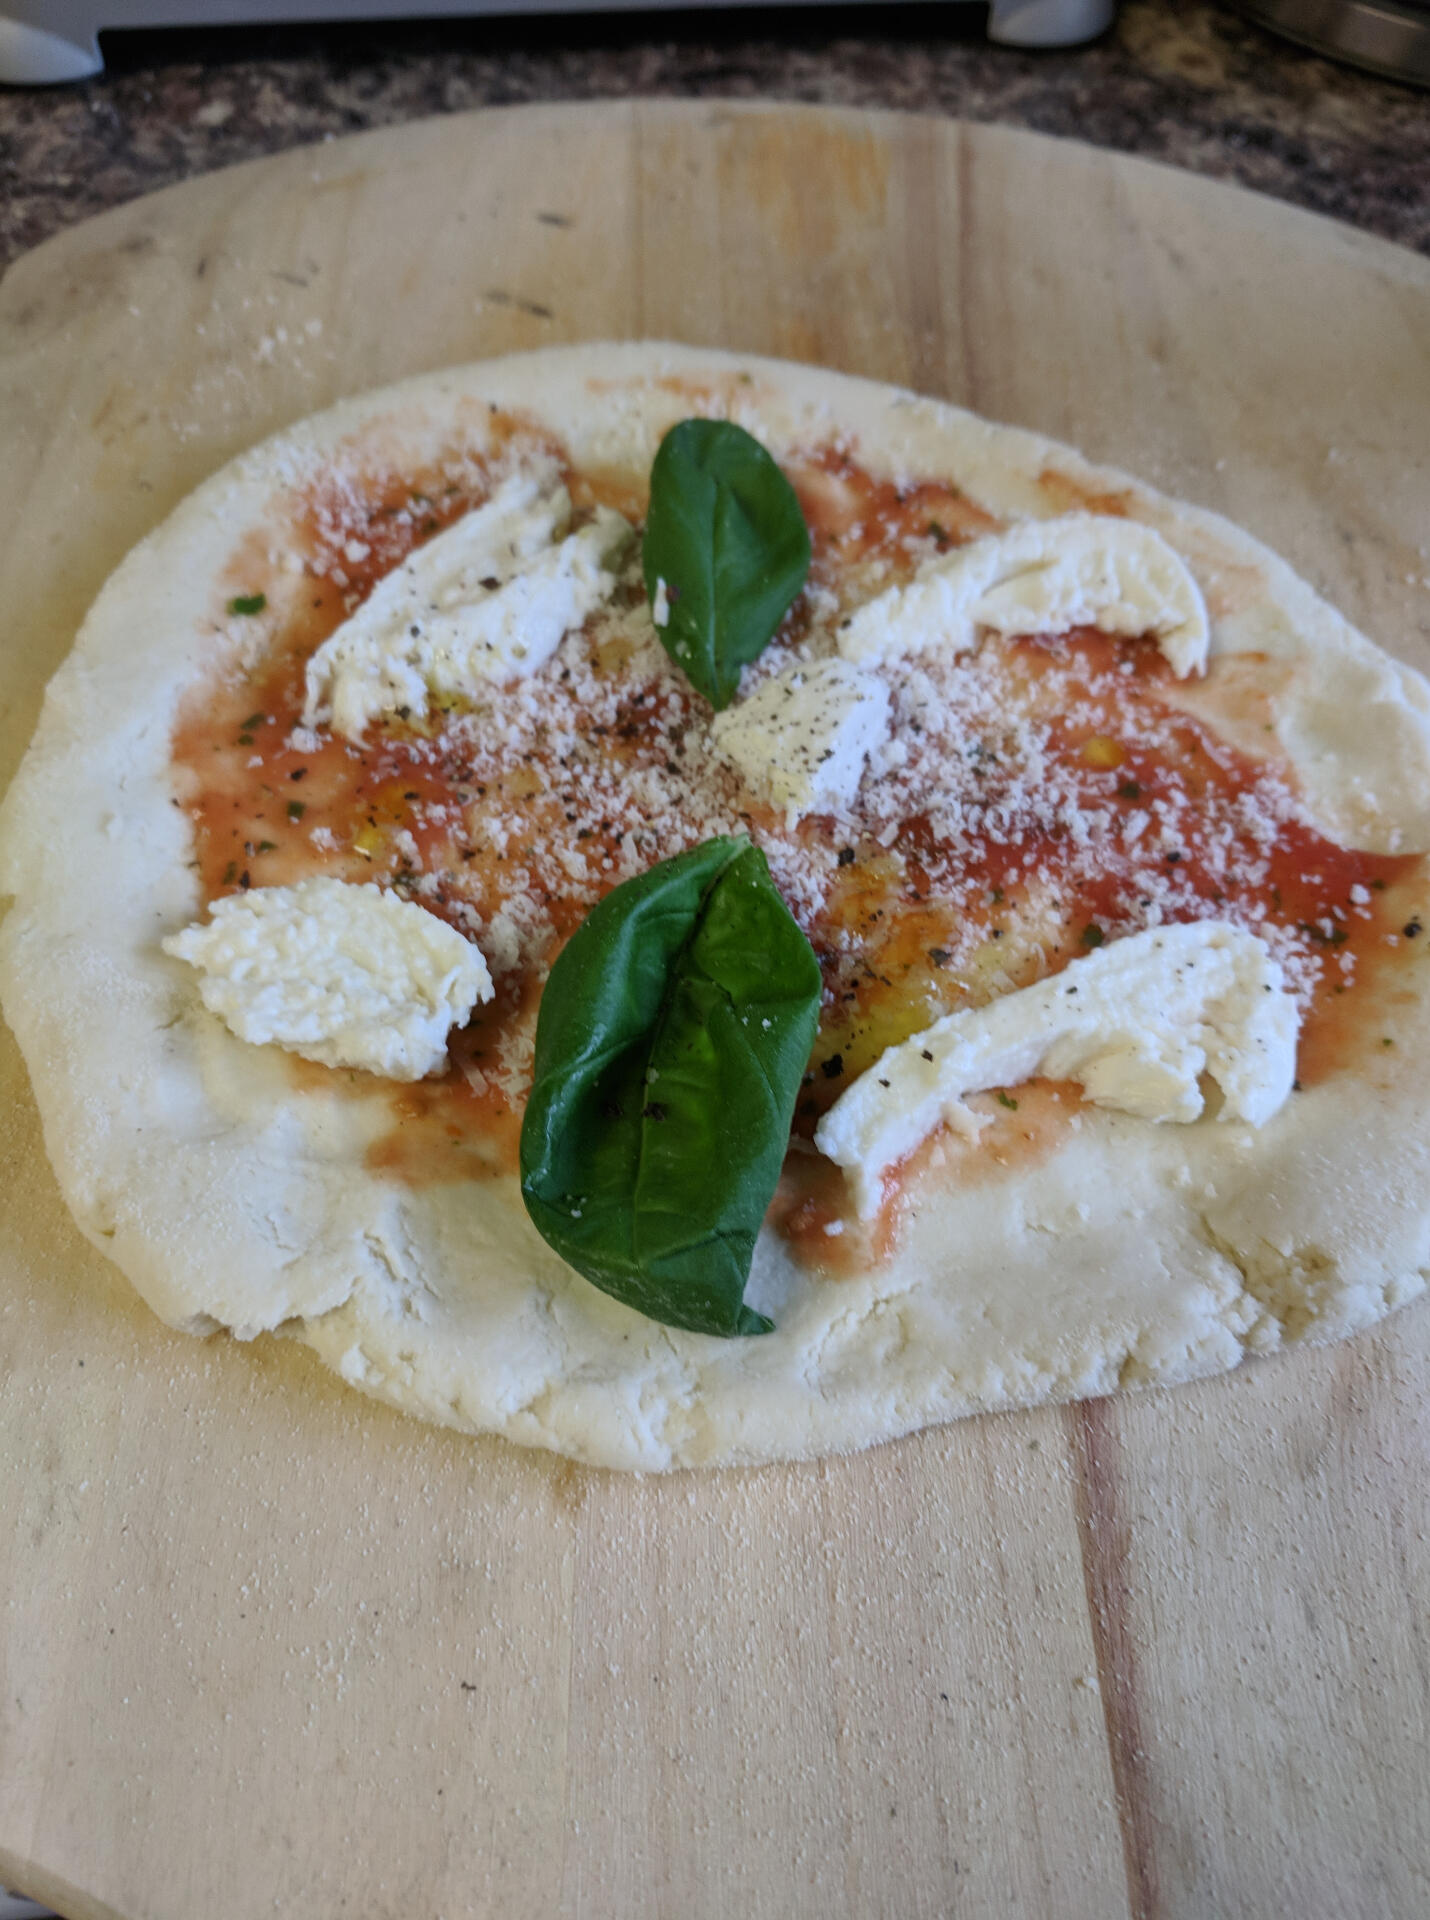
Your dough should now look like a small uncooked pizza.At this point you can pick it up, rest it on your hands with your knuckles in and begin to turn and stretch the dough gently, you may want to place it down on a peel to check the size/shape.Be careful not to over stretch the dough, as it may tear, you can get a good indication of any thin spots by holding the dough up to the light.Once it's stretched it's time to top it, if you have a hard work surface like marble, granite or steel, you may wish to top on there then transfer to the peel.If not, flour your wooden pizza peel with semolina and place the dough on there.Once you've topped your pizza you'll be able to adjust the shape a little by gently pulling the corners, then it's ready for cooking!The more you practice the better you'll getNote: if you are topping on a peel, make sure to give it a shake now and again to stop the dough sticking
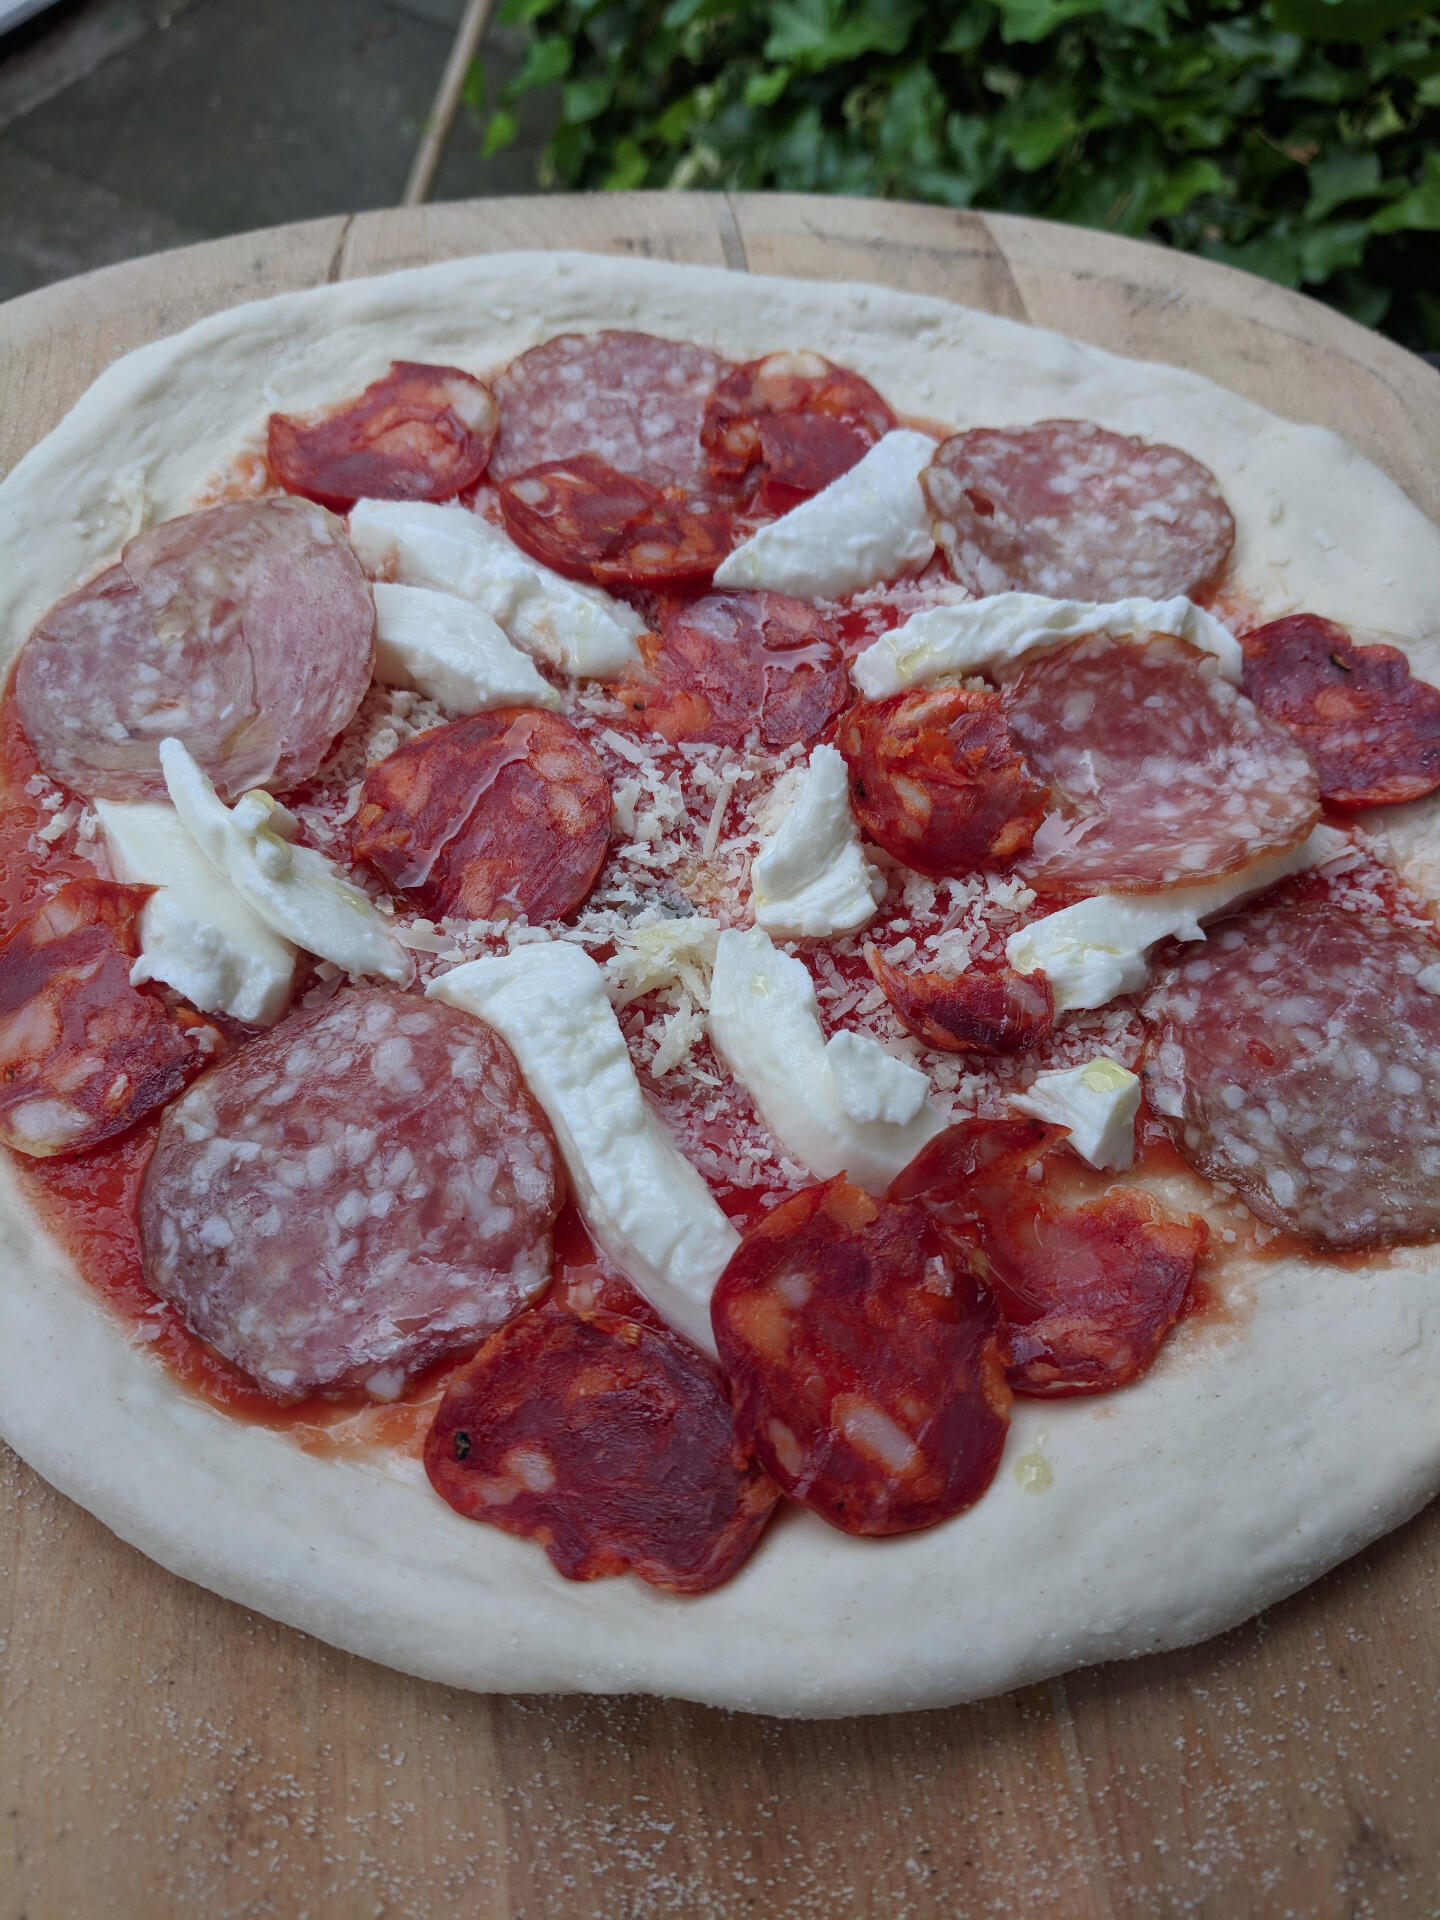
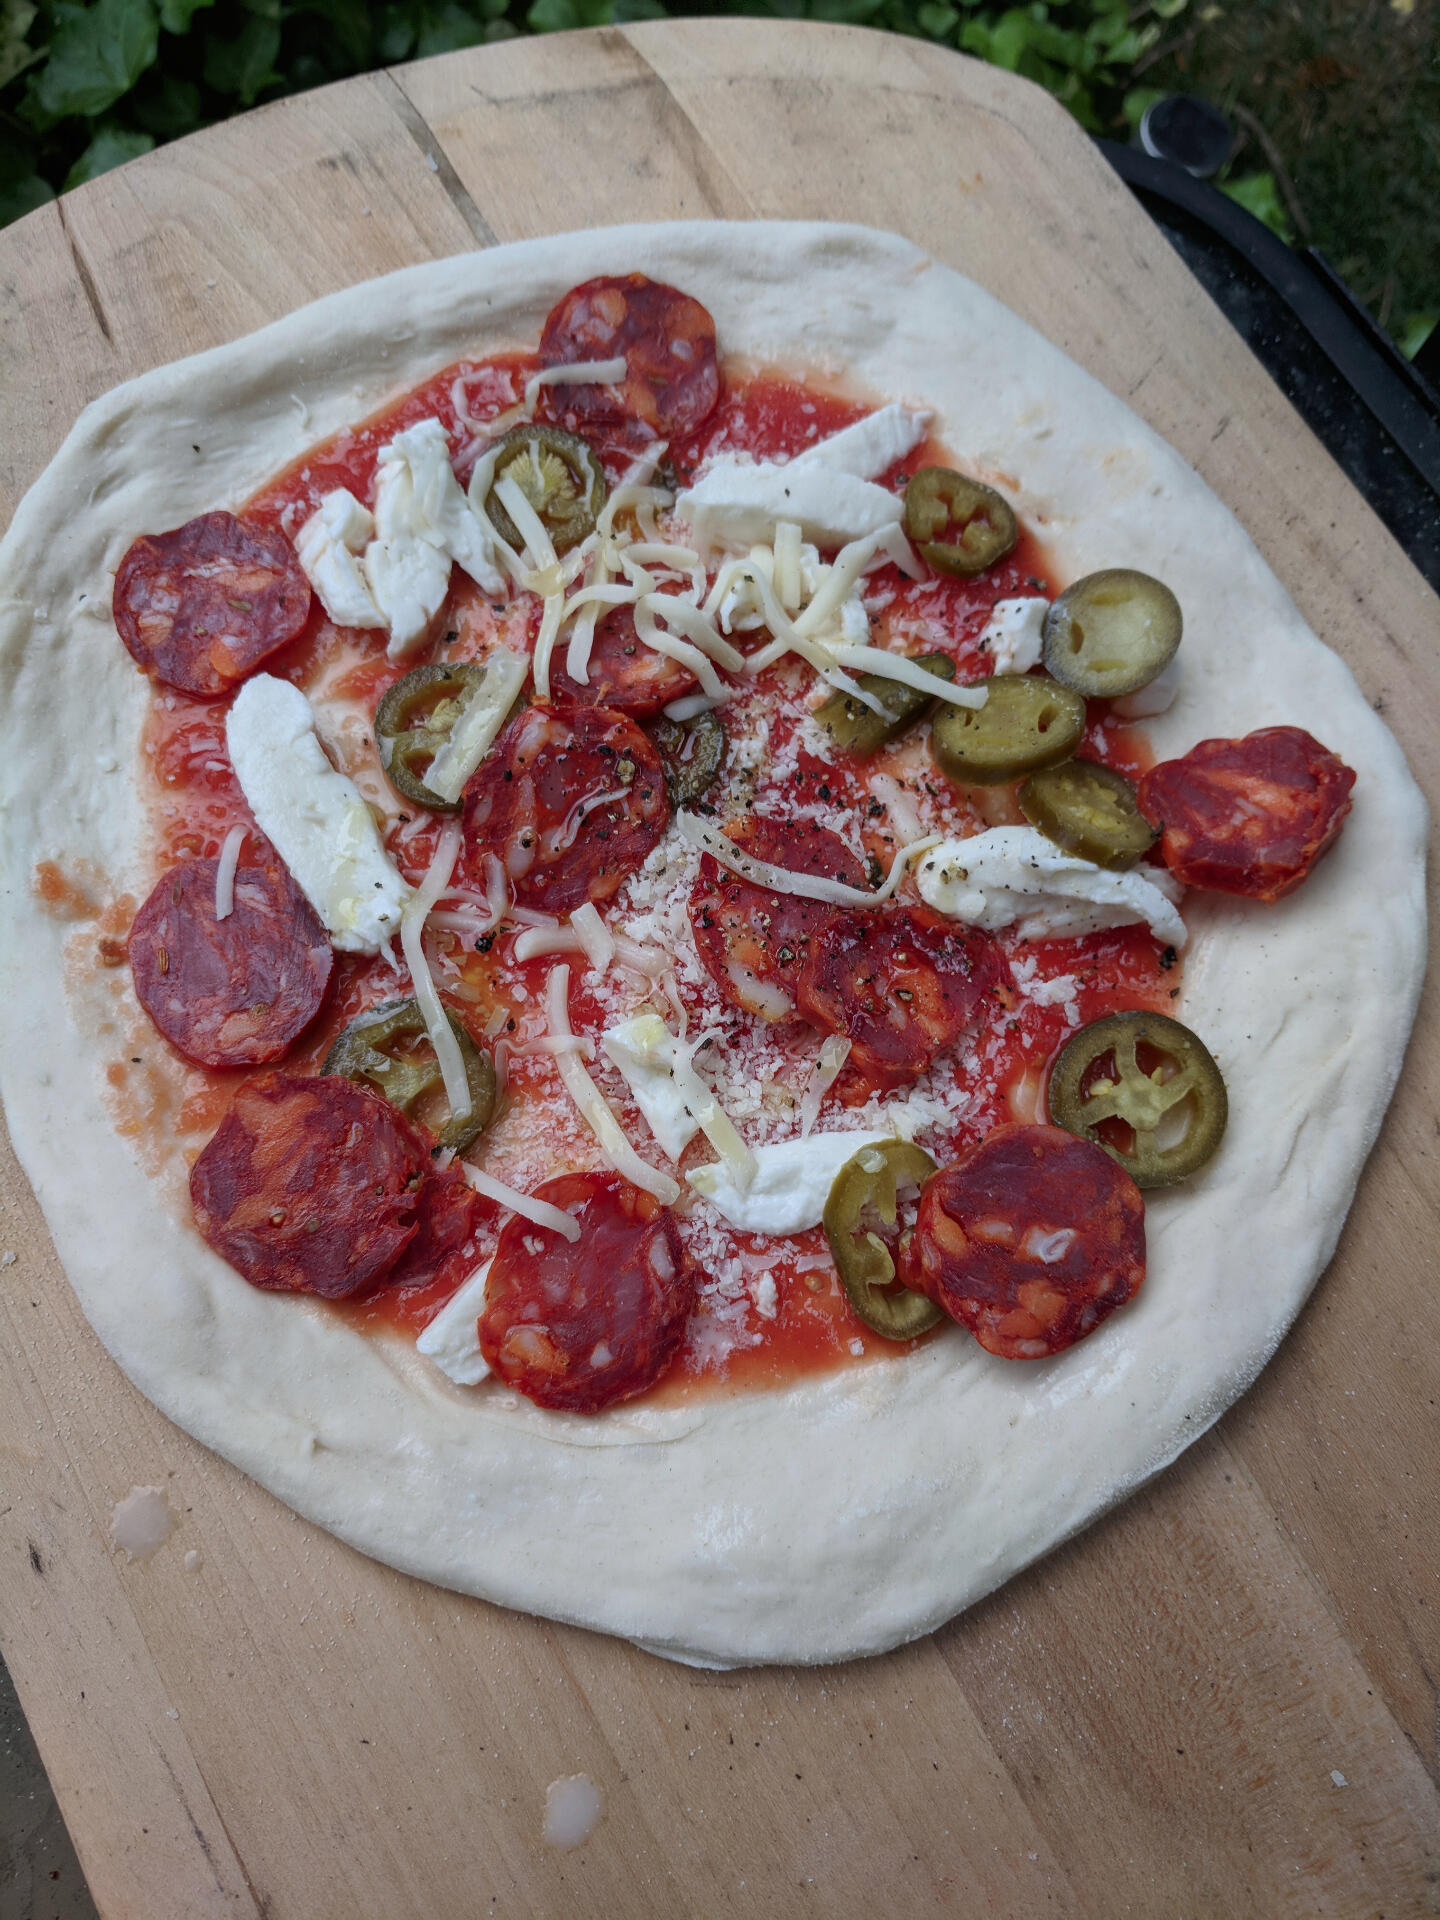
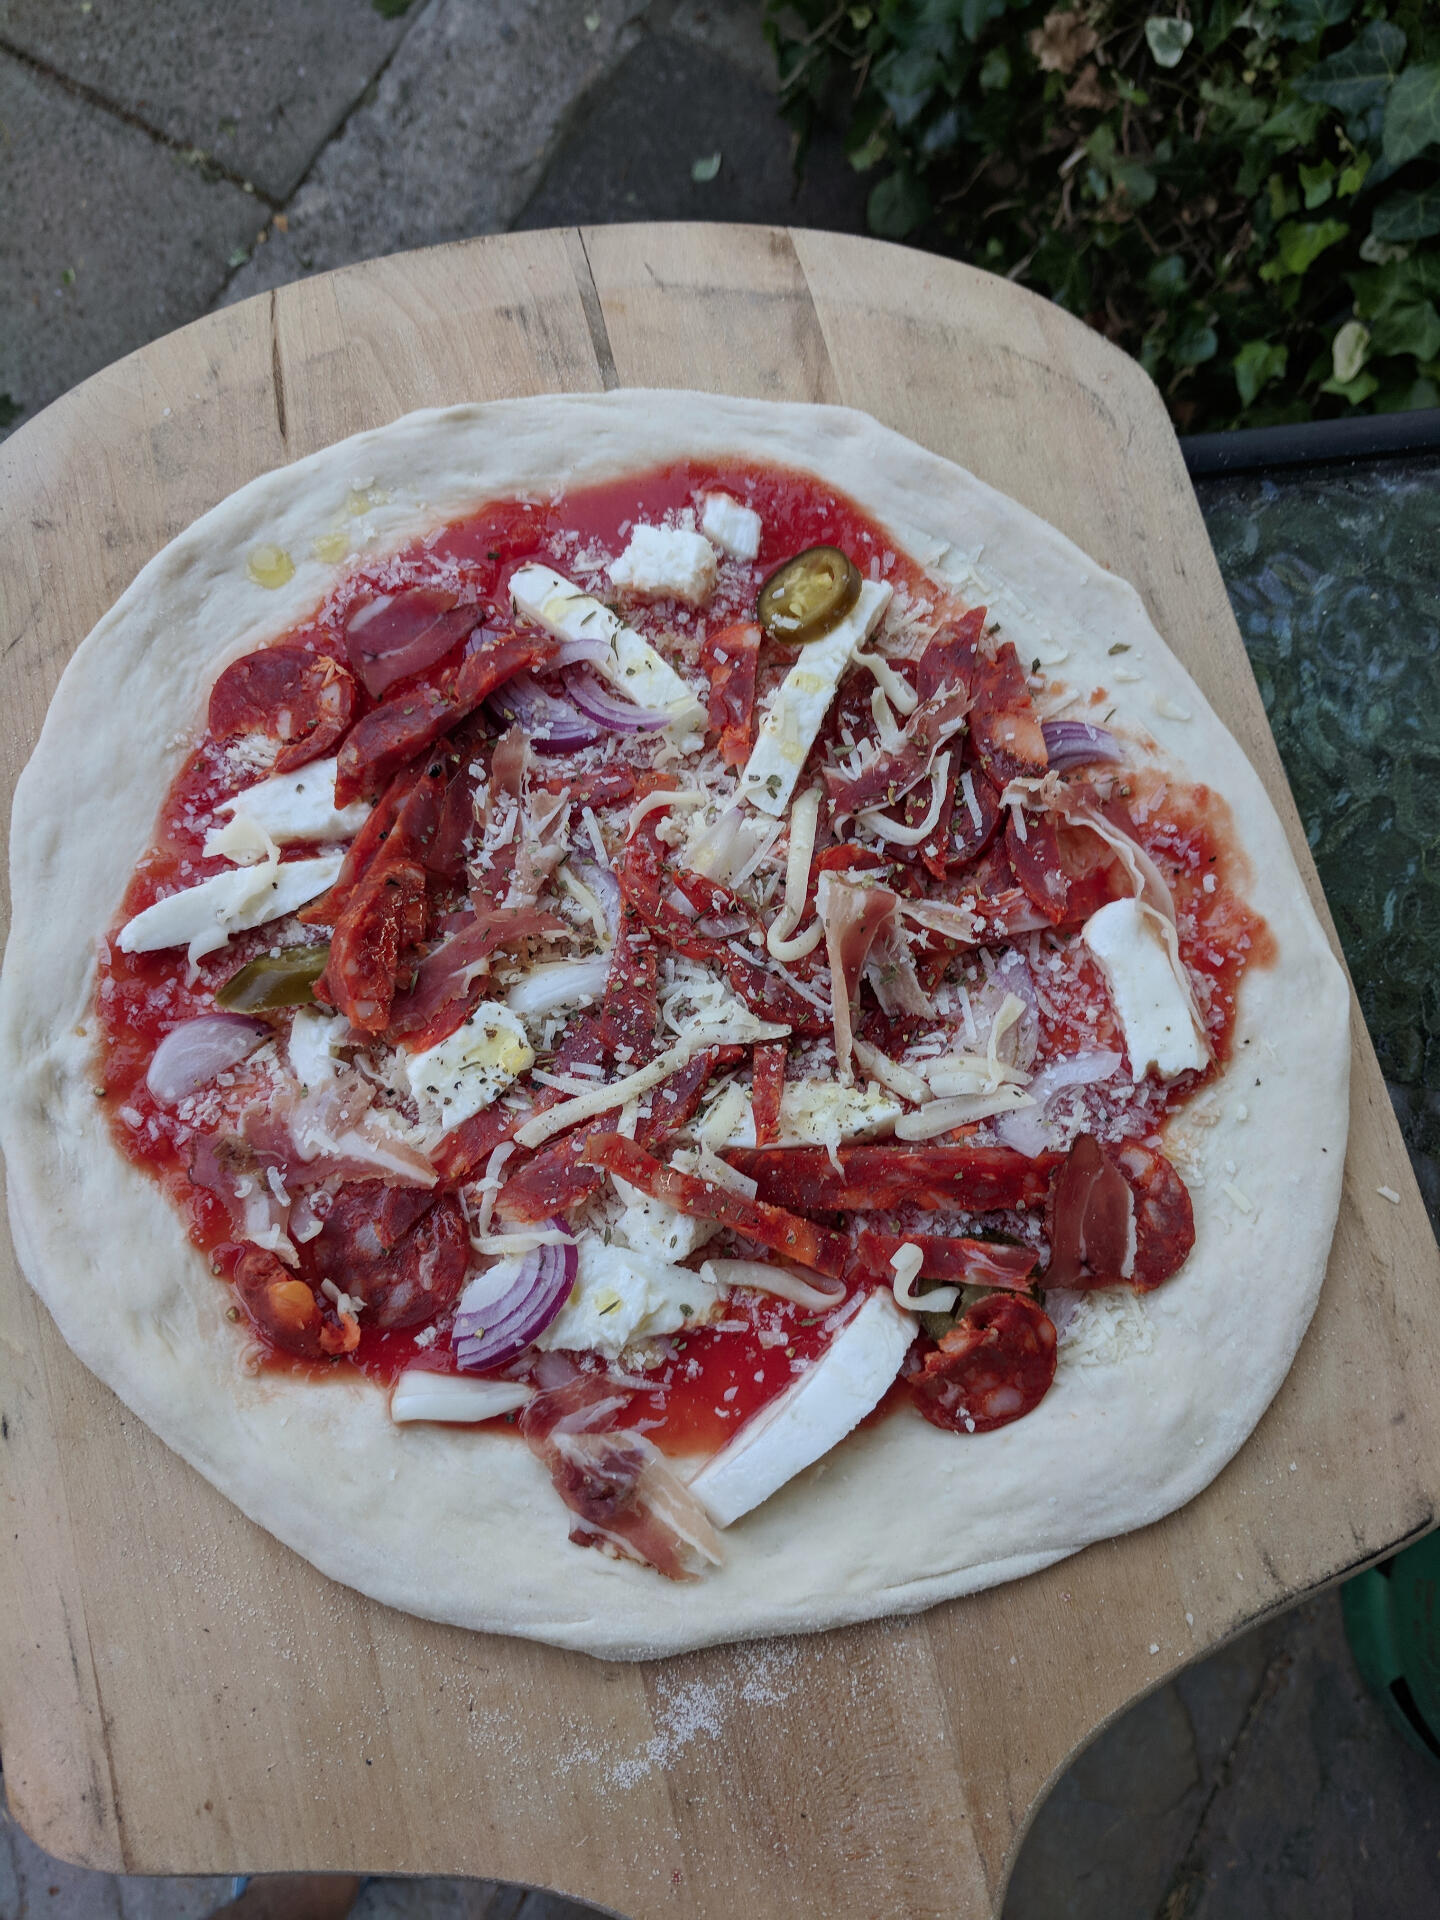
Once your pizza is stretched and topped, it's time to launch it!
we highly recommend you use a wooden pizza peel, dusted with semolina flour.
If you used this tip, send me a photo on Facebook or Instagram
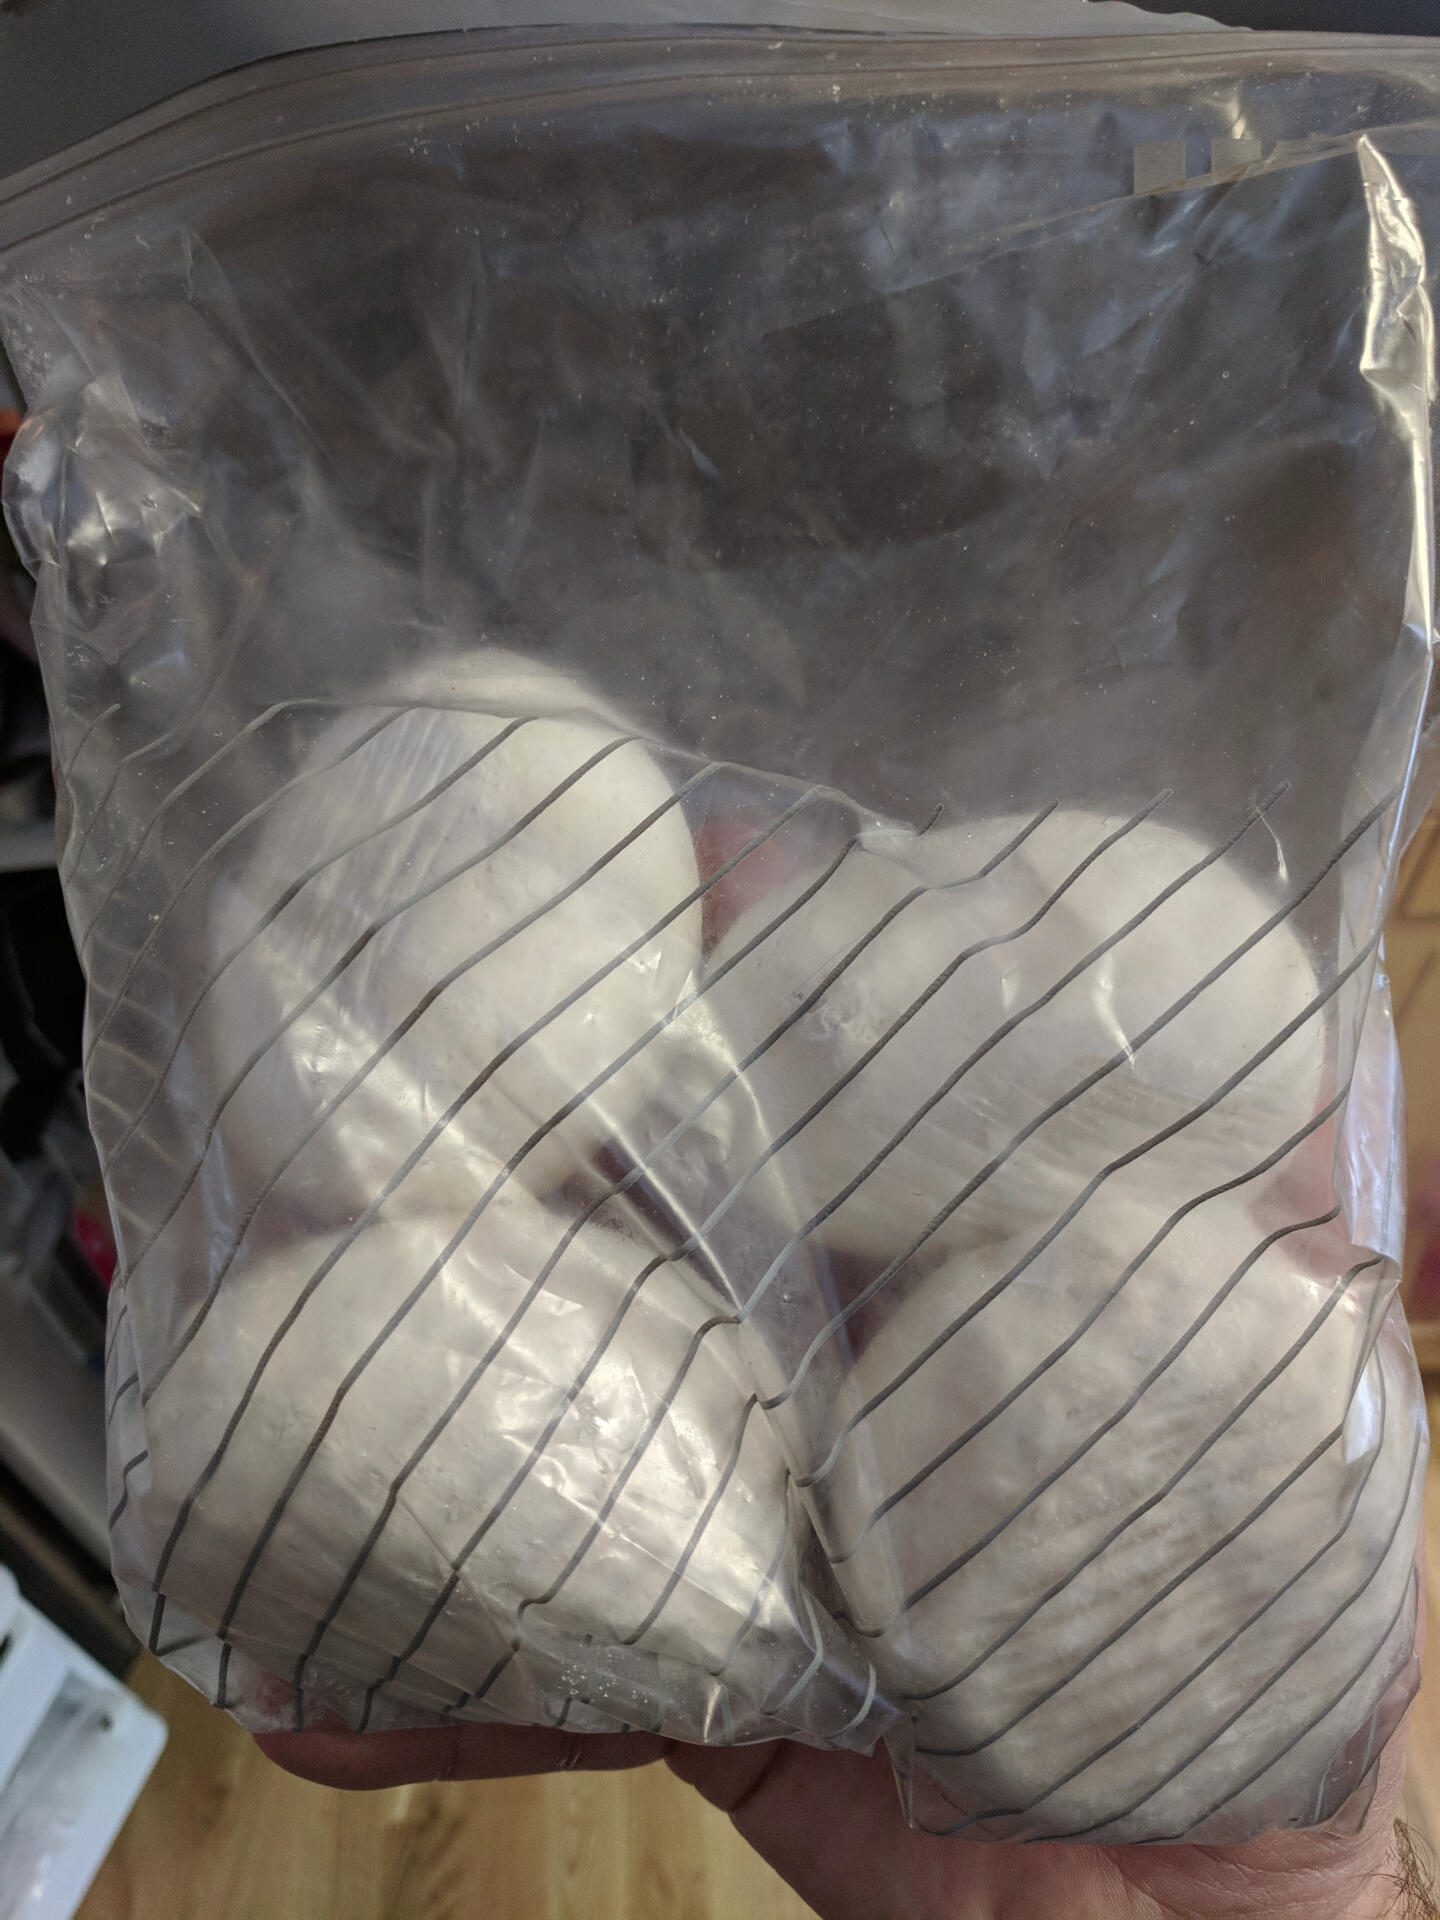
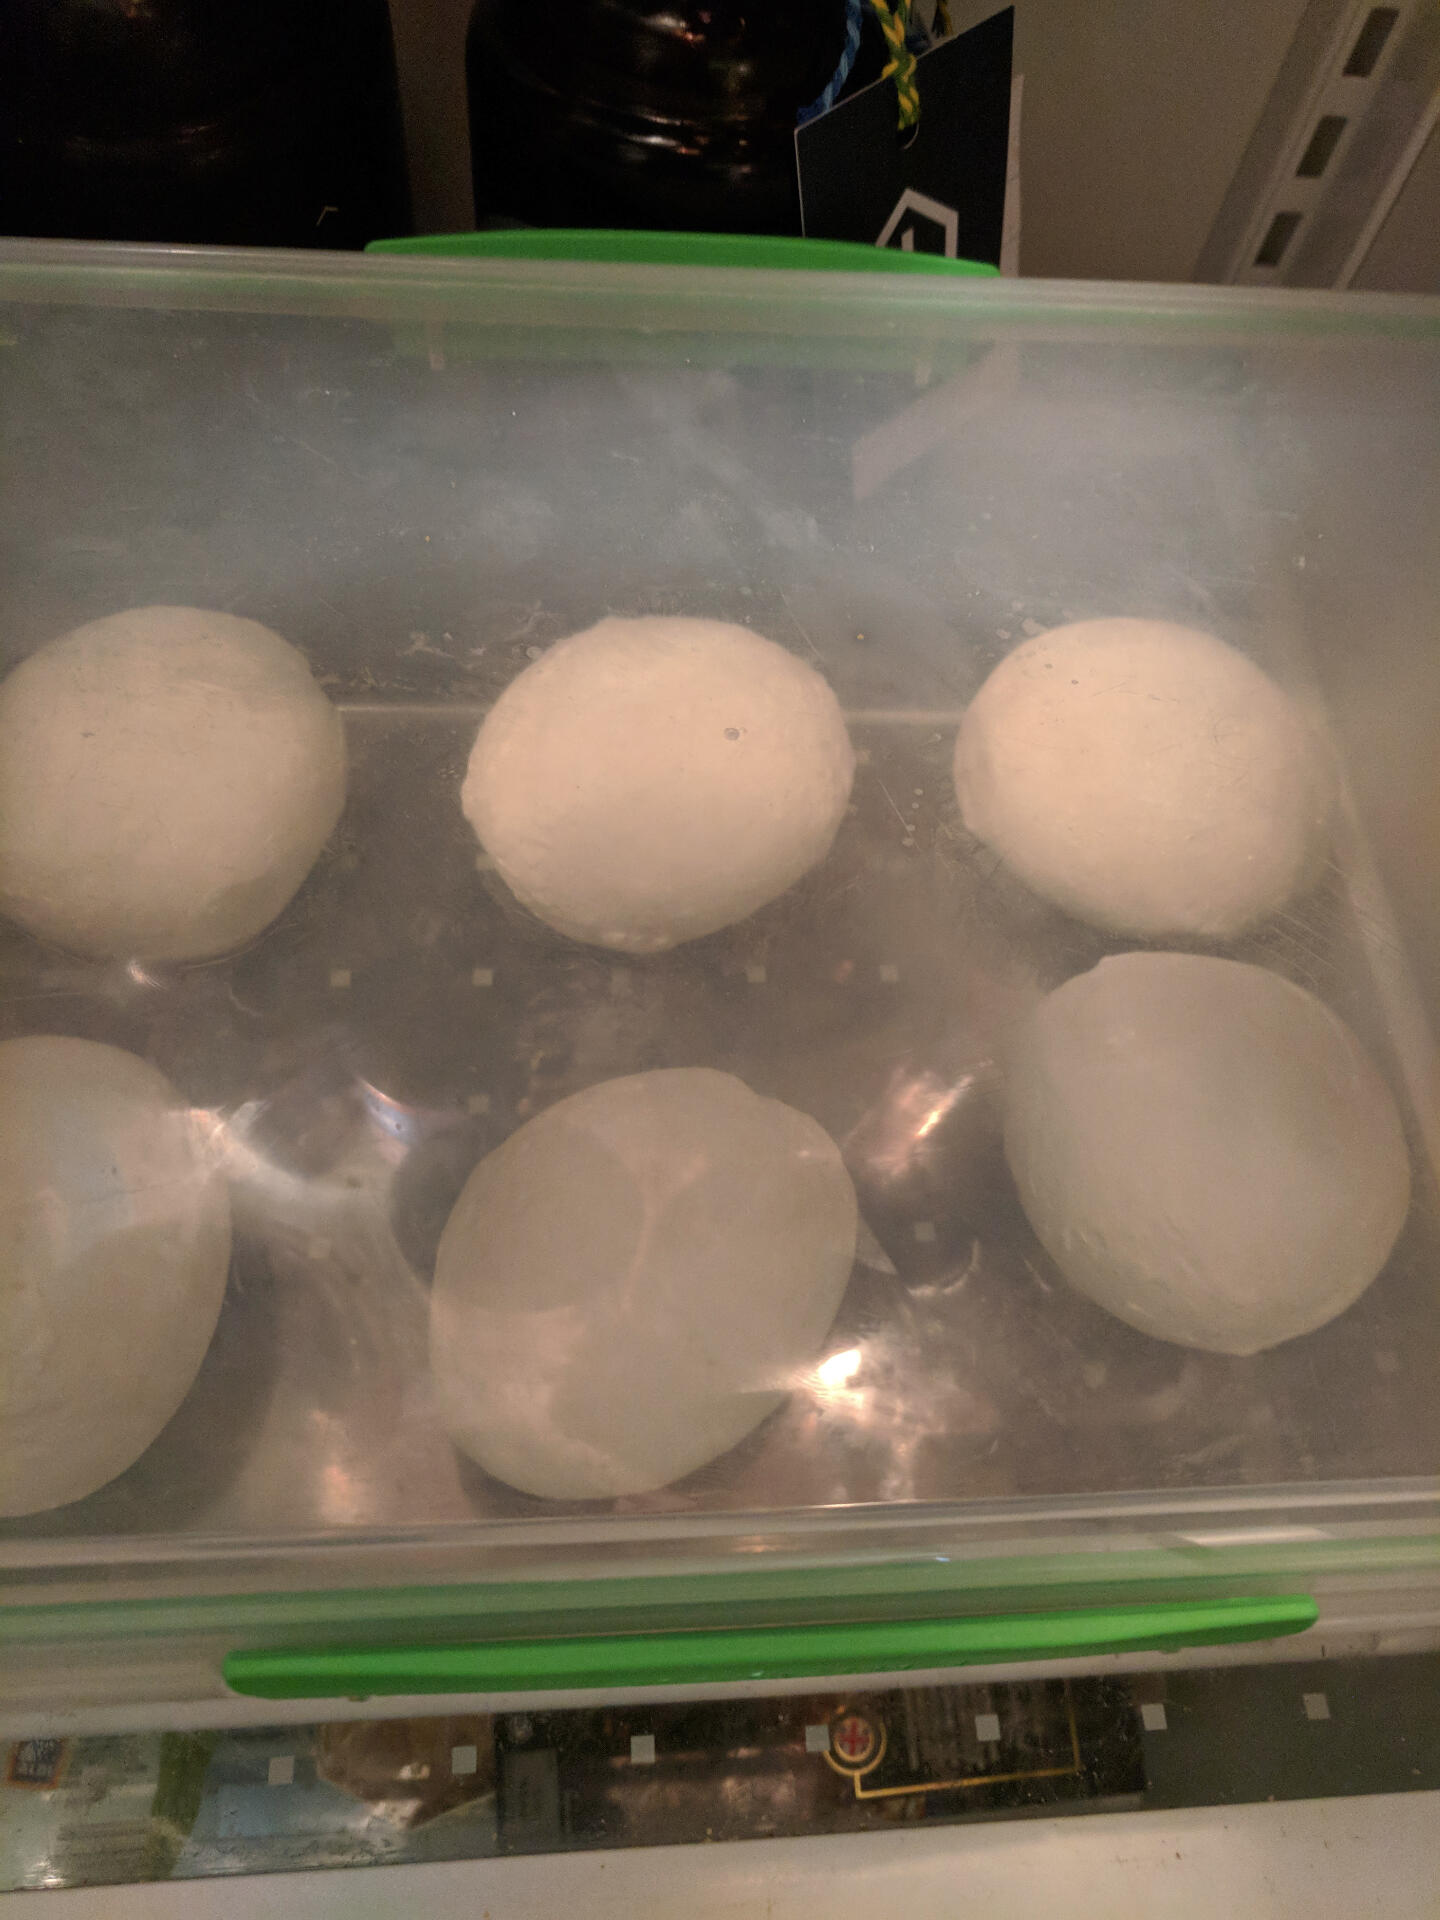
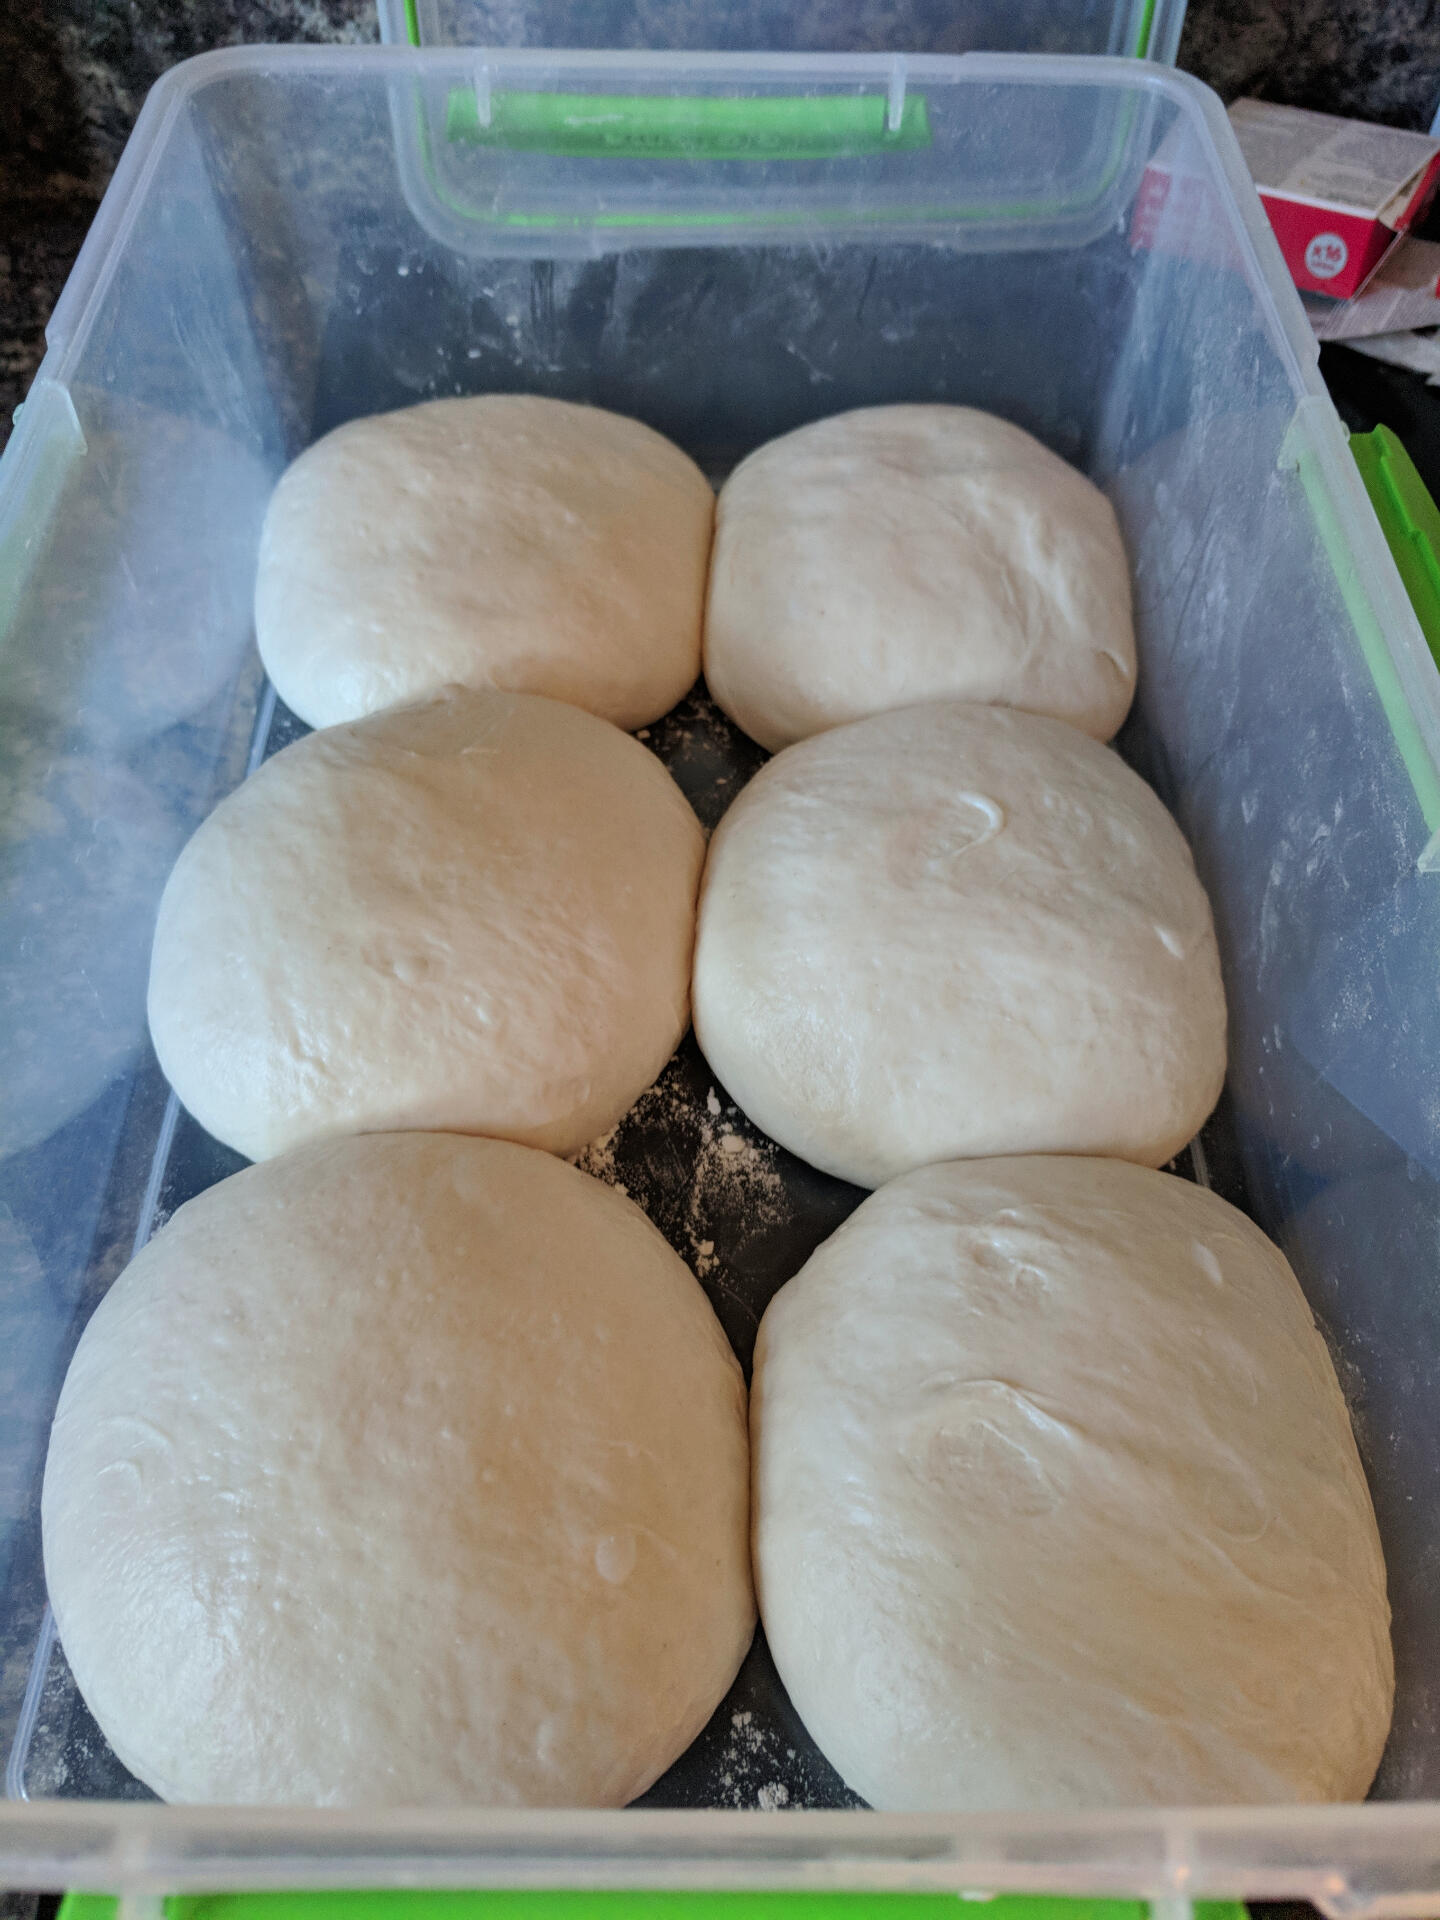
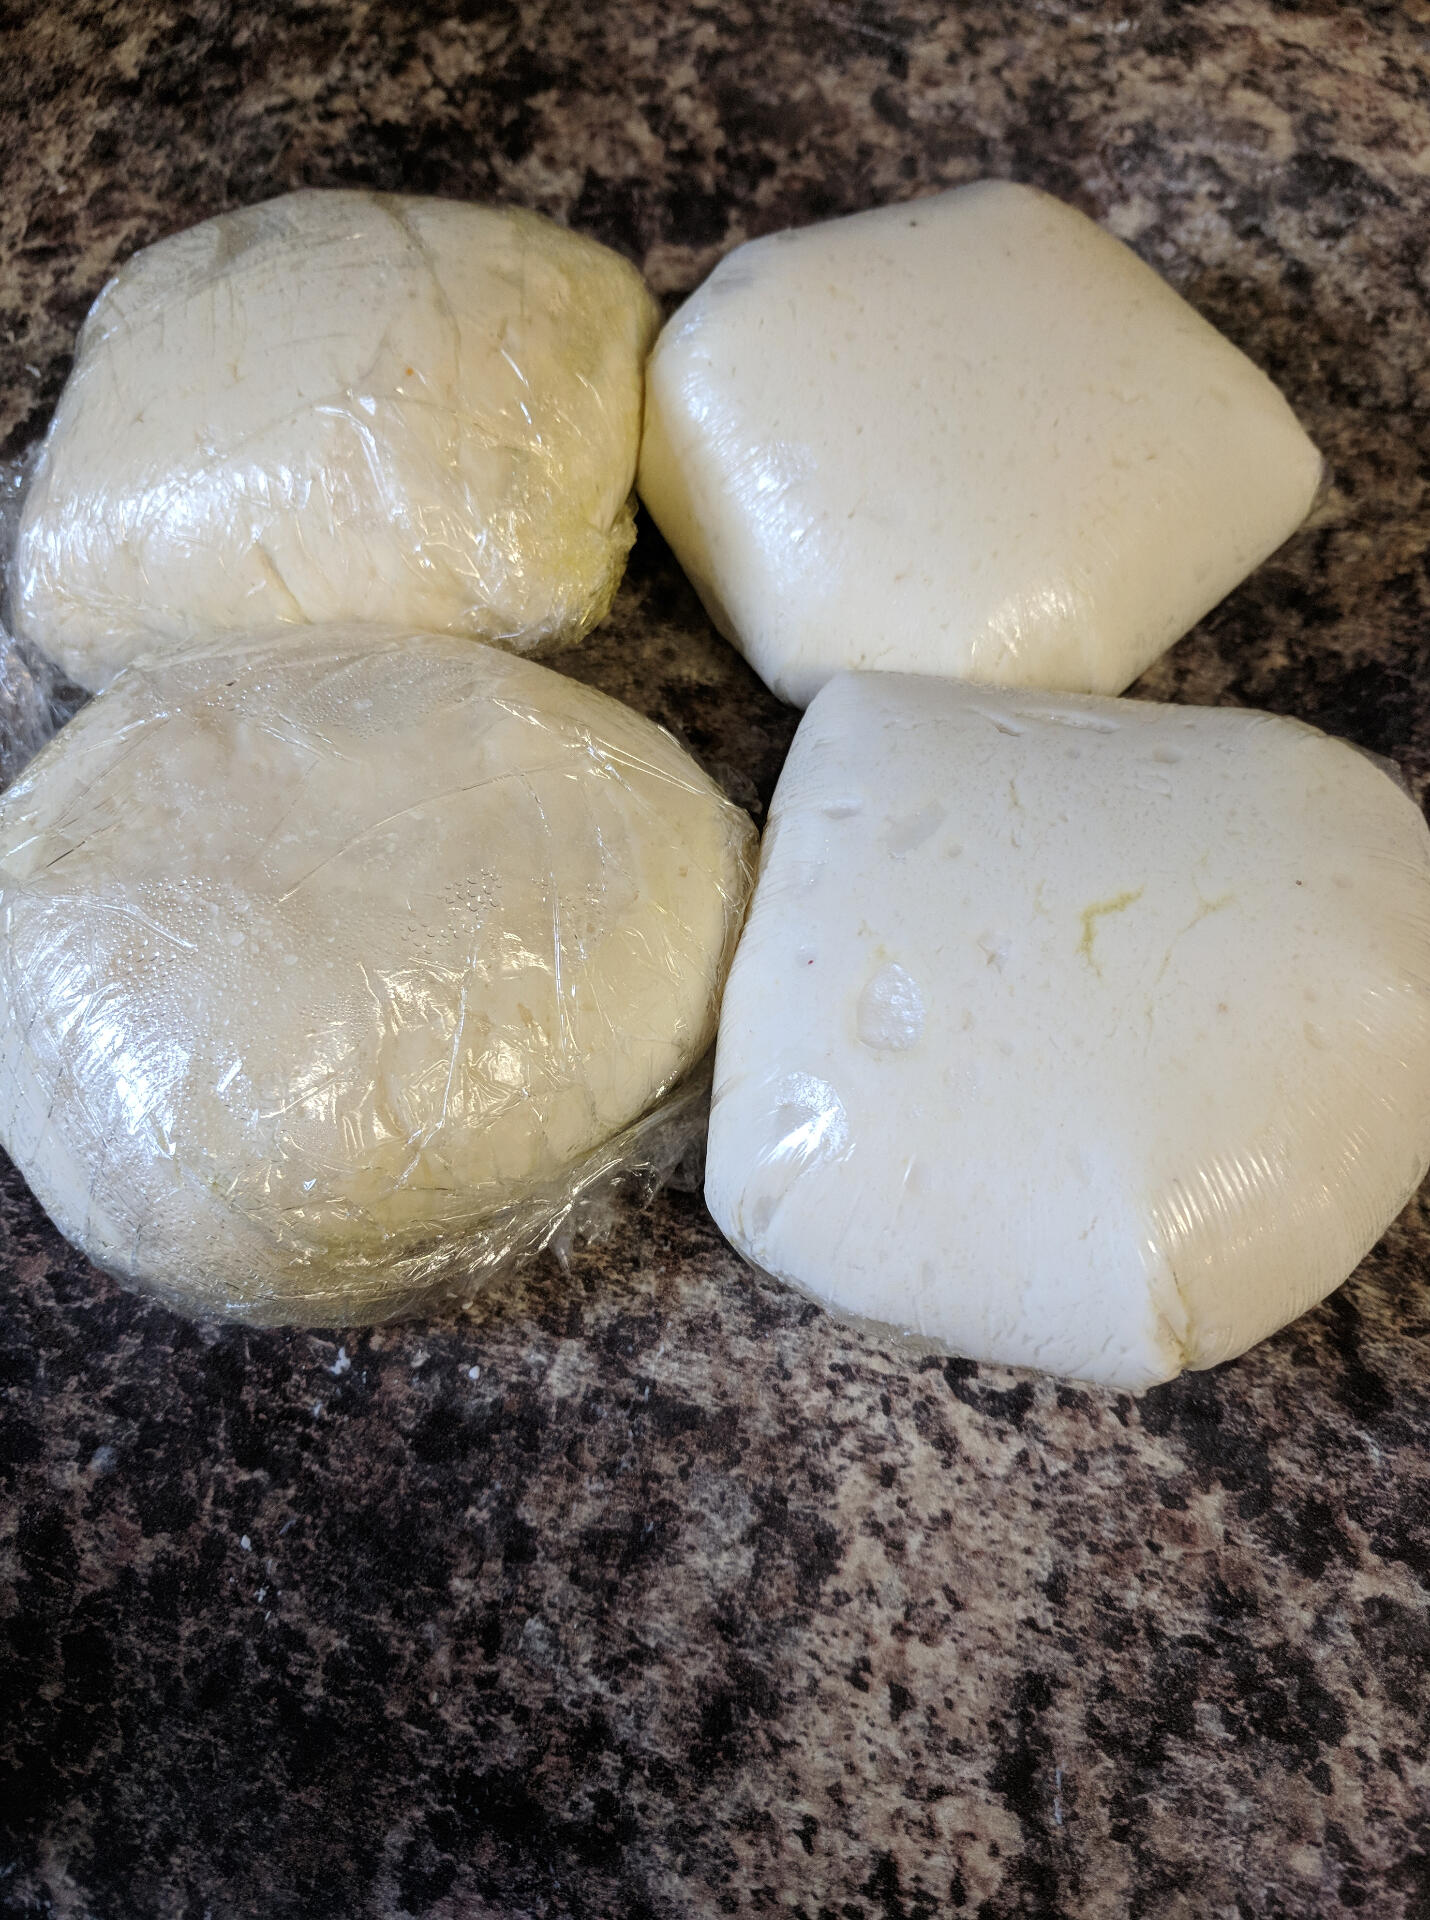
How to freeze dough
Make your dough as normal, we recommend you try the MozzaFella recipe.Place the balls on some grease proof paper on top of a tray, and cover loosely with clingfilm, alternatively place into a suitable storage container.once the balls are frozen solid, you can store them in freezer food bags.
If you used this tip, send me a photo on Facebook or Instagram
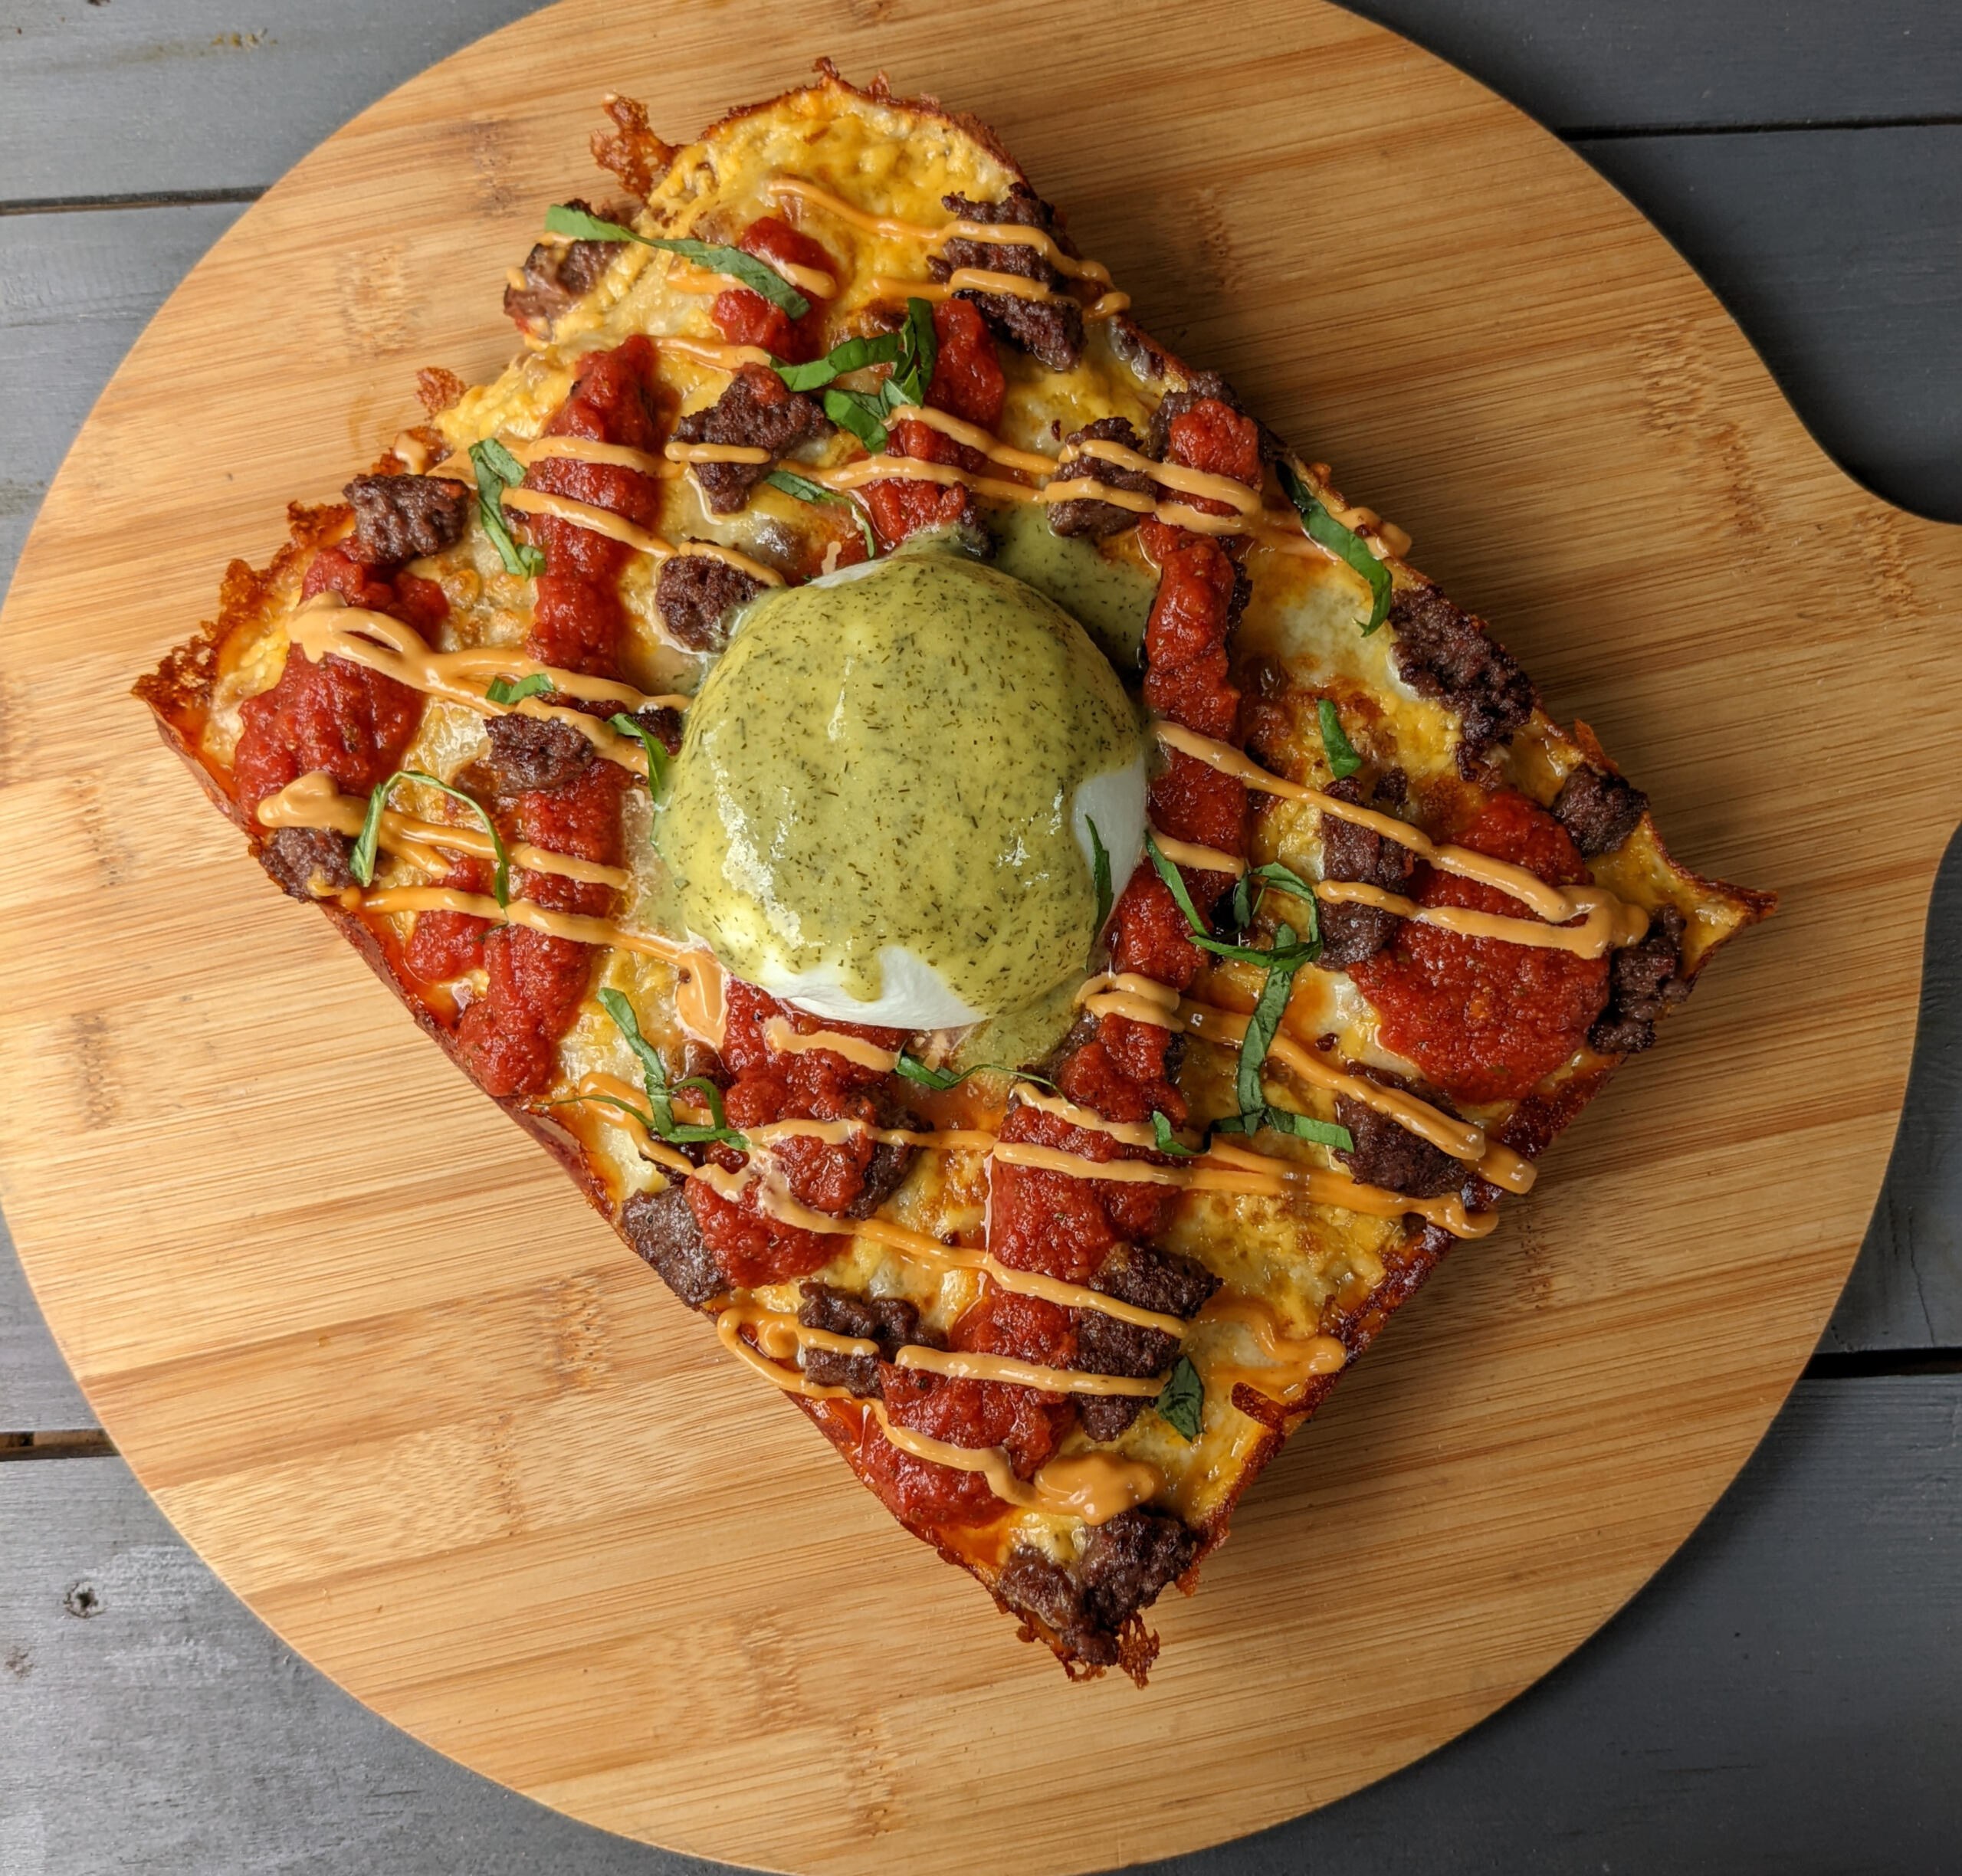
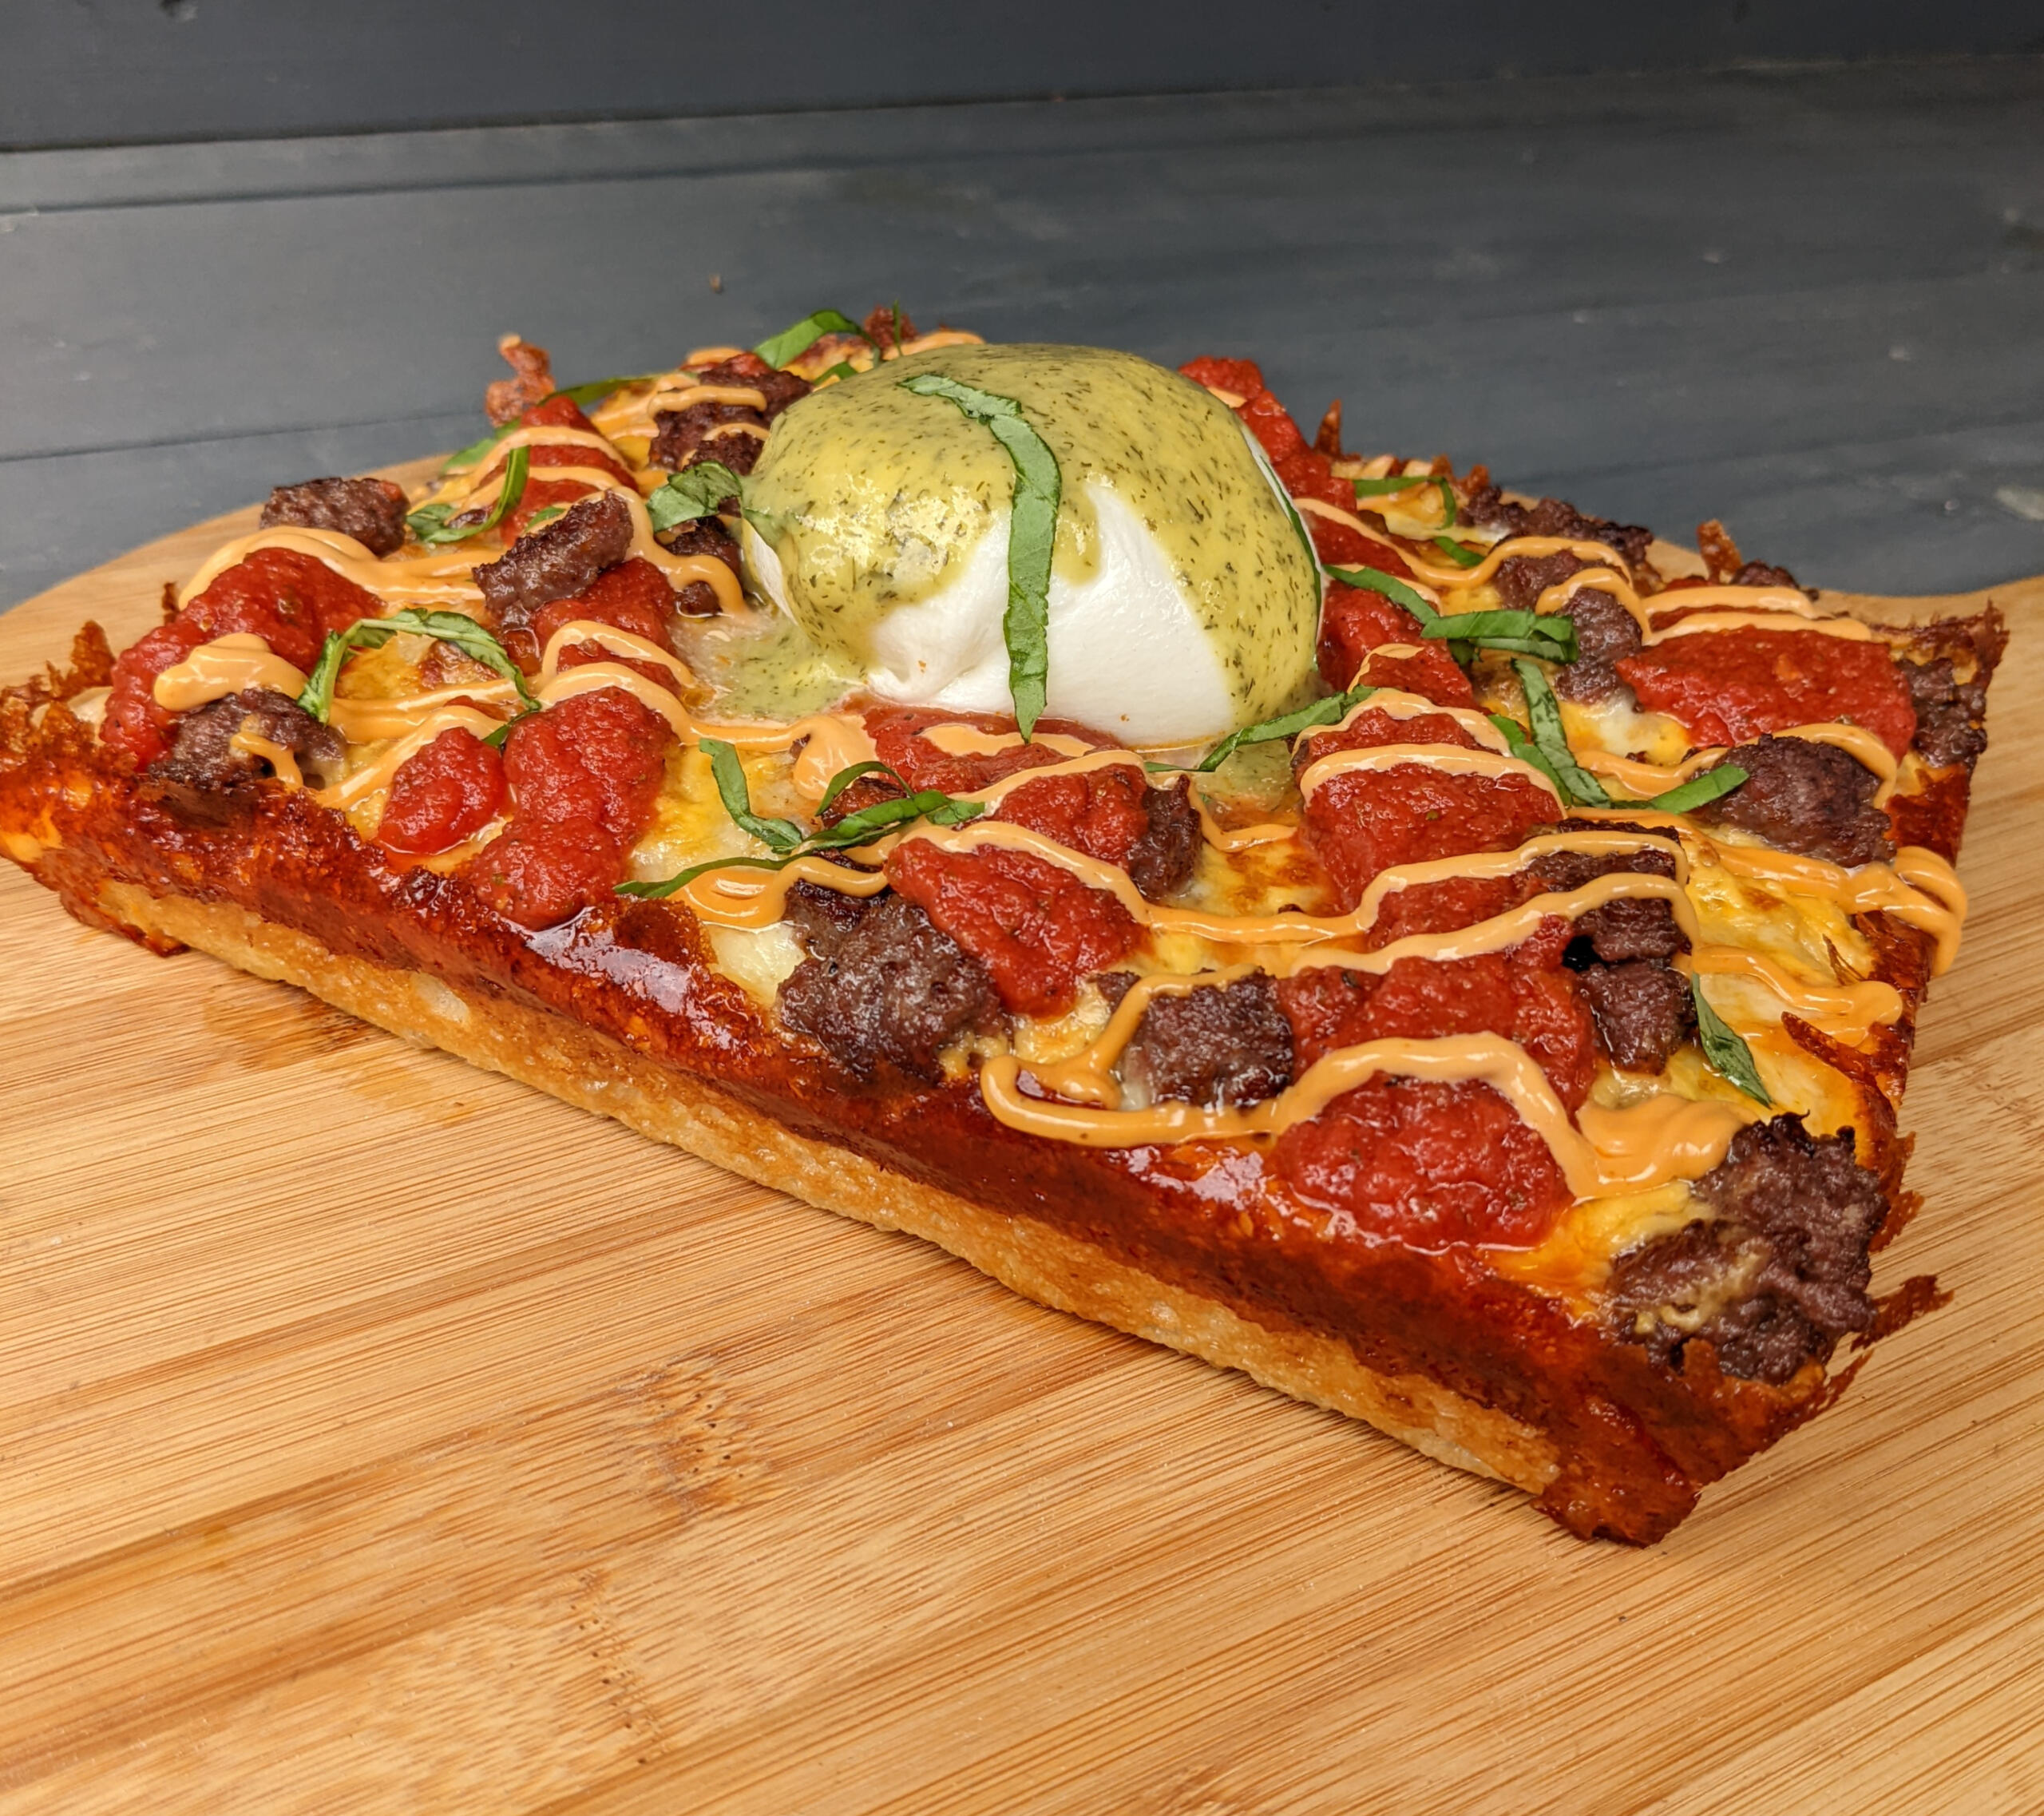
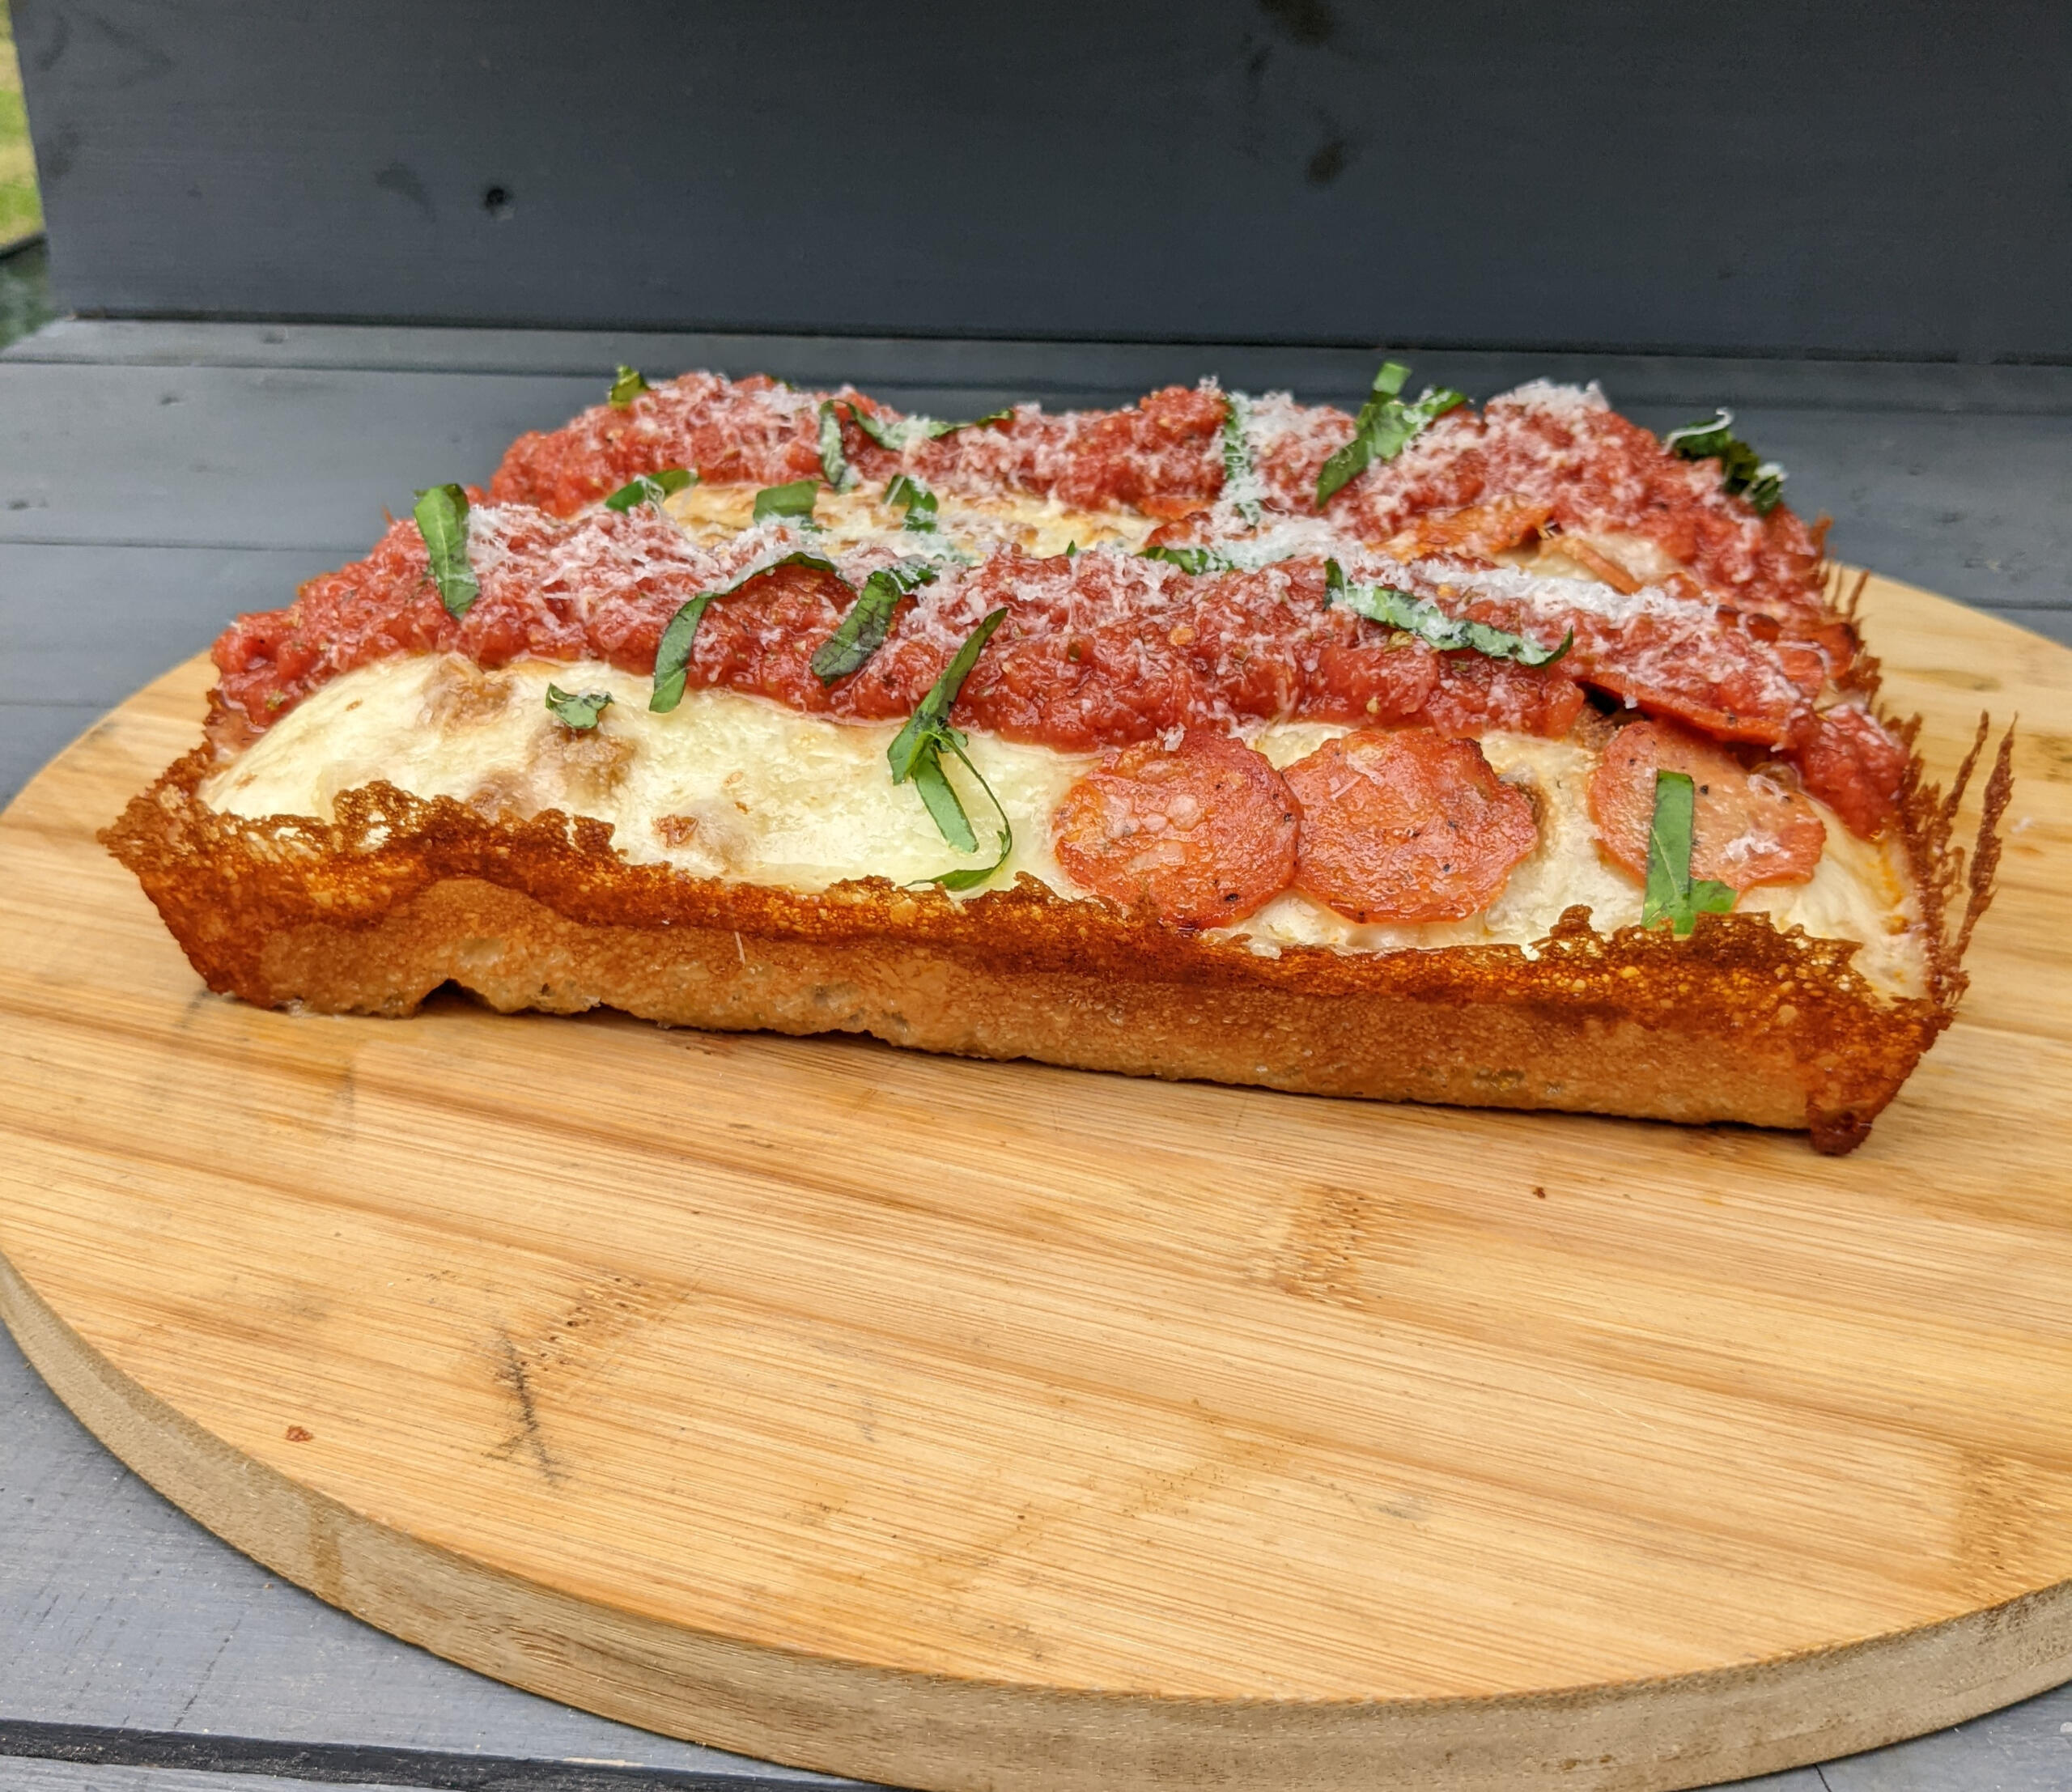
MozzaFella Detroit Dough
Detroit Style pizza is a pan pizza originating from Detroit Michigan. Although a relatively new style of pizza, its roots go back to Sicilian style pan pizzas. The pizza itself can be traced back to one man, Gus Guerra, who in 1946 decided he needed something new on the menu for his bar. His wife, Anna, used her mother’s Sicilian dough recipe in some cast iron pans that Gus got from a friend who worked at a car factory and thus the Detroit pizza was born.

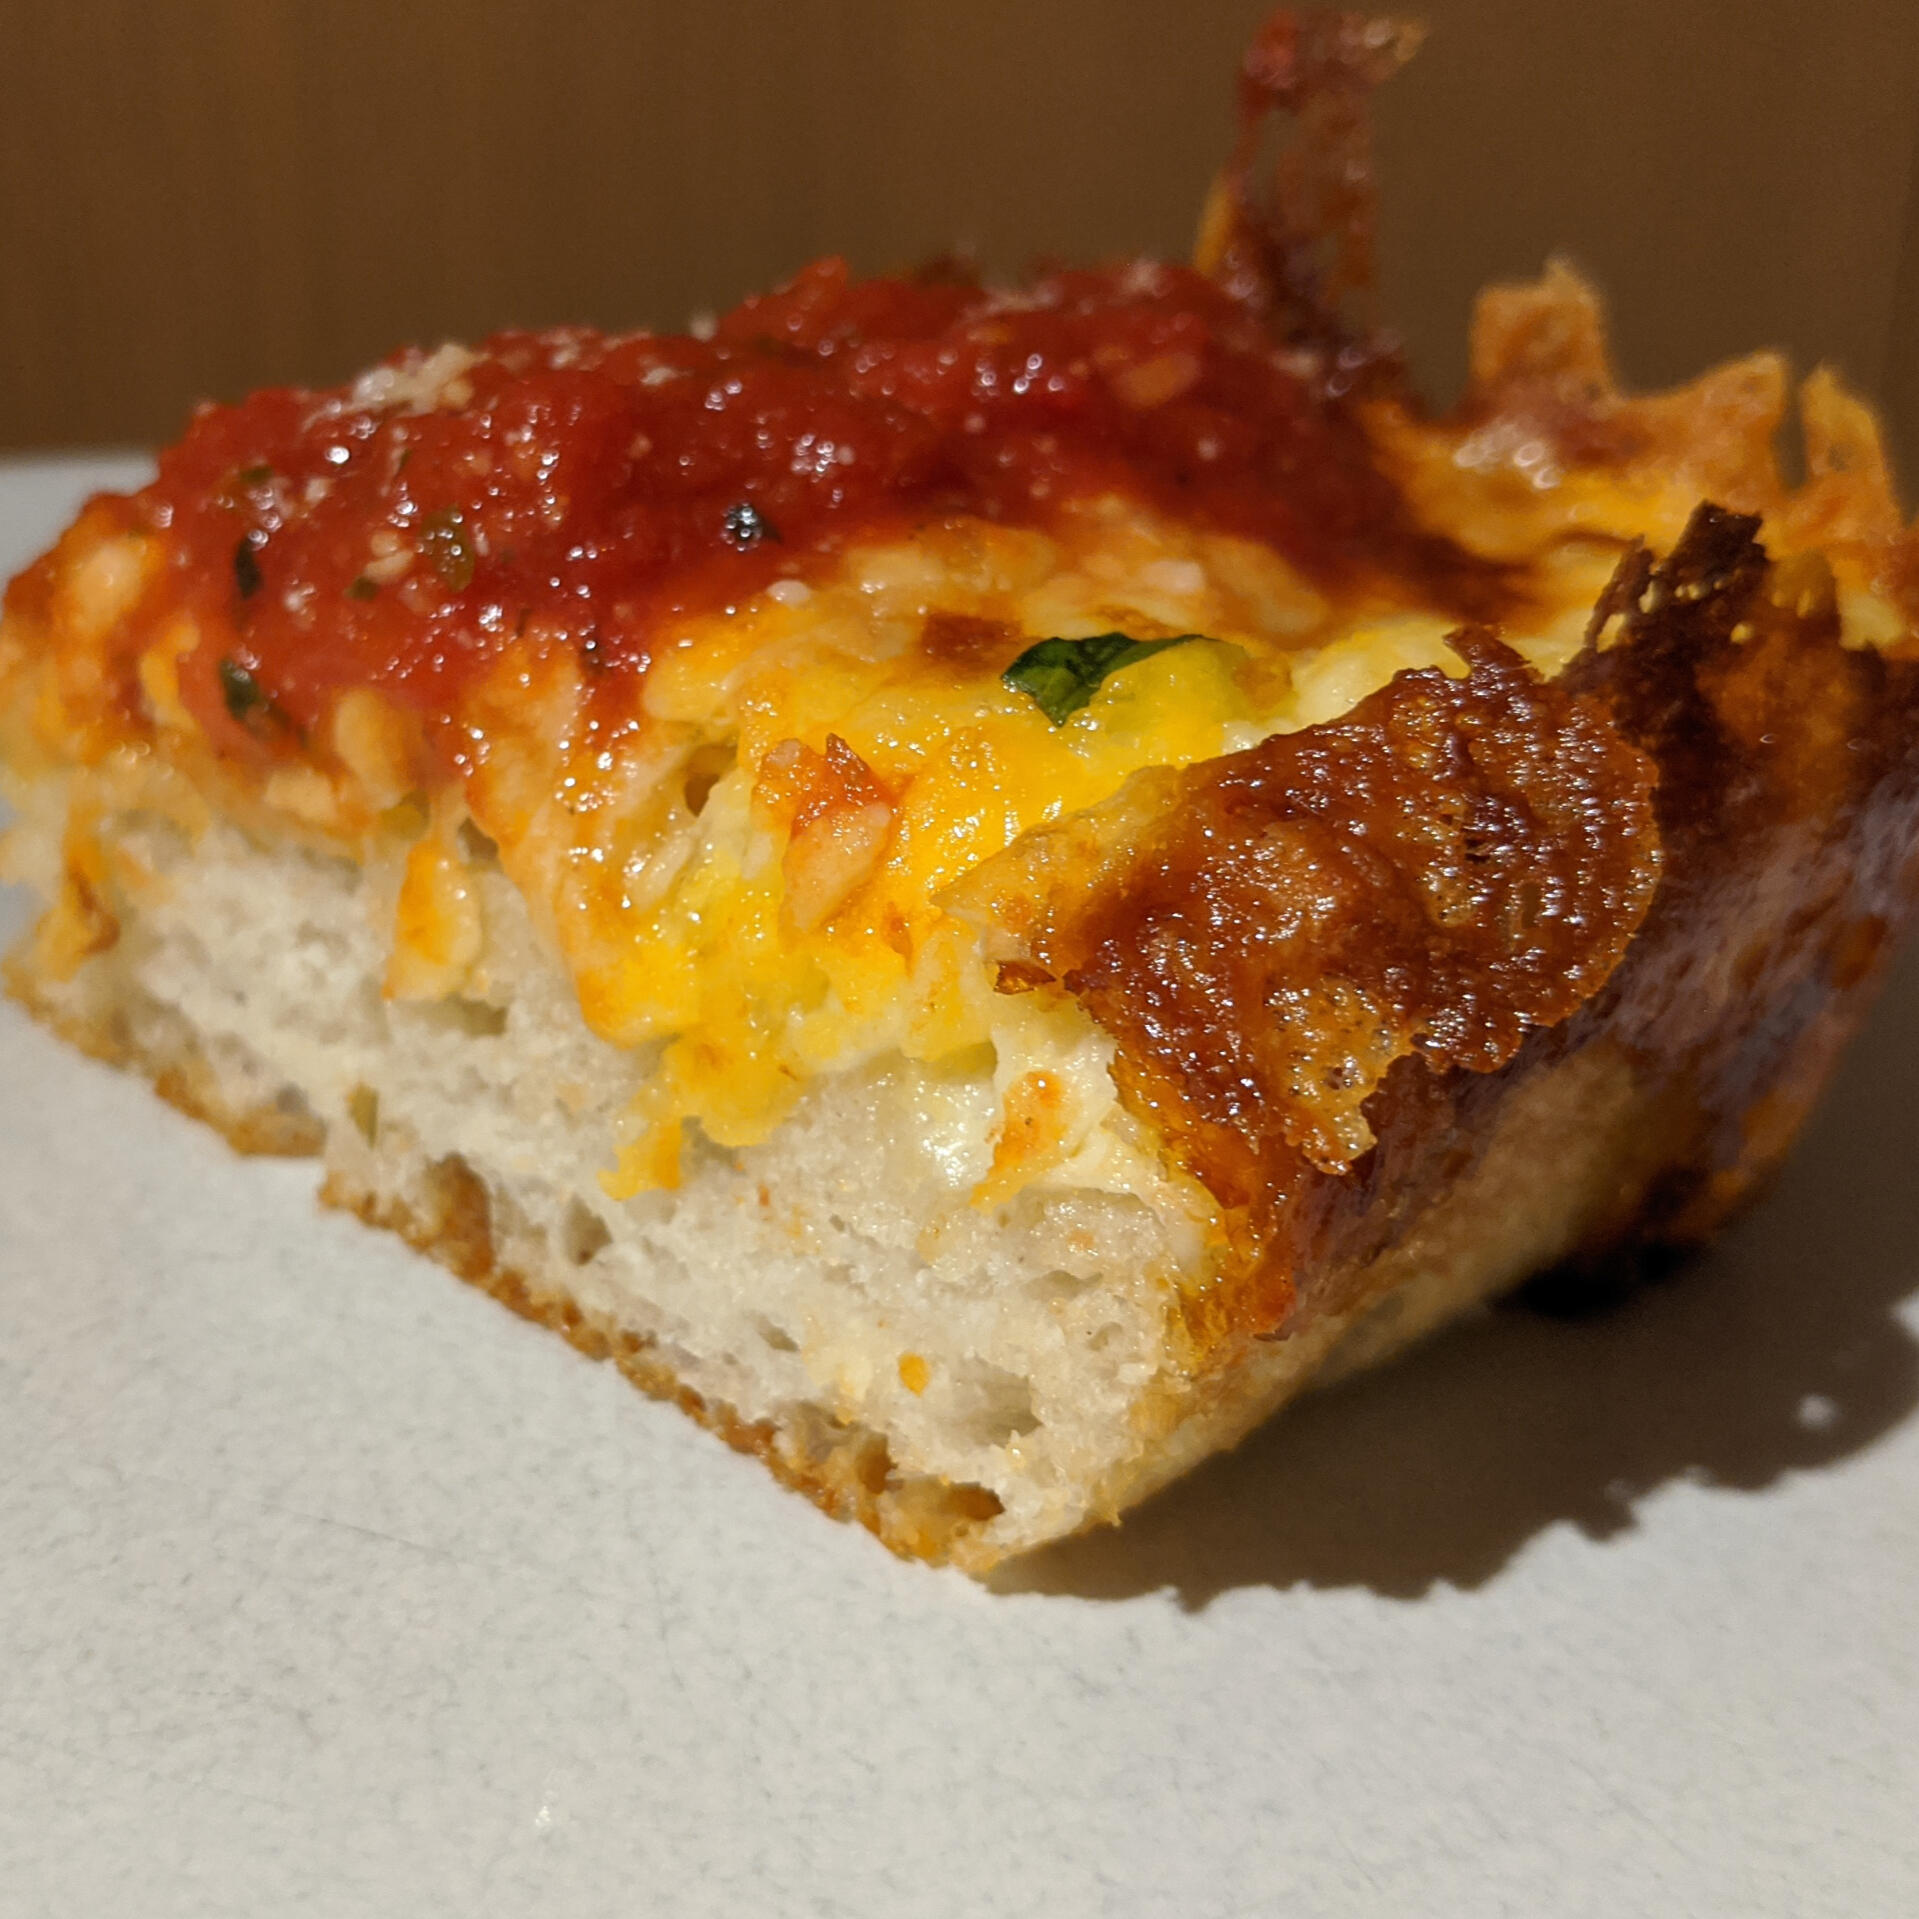
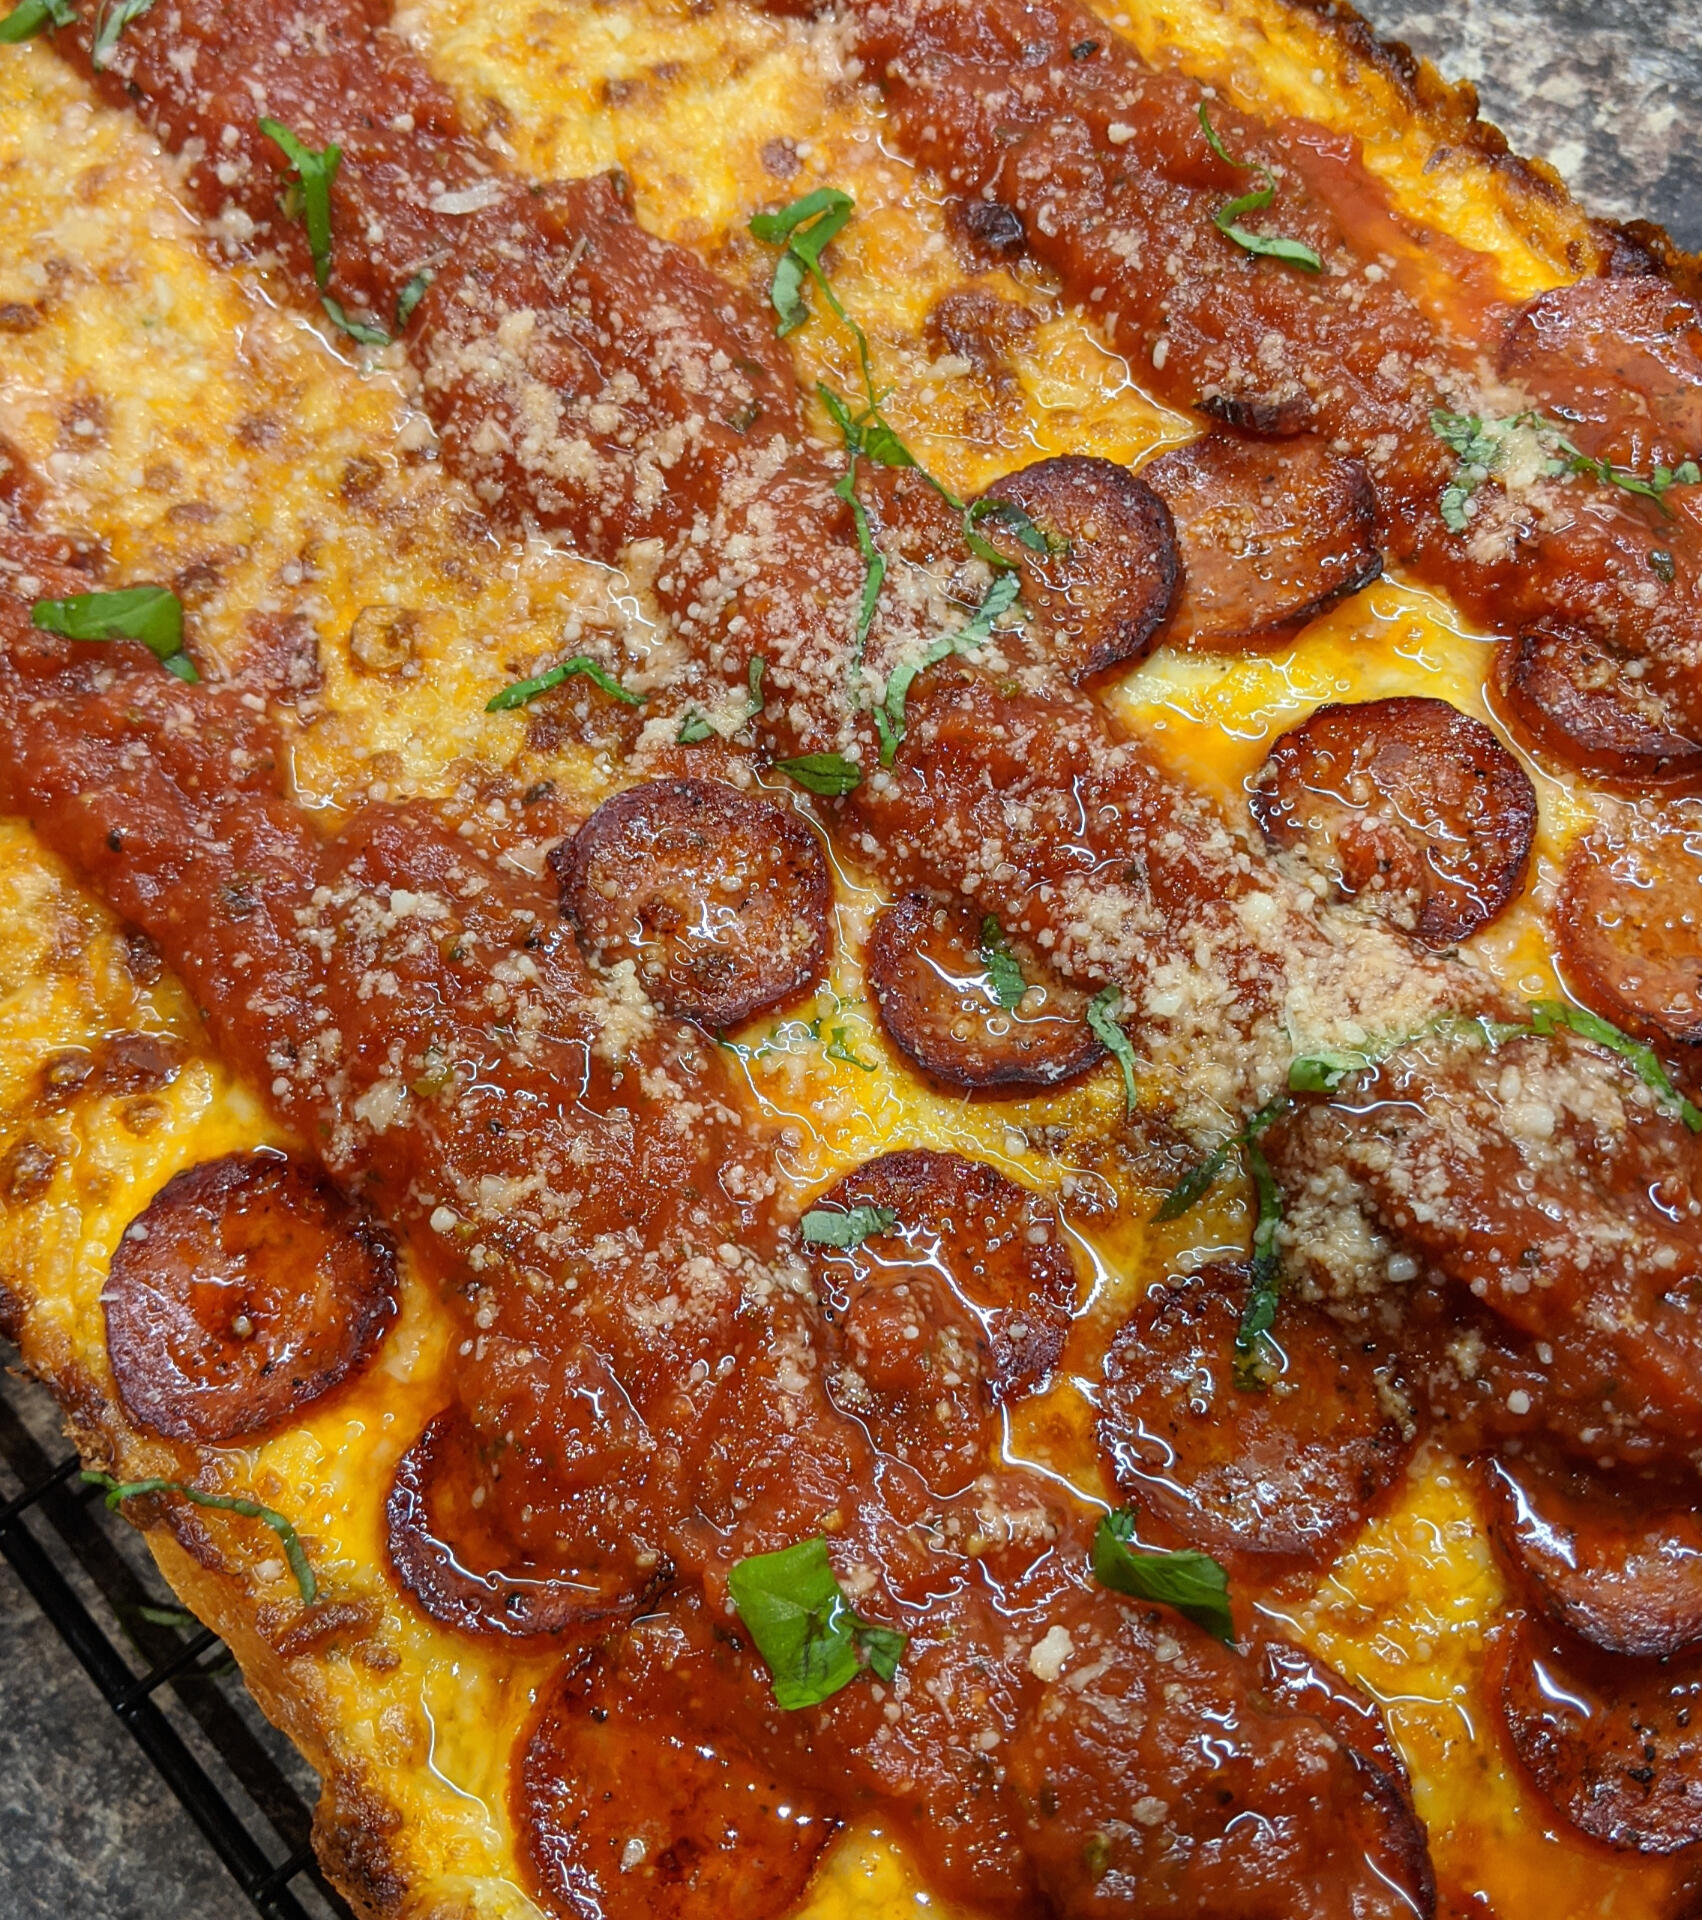
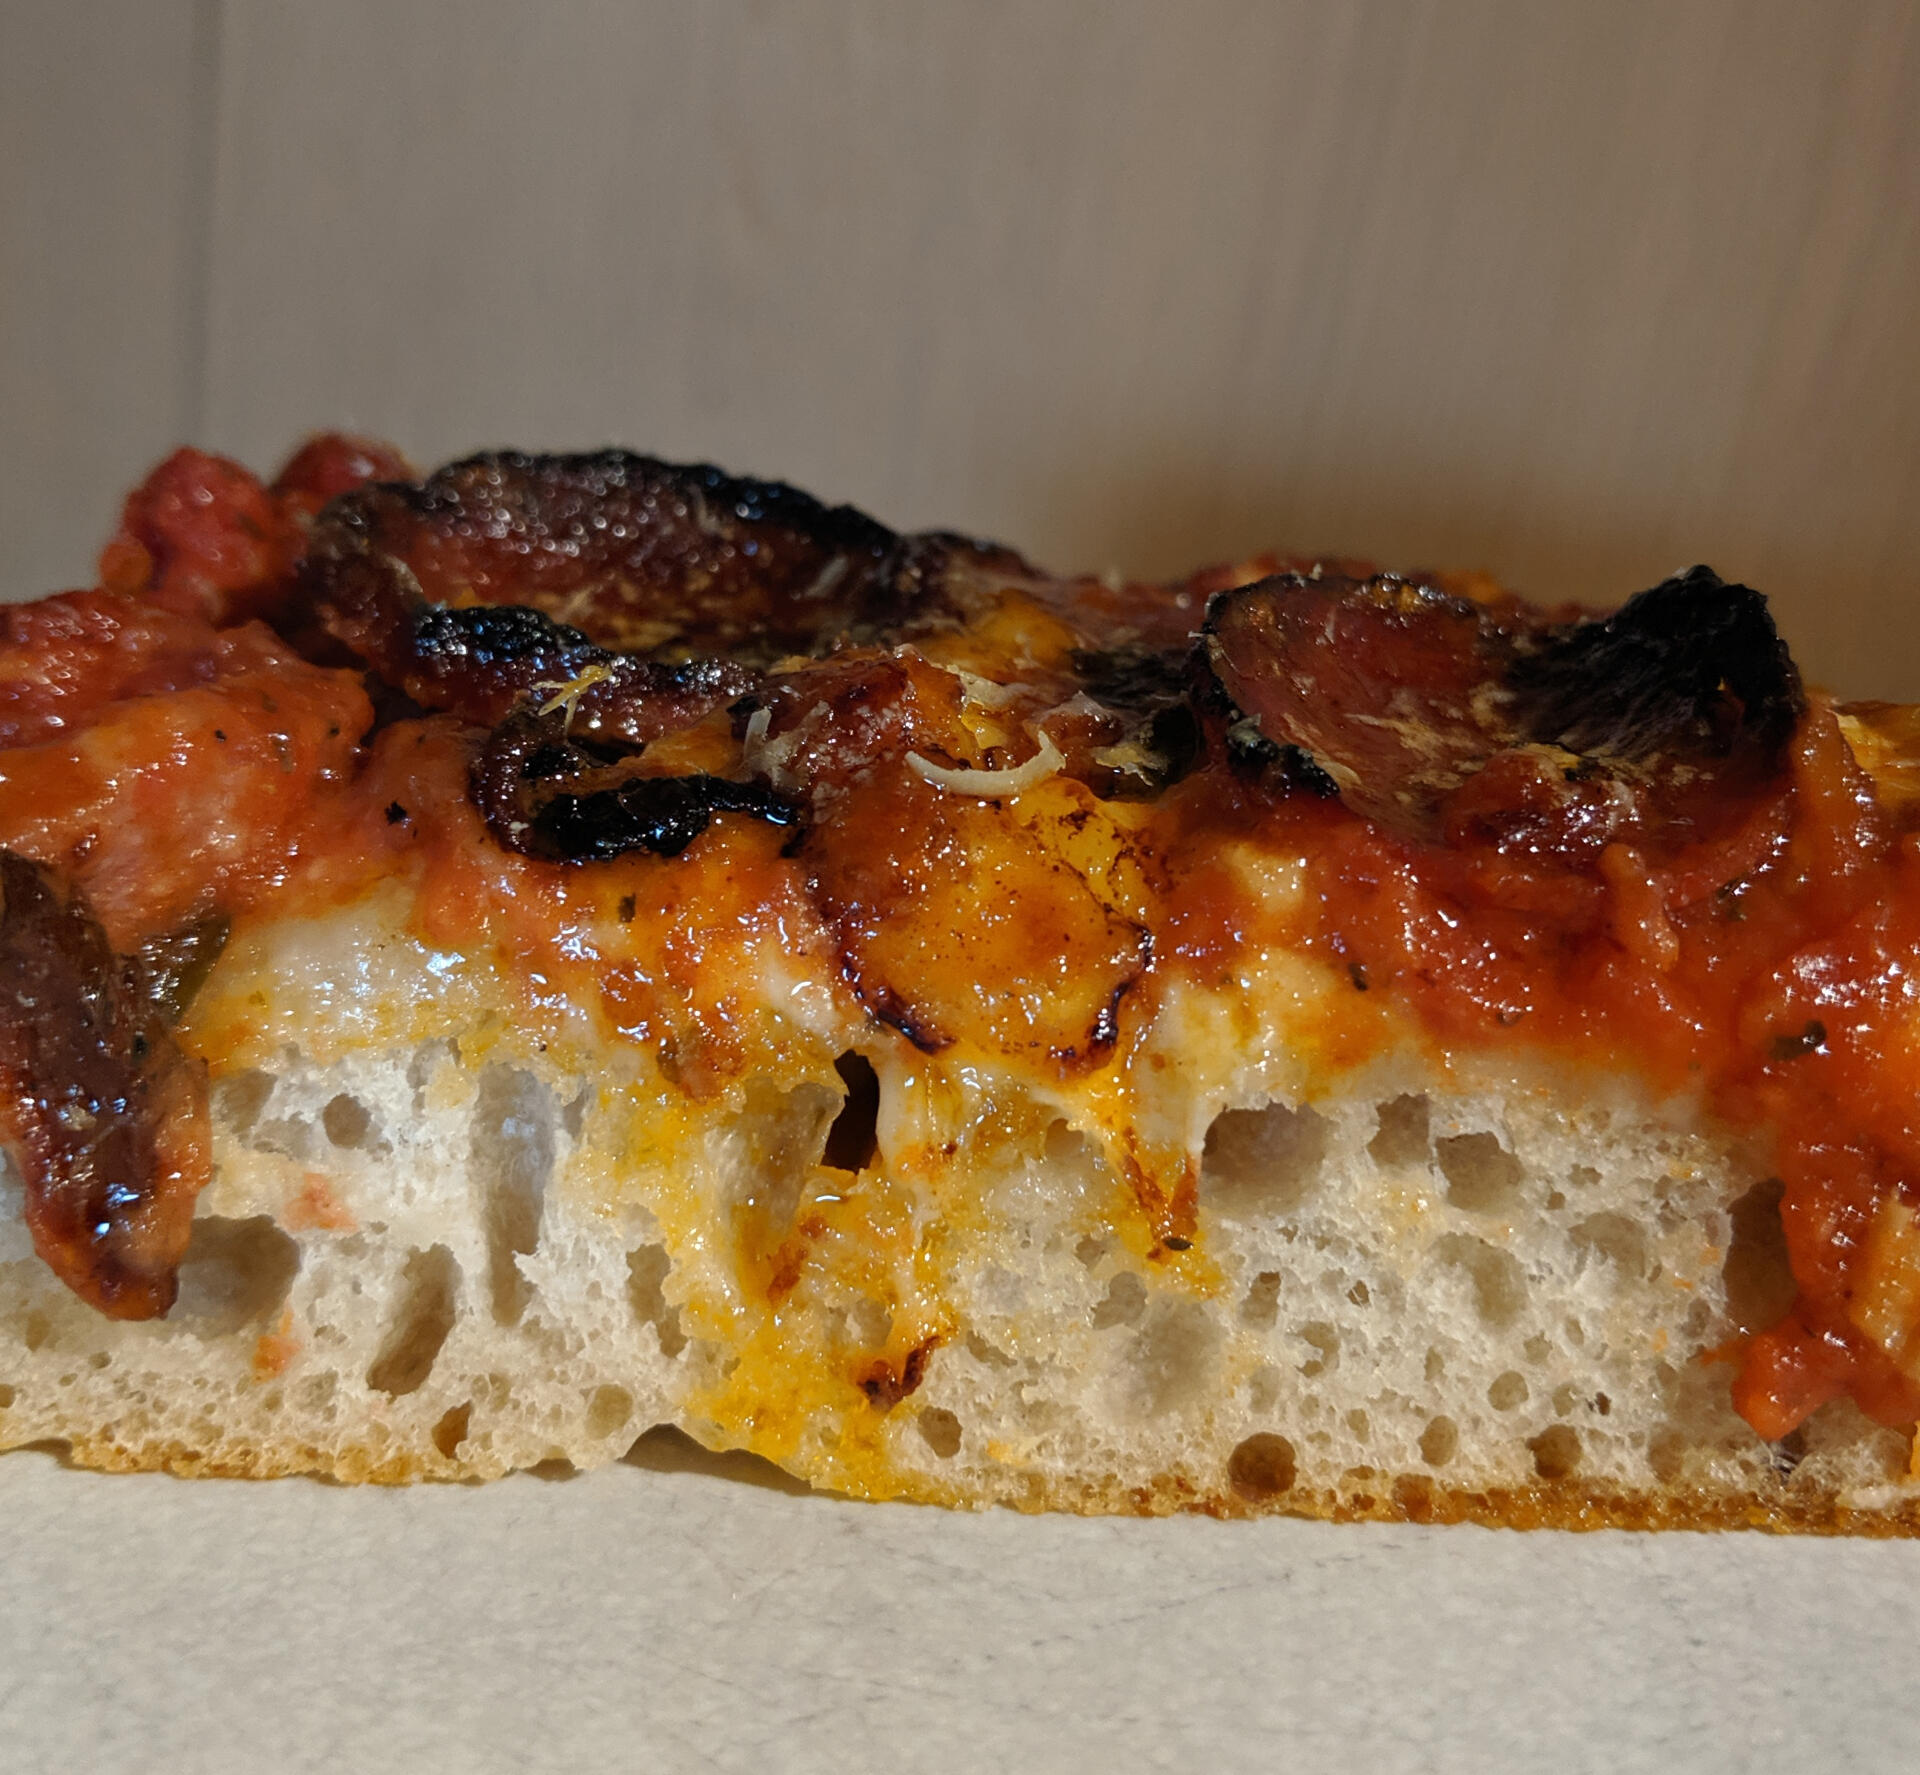
This style of pizza is very unique and is characterised by a crispy, crunchy cheese exterior but a soft, airy interior topped with cheese, sauce, and often pepperoni. It’s a very versatile style and one you certainly can go wild with.
The dough itself, is generally of a higher hydration, in the region of 68-72%, and requires a stronger flour with a higher absorbency. It is however possible to use dough with a hydration in the mid 60’s, which is something I have done quite often when using up left over Neapolitan dough. For the purpose of this recipe I’ve gone with 68% hydration and a 24h proof, as you become more comfortable with higher hydration dough, you can increase this further, also as above you can try this out with surplus Neapolitan dough.

Like my Neapolitan dough, I find a long room temperature proof is ideal for Detroit, ensuring the dough is nice and digestible as well as well aerated. In order to make this style of pizza you need a Detroit pan rated for high temperatures, for this recipe I am using a 10” x 14” Lloyds pan.
This recipe can be cooked in a pizza oven or a domestic grill oven with a pizza stone.Topping wise, the most common are red top, which is a cheese base with sauce on top, and pepperoni.
In terms of cheese, Detroit pizza uses Brick, which is hard to come by outside of America, I personally use a mix of grated mild cheddar, red cheddar and low moisture mozzarella.
SauceIngredients
1 can good quality plum tomatoes
2 tsp olive oil
1 tsp dried garlic
1 tsp oregano
A pinch of salt and black pepper.
Method
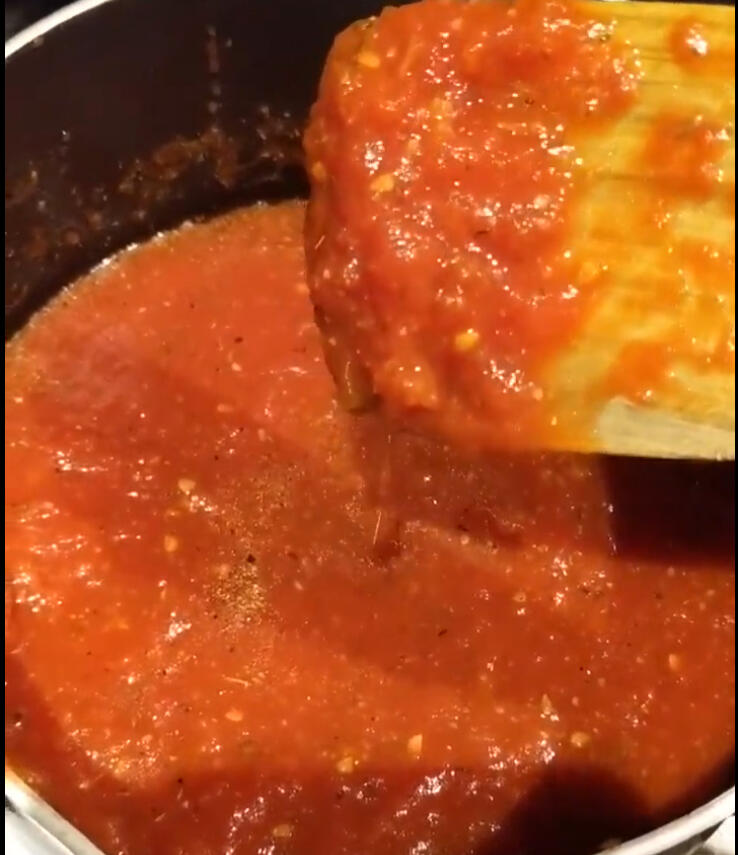
Hand crush (or use a food mill or ricer) your tomatoes into a pan, add the oil, garlic, salt and pepper, place the oregano in your hands and gently rub together, then sprinkle into the pan, this helps release the flavour.
Keep your pan on low, the aim here is not to cook the sauce, it’s just to warm it, if you have particularly watery tomatoes, you may need to drain the can prior to crushing. You can do this hours in advance, though over time you will lose some moisture.
DoughIngredients
Makes 1 650g Dough ball (24h proof)
380g strong flour
258g water cool tap water (68%)
11g salt (3%)
1g Instant yeast or 2 Fresh yeast
Method
Pour the flour into a large bowl (or your mixer), if using fresh yeast, crumble it into the flour, if using dried, dissolve in your water.
Pour around 90% of the water into the flour and combine (or mix in a mixer) slowly add the remaining 10%, when the dough is coming together, add the salt. Adding this last allows the dough to take on a greater level of liquid.
Knead the dough on a work top for 10 minutes, rest for 10-20 and give the dough another knead for 10 minutes.
If using a mixer mix for around 10 minutes, if your mixer generates a lot of heat, you’ll need to use cooler water.
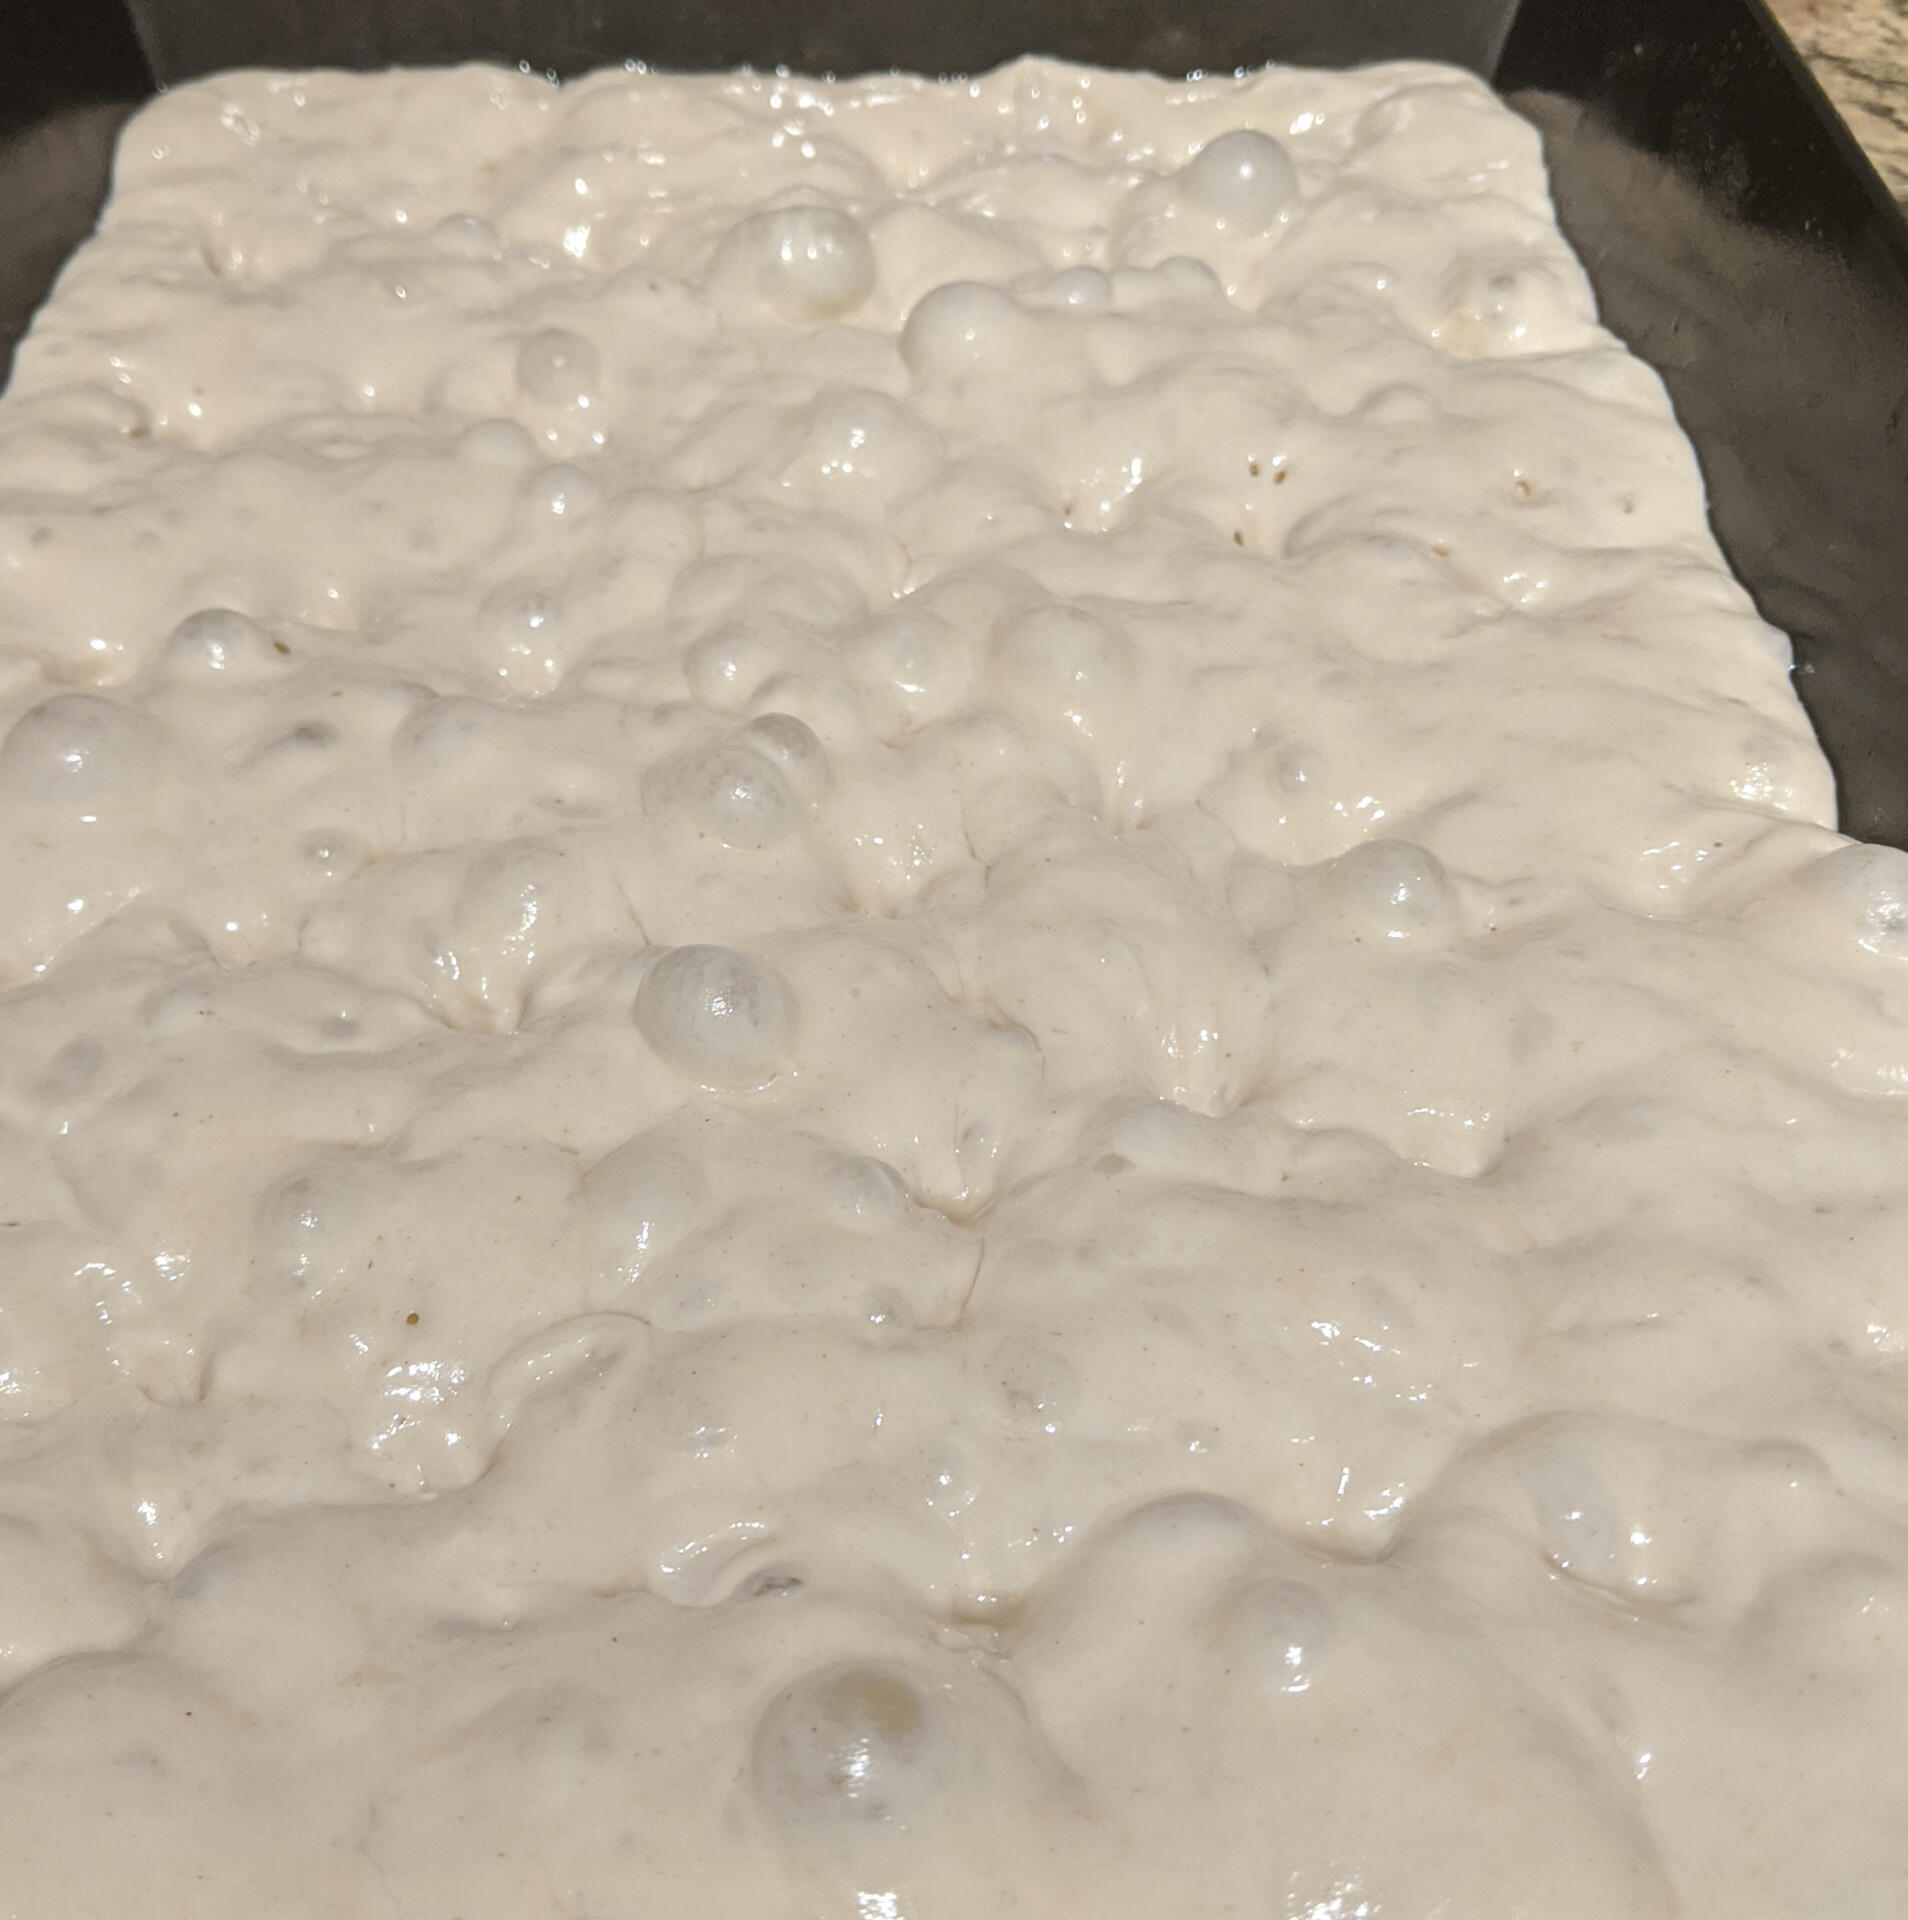
Place the dough in a lightly oiled container and leave to proof.The following day, around 4-8h before cooking, oil your Detroit pan, and place the dough in the centre of the pan.
Wet your fingers and gently press the dough down, this will cause the dough to start to fill the pan, cover, leave and repeat this process every 20-30m until the dough is at the edges of pan, you can now leave the dough until it is ready to cook, at this point it will just continue to aerate.

Cooking
If you are using a grill oven, place your pizza stone in and get it to max, my home oven gets to about 250c, but the stone inside will happily get to around 300c.
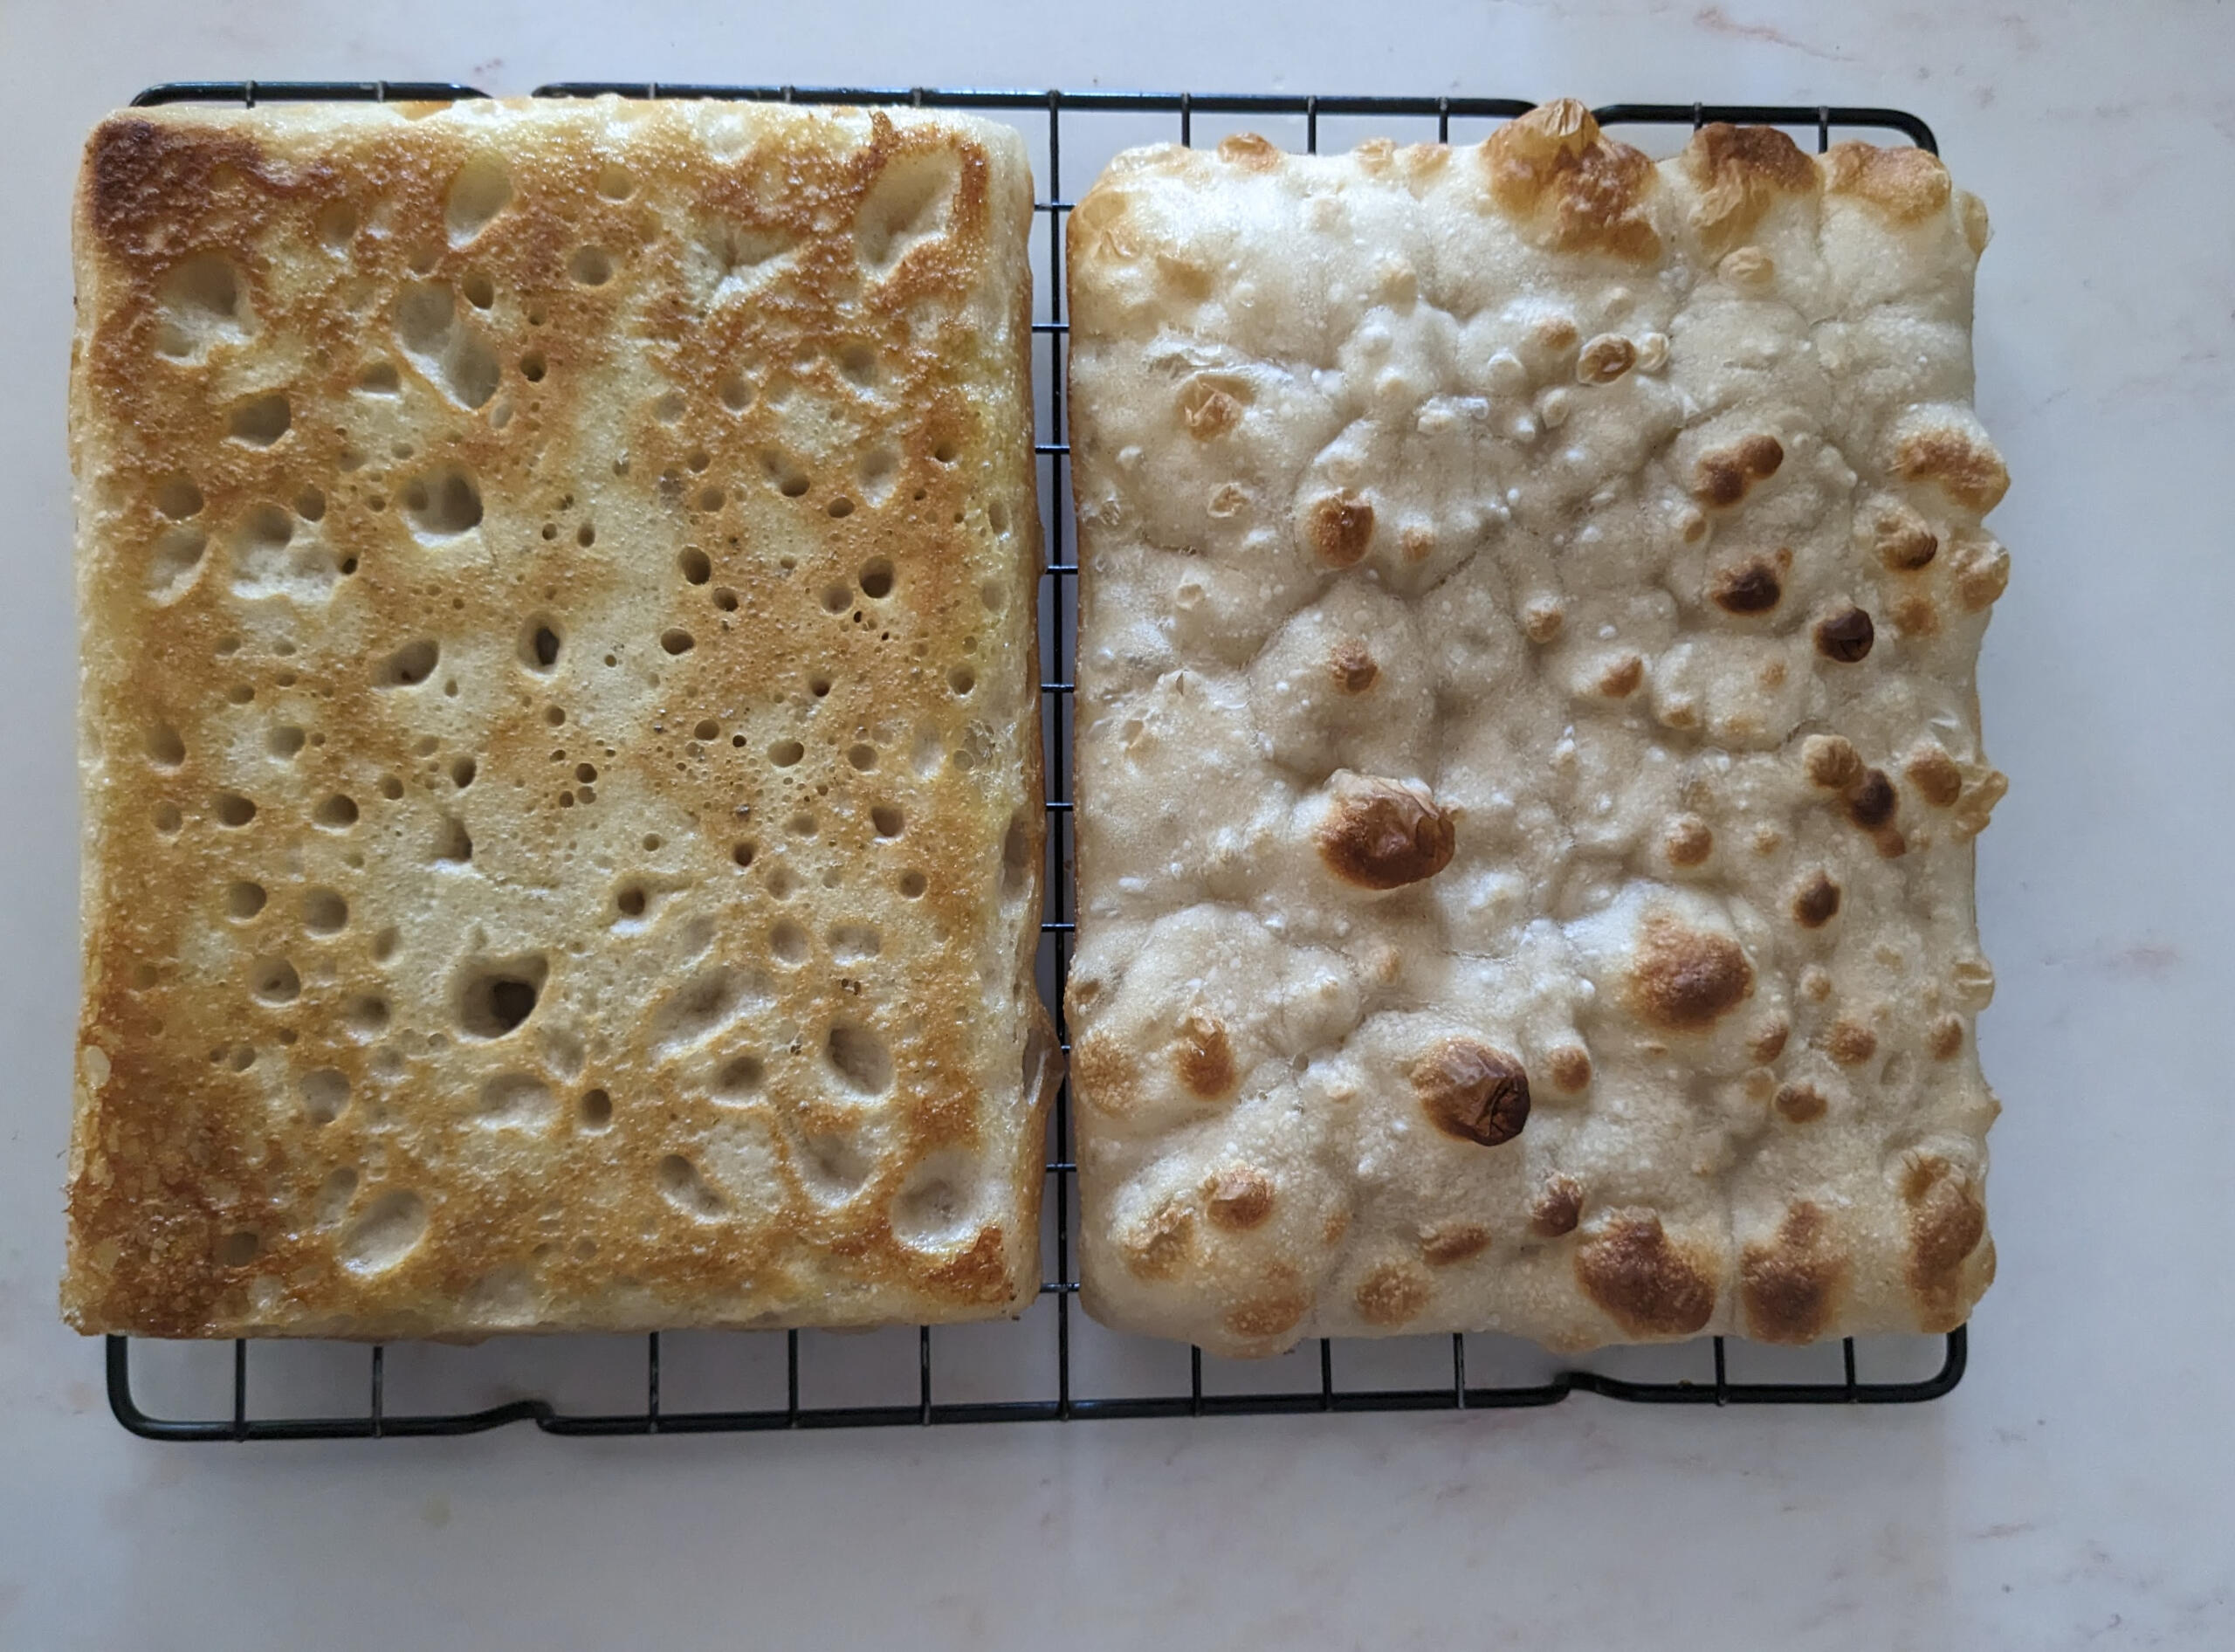
If using a pizza oven get your floor temperature to around 300c, at this point reduce the flames.Cover the pan with tinfoil, shiny side up and cook for 8 minutes, turning once half way through, carefully remove the pan, and fork the centre of the dough, to check if it’s cooked (it should be if your oven temperature is correct).

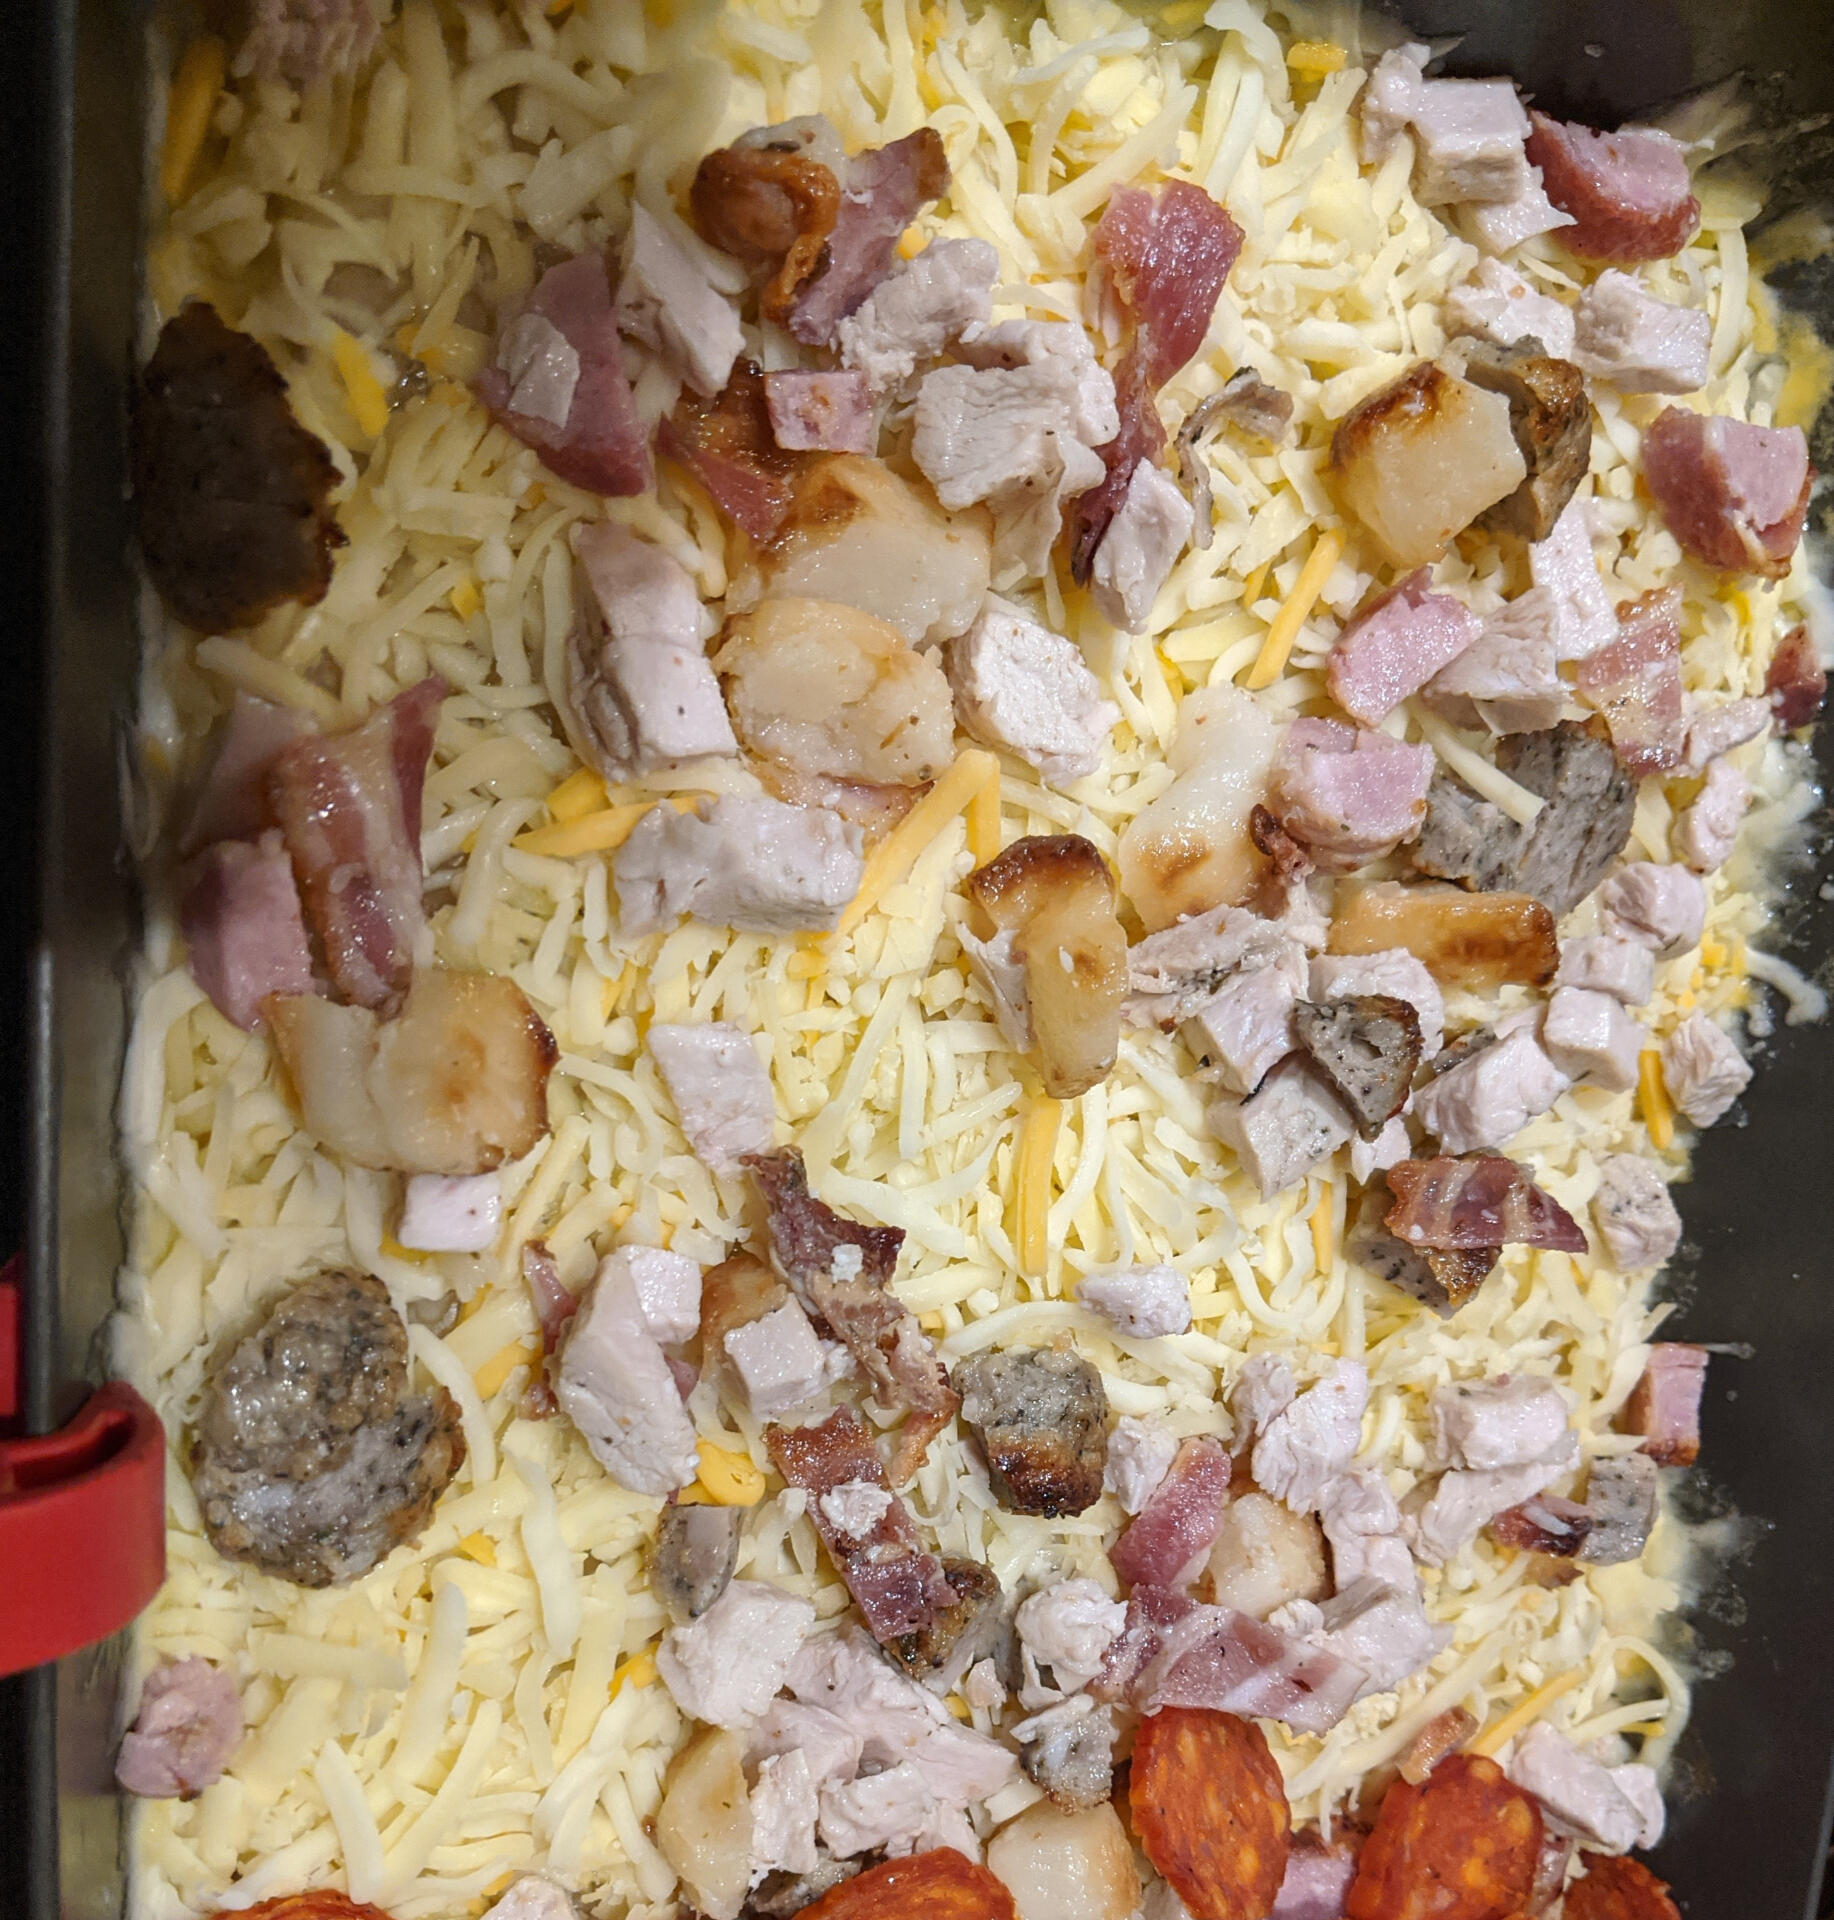
Remove the pan and starting with the edges, top with grated cheese, the heat of the pan will cause it to stick and begin caramelizing, which is where crown or frico is created, top the rest of the pizza and return to the oven until the toppings are cooked, this will depend on what you are topping with, if you’re using a pizza oven, get the flame back on low to char any toppings, if using a grill oven do the same with the top element.
Once the pizza is cooked, remove the pan carefully and place it on a heat resistant surface, using a bakers blade/metal dough scraper, slide down the pan and the cheese should separate from the edges, once you’ve done this to all four sides, use the blade and a spatula to remove the pizza, and place on a wire rack.At this point you can finish your pizza, I like to put my sauce on post cook as It retains more moisture and flavour, I then usually sprinkle diced fresh basil and grate pecorino on top.
Give the pizza a few minutes to cool, then slice into squares.

If you made this recipe, send a photo on Facebook or Instagram
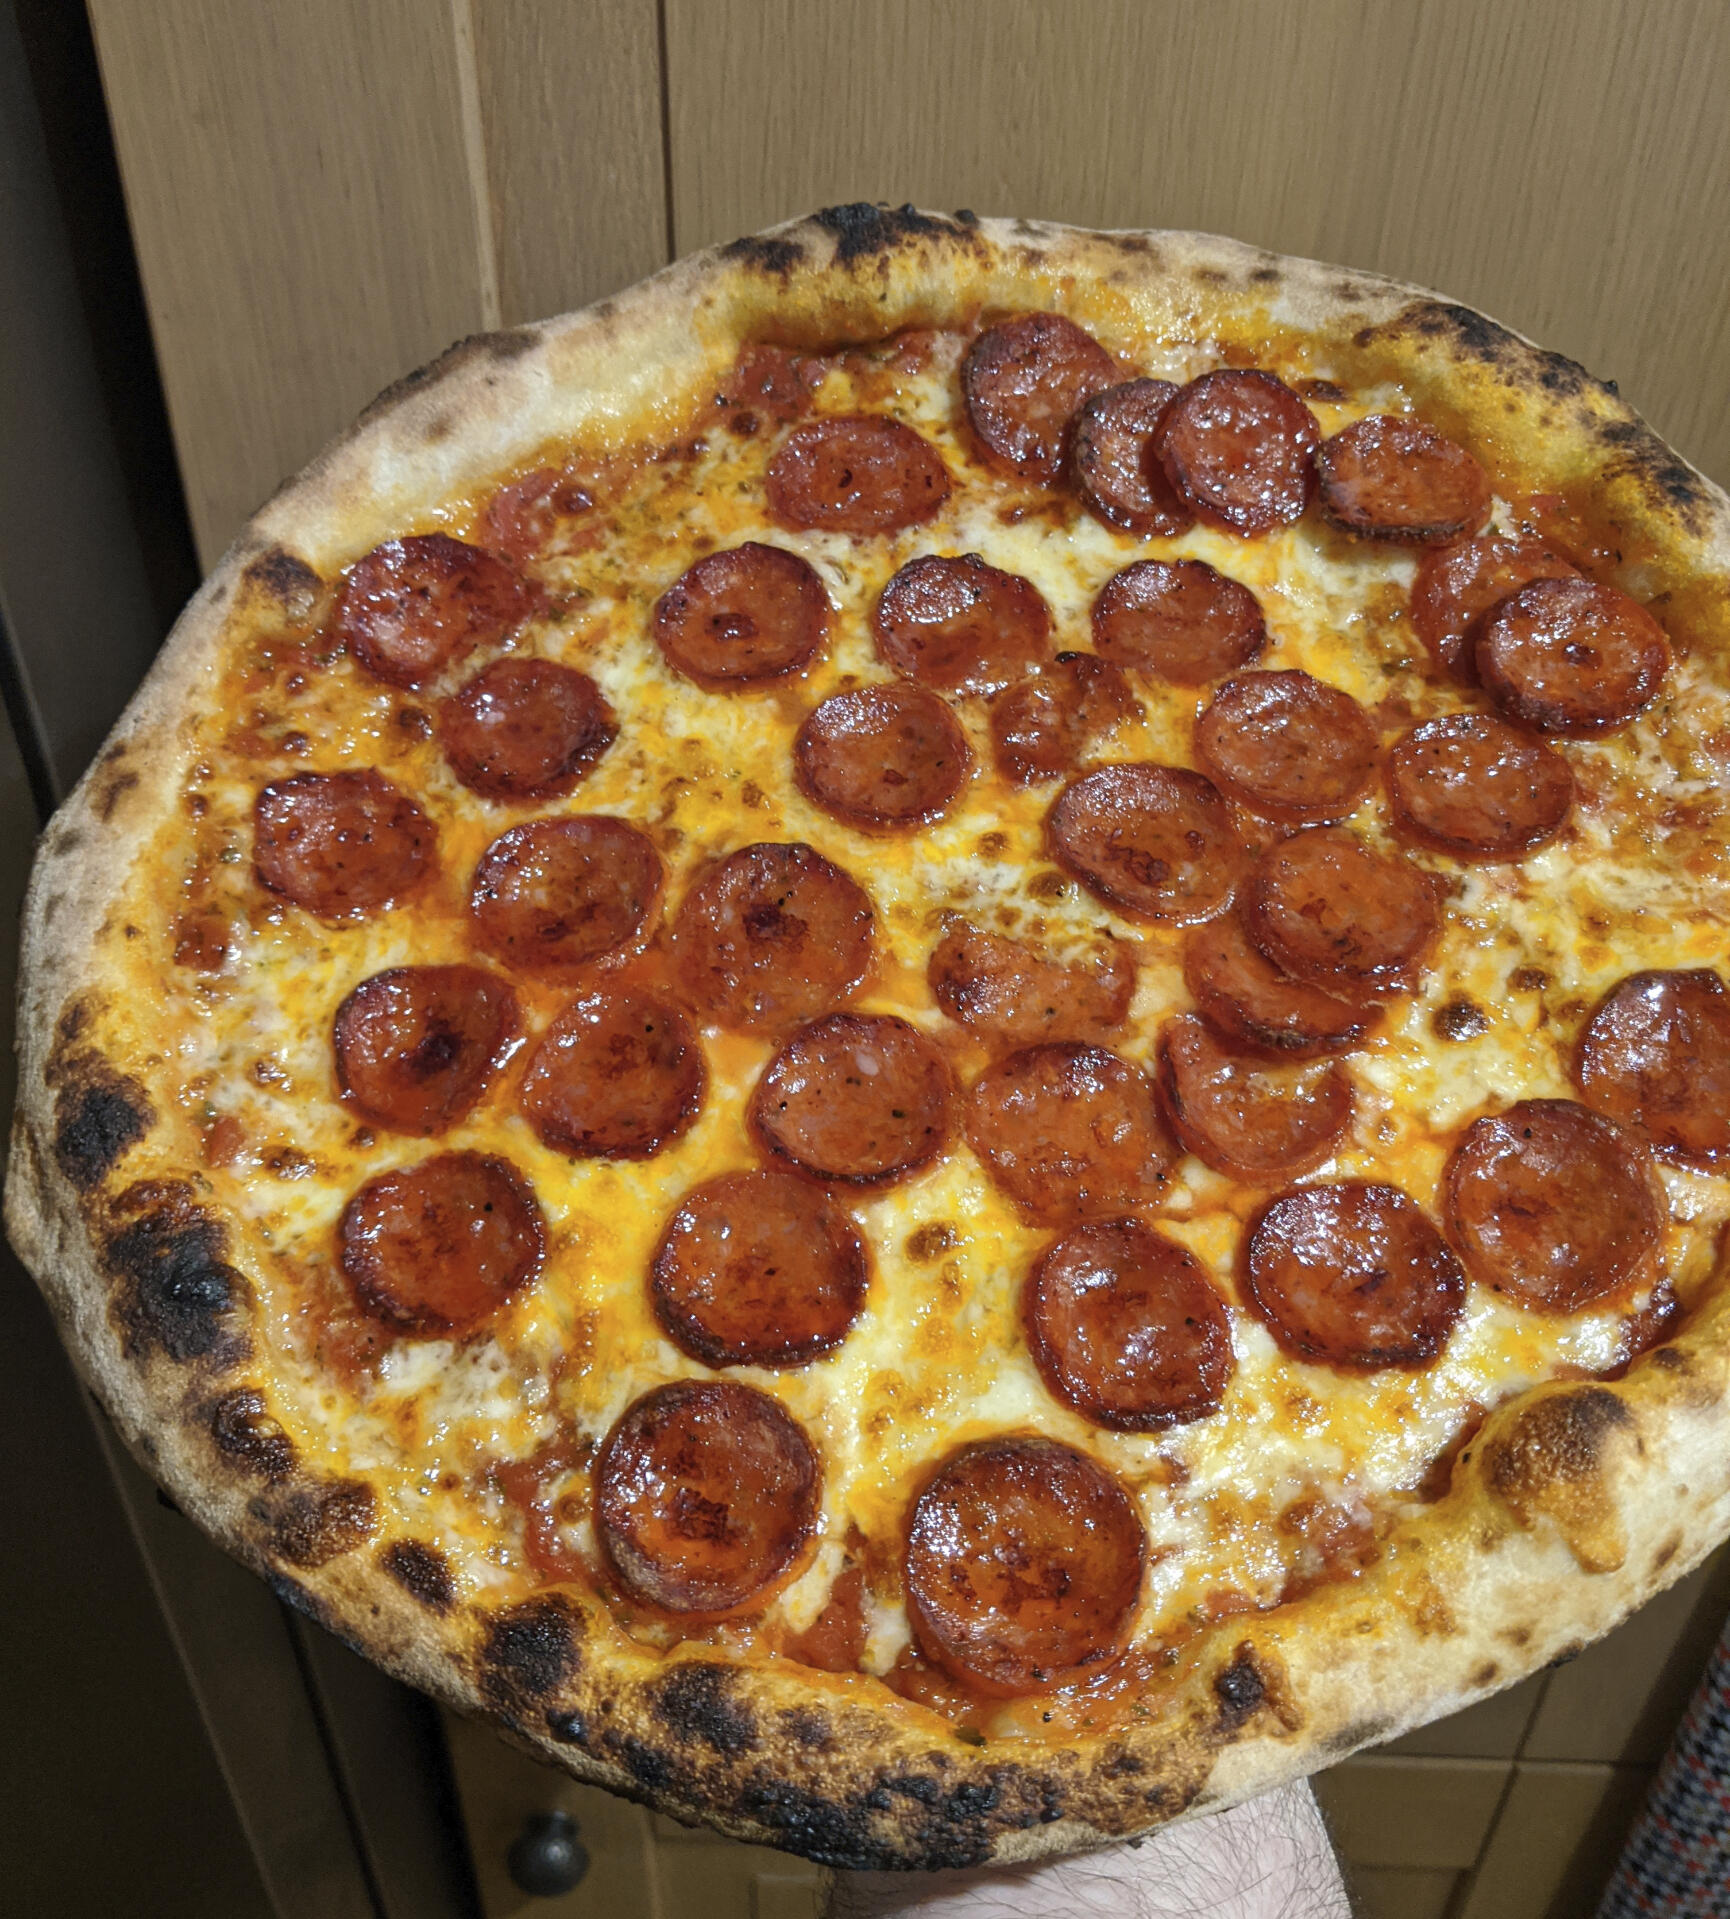
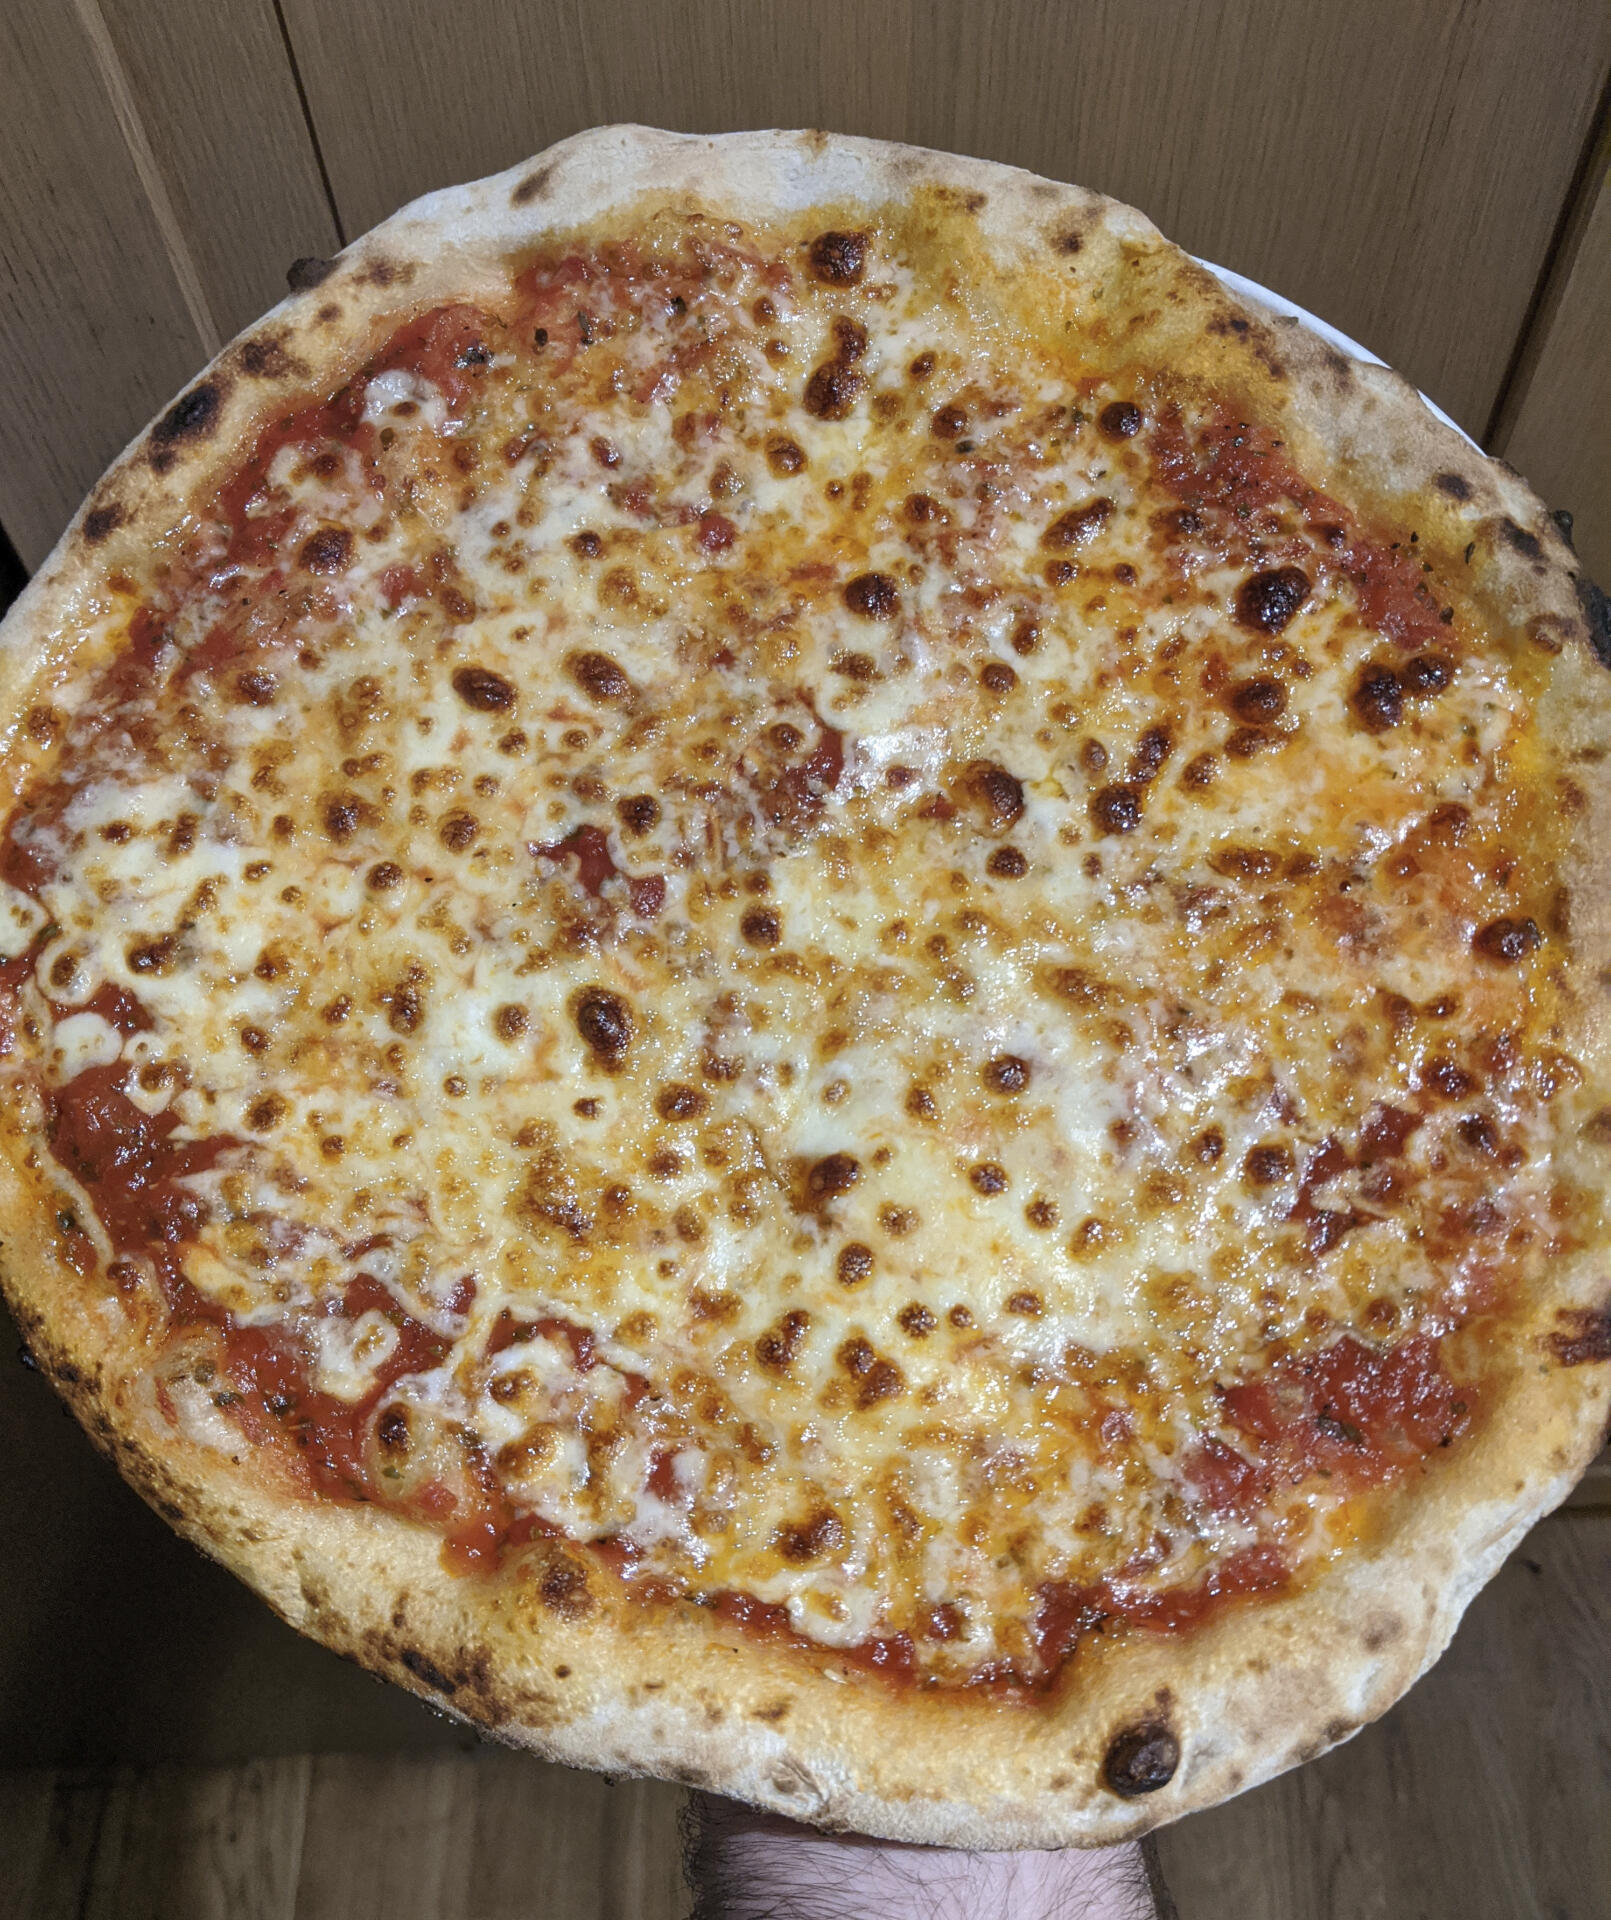
MozzaFella NY Style Dough
I've spent a long time trying to work on an NY style dough, lots, and lots of experimentation, the problem is, that there is no standard, no template like there are with other styles. Two pizzerias in NYC will have radically different doughs, one might be using direct yeasted dough with Bread flour, another may be using a preferment with a mix of wholemeal and 00. Which makes coming up with a recipe a very difficult task, especially for someone in Yorkshire not in New York!Based on the research I've done, I believe that NY style pizza draws its origins from Italian thin crust, a dough made with a blend of flours, and a small percentage of oil, cooked at lower temperatures than Neapolitan for longer. The difference however is that NY dough uses primarily bread flour, and for the most part pizzerias appear to make use of cold proofing.Cold proofing for those who aren't familiar, is the act of refrigerating dough in order to retard the yeast development, this in turn causes other enzymes within the yeast to develop more flavour in the dough.
It's also a good method of preserving dough, meaning pizzerias can make batches a head of time.This style of dough will work for the classic cheese and pepperoni pizzas that are commonplace in slice shops, as well as more adventurous toppings, so go wild with it if you are so inclined. I recommend mixing low and medium moisture mozzarella together, do not use fresh mozzarella.
IngredientsMakes 6 240g Dough balls716g / 85% strong white bread flour, protein around 13-14%
126g / 15% type 0 or 00
547g tap water (63%)
25g olive oil (3%)
25g salt (3%)
0.5g Instant yeast or 1g Fresh yeast
MethodMeasure out your water, into a suitable container, if using a mixer add ice to account for friction generated by the machine
Measure your flour into a mixing bowl or suitable container, crumble in your fresh yeast, if using dried, re-hydrate it in a small amount of your total water, then add to the flour.At this point pour 95% the water in and begin to combine the flour and water by squeezing together or mixing with a spoon, do not knead the dough.After a few minutes begin to knead the dough, adding the oil and combining, and then slowly adding the remaining water, continuing to knead the dough until you’re satisfied it’s combined and formed a loose shaggy dough, at this point add the salt.

Pour the dough onto a worktop and knead for 10 minutes
Rest the dough for 10-20 minutes
Knead the dough for another 10 minutes, you’ll notice the dough is much smother after this second knead, to test your gluten levels you can prod the dough and see if it ‘springs back’ or do the window pane test.When you feel comfortable that your dough is well kneaded, place in a bowl or container, either cover it with clingfilm, a damp cloth, or put a lid on depending on what you’re using.Leave the dough for 1 hour, then divide into 6 240g balls place in an airtight container and pop in the fridge for a minimum of 23 hours, You can leave this dough in the fridge a few days, the longer you leave it the more flavour will be imparted into the dough, but the weaker the structure will get.remove the dough from the fridge 1-2 hours before you intend to use it and allow it to come up to room temperature.

SauceIngredients
1 can good quality plum tomatoes
2 tsp olive oil
1 tsp dried garlic
1 tsp oregano
A pinch of salt and black pepper.
MethodHand crush (or use a food mill or ricer) your tomatoes into a bowl, add the oil, garlic, salt and pepper, place the oregano in your hands and gently rub together, then sprinkle into the pan, this helps release the flavour.
if you have particularly watery tomatoes, you may need to drain the can prior to crushing. unlike Detroit style, we are not using this sauce warm, however you can heat and cool if you want to extract more flavour out of your garlic and herbs, just ensure the sauce is at room temperature of below before using
Cooking
When stretching make sure to form a thinner crust than you would with Neapolitan dough.Cooking wise, this is something you can do in a grill oven with a pizza stone or steel, but will work best in a pizza oven. fully saturate your pizza stone then turn down until the temperature is around 285-300c with a low/medium flame.
If you're used to Neapolitan resist the urge to dive in after 30 seconds and turn, at these lower temperatures it takes longer for the pizza base to set, you're total cooking time should be in the region of 5 minutes.
If you made this recipe, send a photo on Facebook or Instagram
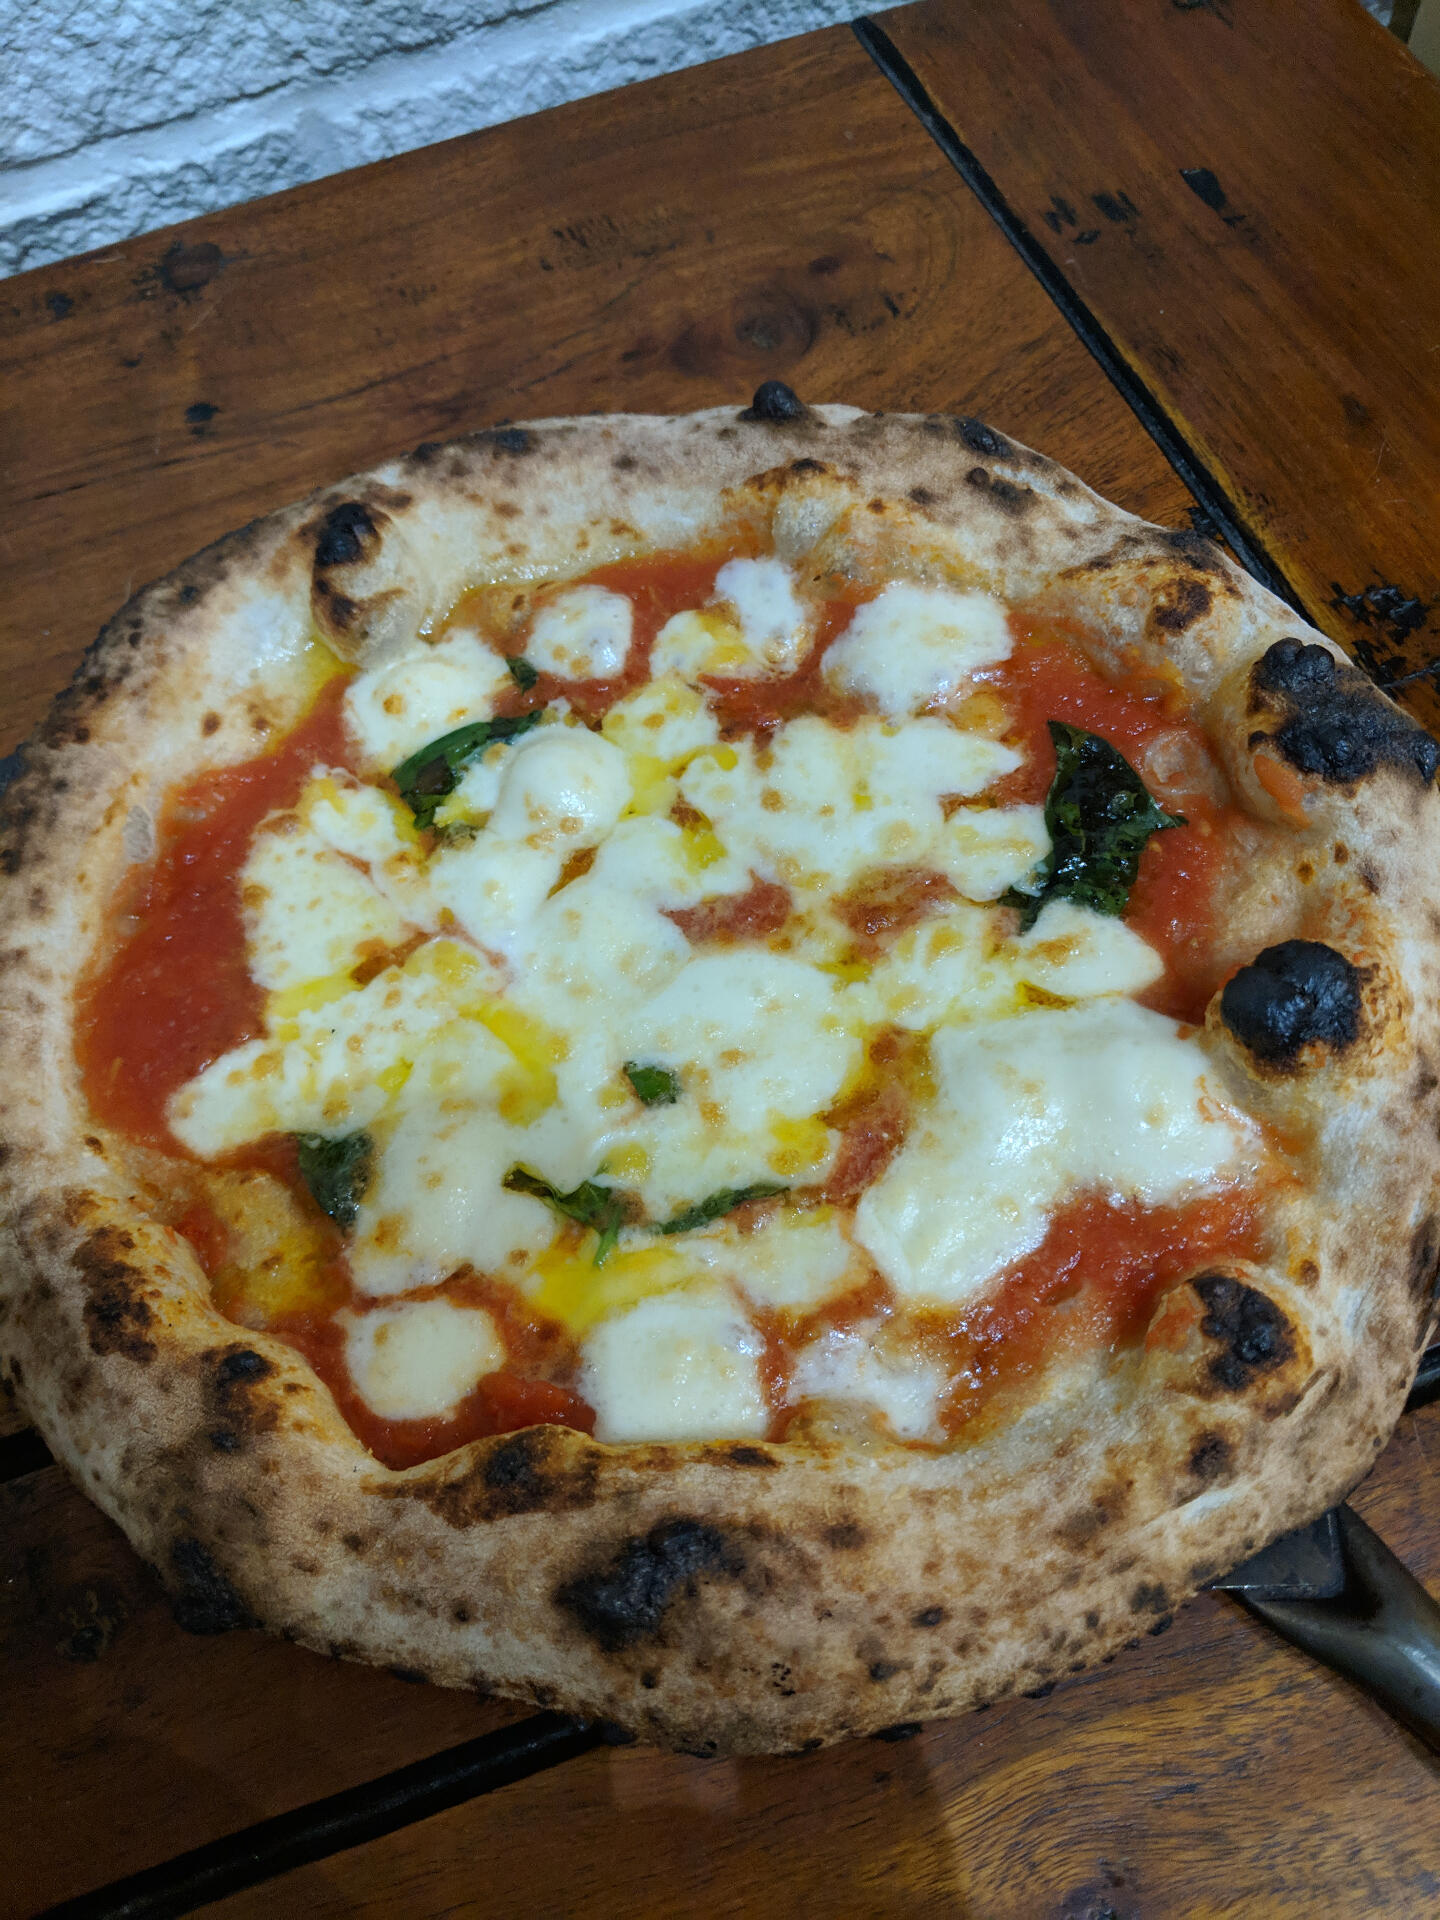
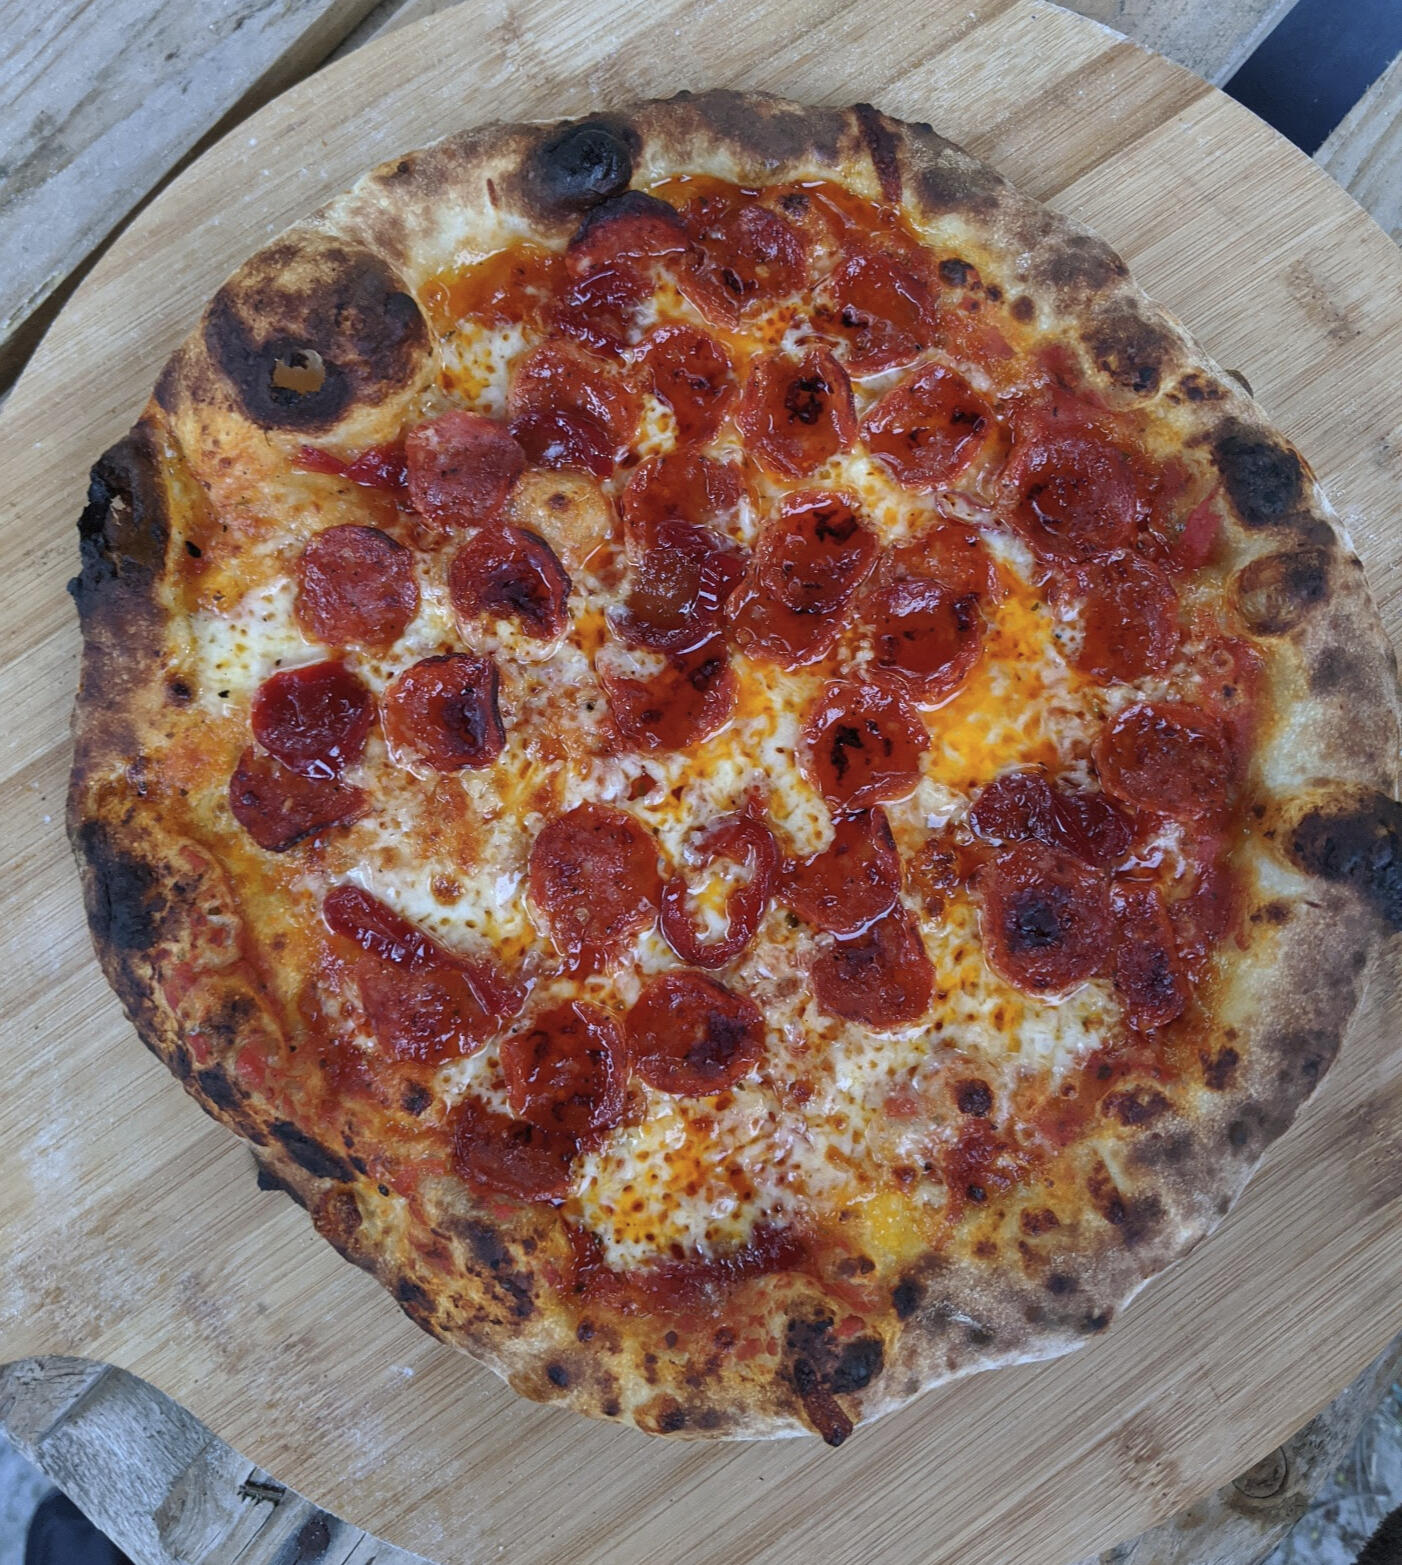
MozzaFella Neapolitan Dough
This is my current recipe for dough, based on lots of experimentation and hundreds of pizzas, use it as a guide to help you make authentic Neapolitan pizzaAs you'll all know, making Pizza & dough is an evolving process, you learn more, you adapt and you try new approaches, and for now this is my preferred method and what's giving me the best results so far!I a long time working with differnt flours, such as Caputo, Petra, Polselli, Molini Pizzuti, Dallagiovanna, etc and I currently use MFP Blue Flour for most of my Pizzas at around 65-68% hydration.However 60% hydration is pretty standard for most recipes so I've stuck with that in the below, provided your flour has a decent protein level it should be good!for proofing I'm leaving my dough between 18hours at bulk and then 6+ in ball before using. All at room temperature.I'd recommend you use Pizza app to tweak the temperature and proofing time, and quantities, remember you always get wastage so adjust your app accordingly to account for that.
IngredientsMakes 6 230g Dough balls884 g Type 0 or 00 with a minimum protein content of 12g
530g cold tap water (60.%)
26g salt (2.9%)
1g Instant yeast or 2g Fresh yeast
MethodMeasure out your water, into a suitable container, if using a mixer add ice to account for friction generated by the machine
Measure your flour into a mixing bowl or suitable container, crumble in your fresh yeast, if using dried, re-hydrate it in a small amount of your total water, then add to the flour.At this point pour 95% the water in and begin to combine the flour and water by squeezing together or mixing with a spoon, do not knead the dough.After a few minutes begin to knead the dough, adding the additional water and and continuing to knead the dough until you’re satisfied it’s combined and formed a loose shaggy dough, at this point add the salt.

Pour the dough onto a worktop and knead for 10 minutes
Rest the dough for 10-20 minutes
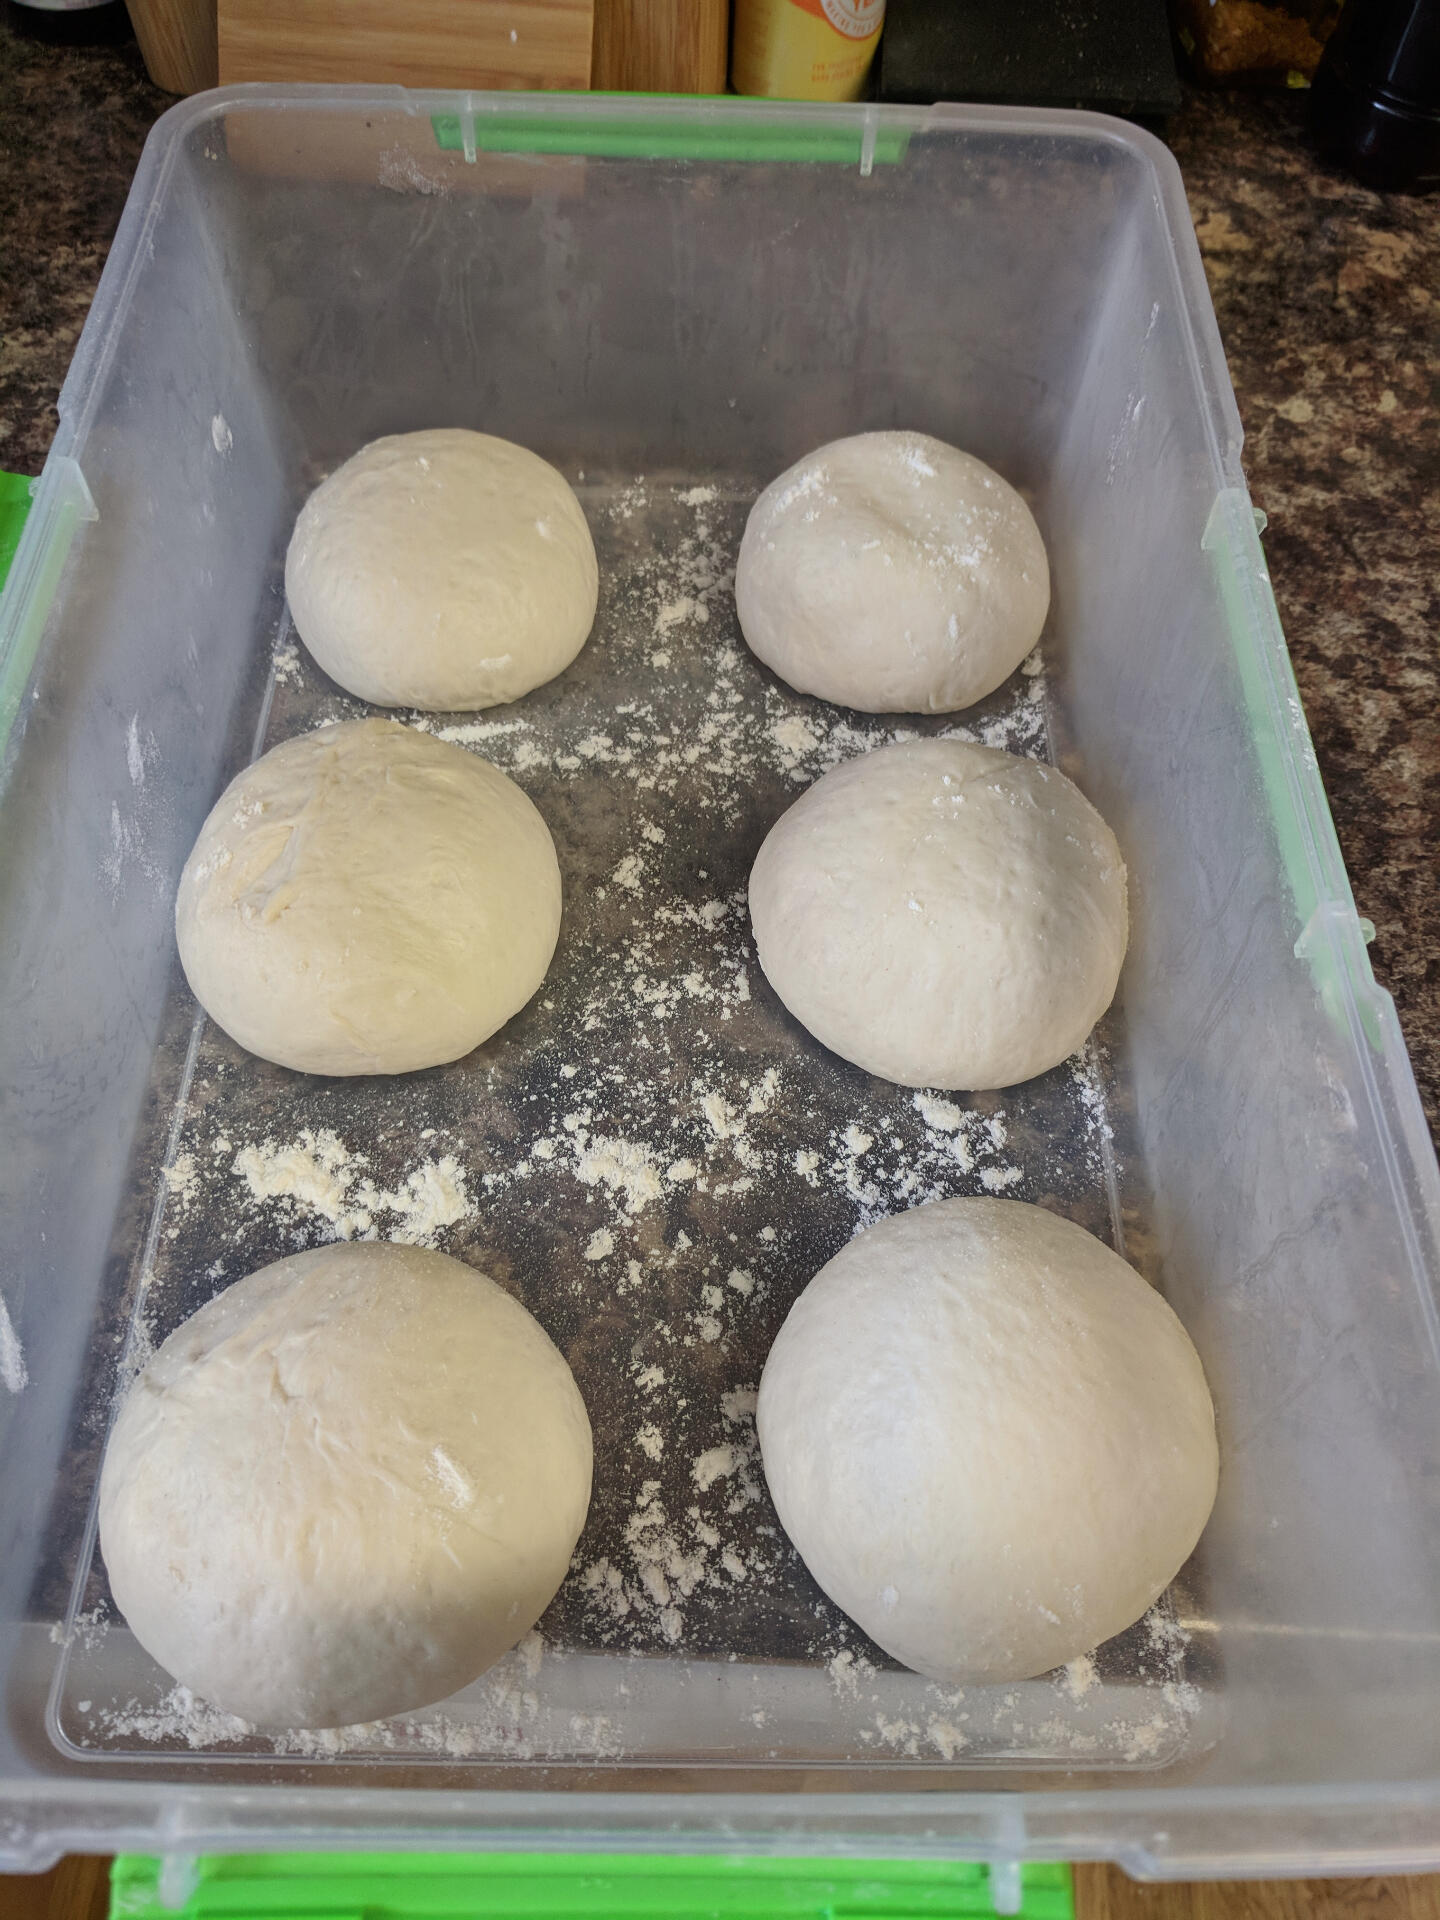
Knead the dough for another 10 minutes, you’ll notice the dough is much smother after this second knead, to test your gluten levels you can prod the dough and see if it ‘springs back’ or do the window pane test.When you feel comfortable that your dough is well kneaded, place in a bowl or container, either cover it with clingfilm, a damp cloth, or put a lid on depending on what you’re using.Leave the dough between 8-15 hours, it won’t double in size but it will be bigger, and the yeast will have done it’s magic.Ball up and put your dough balls in a suitable airtight container, you should get 6 x 230g balls with a little bit of surplus dough.Your balls will be ready to go after 4 hours, but should last much longer than that. If you want to keep these for another day, refrigerate them as soon as they are balled, and ensure the container is airtight, gently let the balls come back to temperature, again 4 hours is probably about right for this.
Divide the dough and ball up (see our video here if you need help)

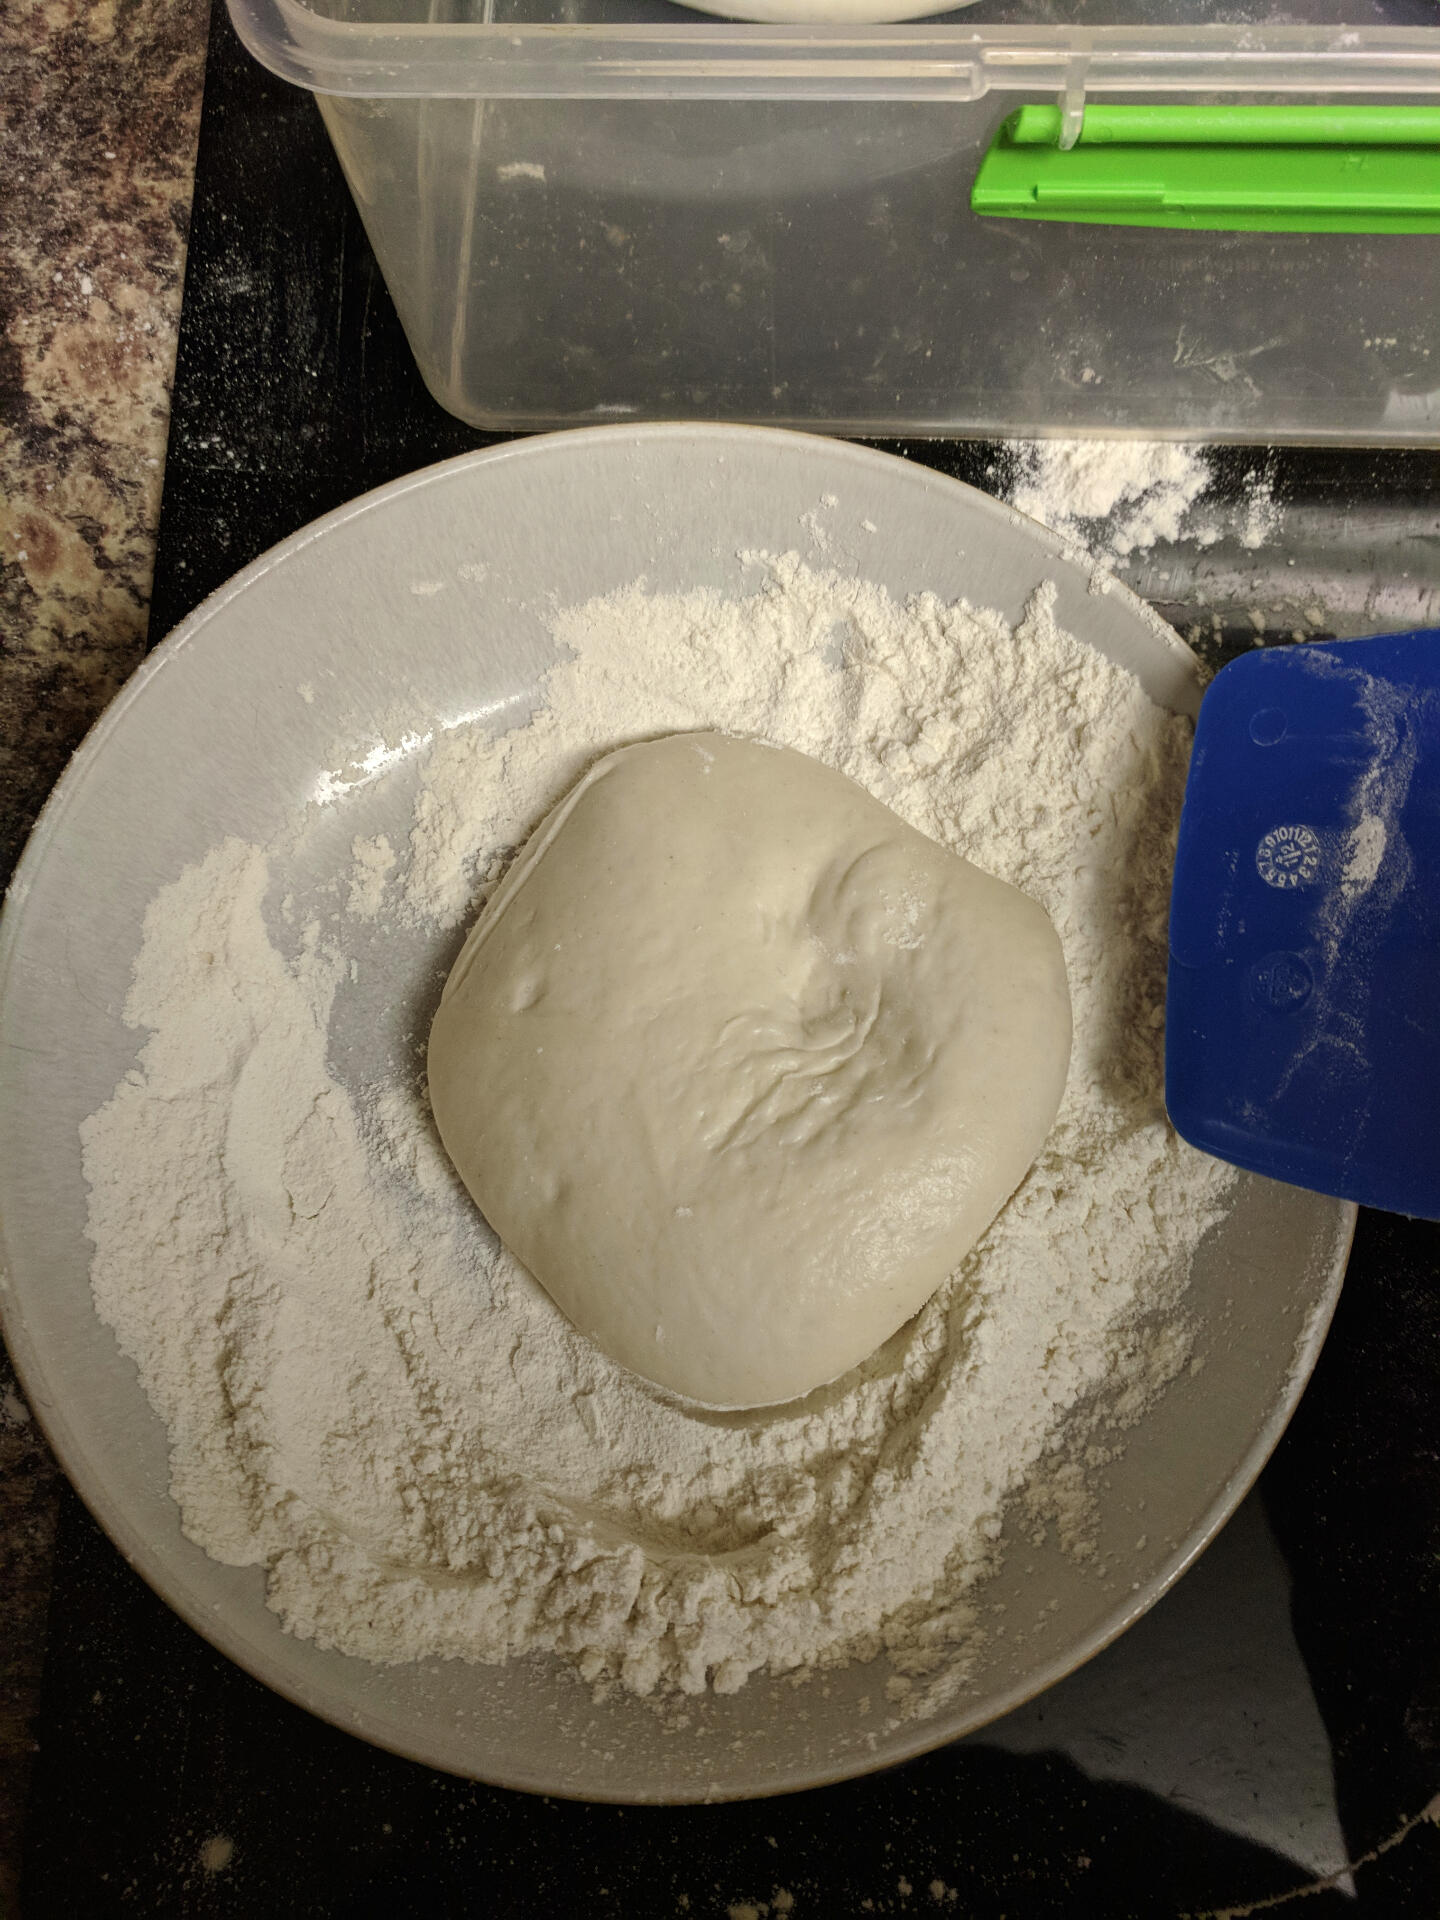
Misc tips:When removing your dough, always use a bit of flour under your scraper
I like to give my dough balls a bath in flour when I get them out, this helps if the dough is a little sticky.
For your bench/stretching flour, try using fine grain semolina or a 50/50 mix of the flour you made your dough with and semolina
If you made this recipe, send a photo on Facebook or Instagram
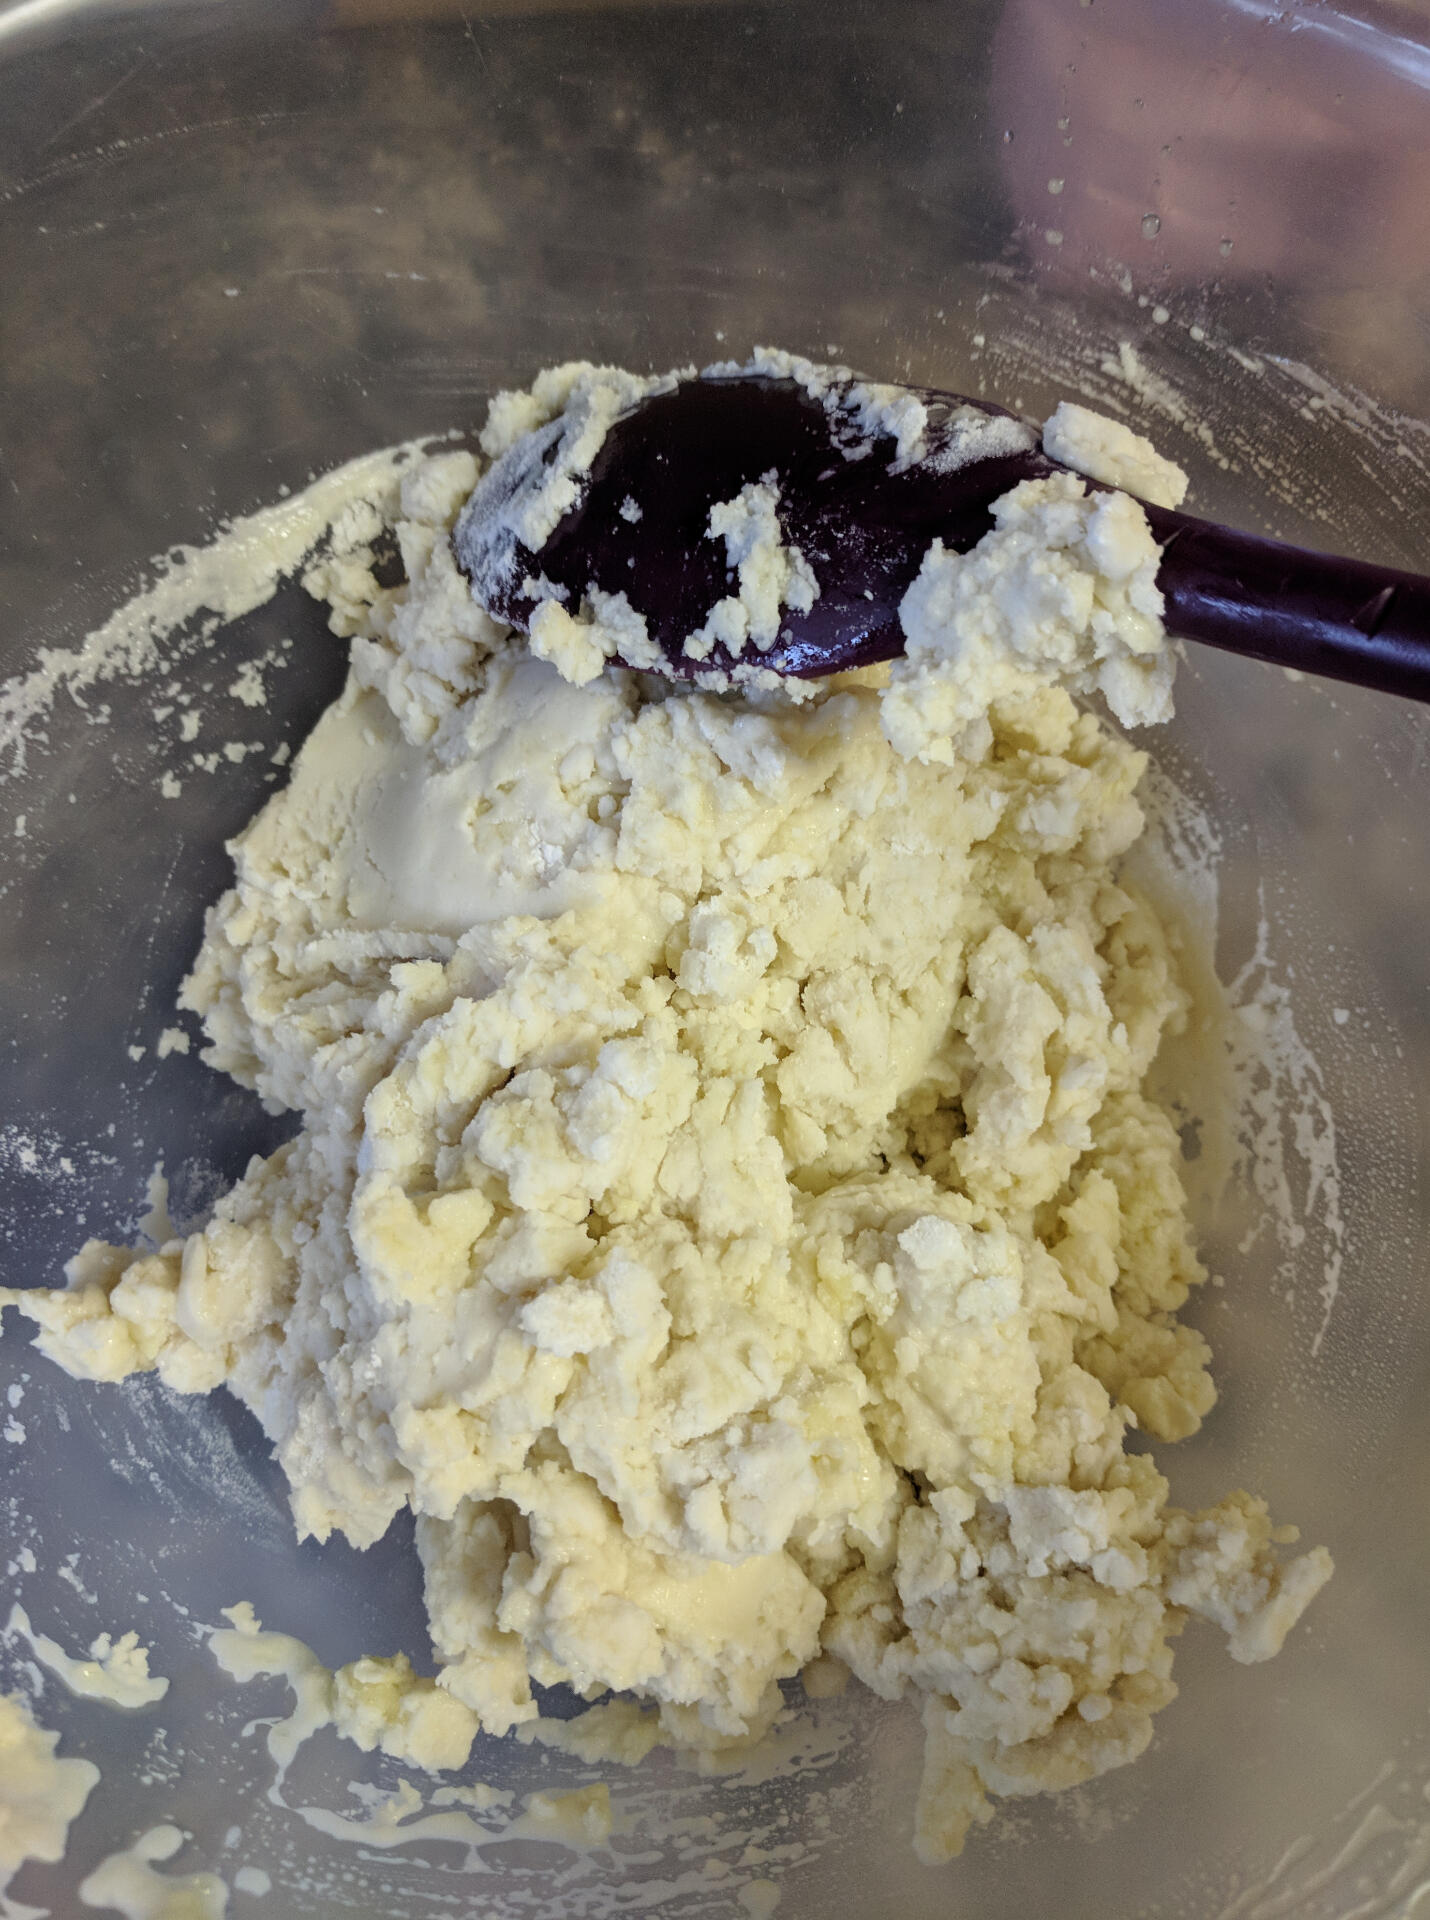
Gluten Free Dough
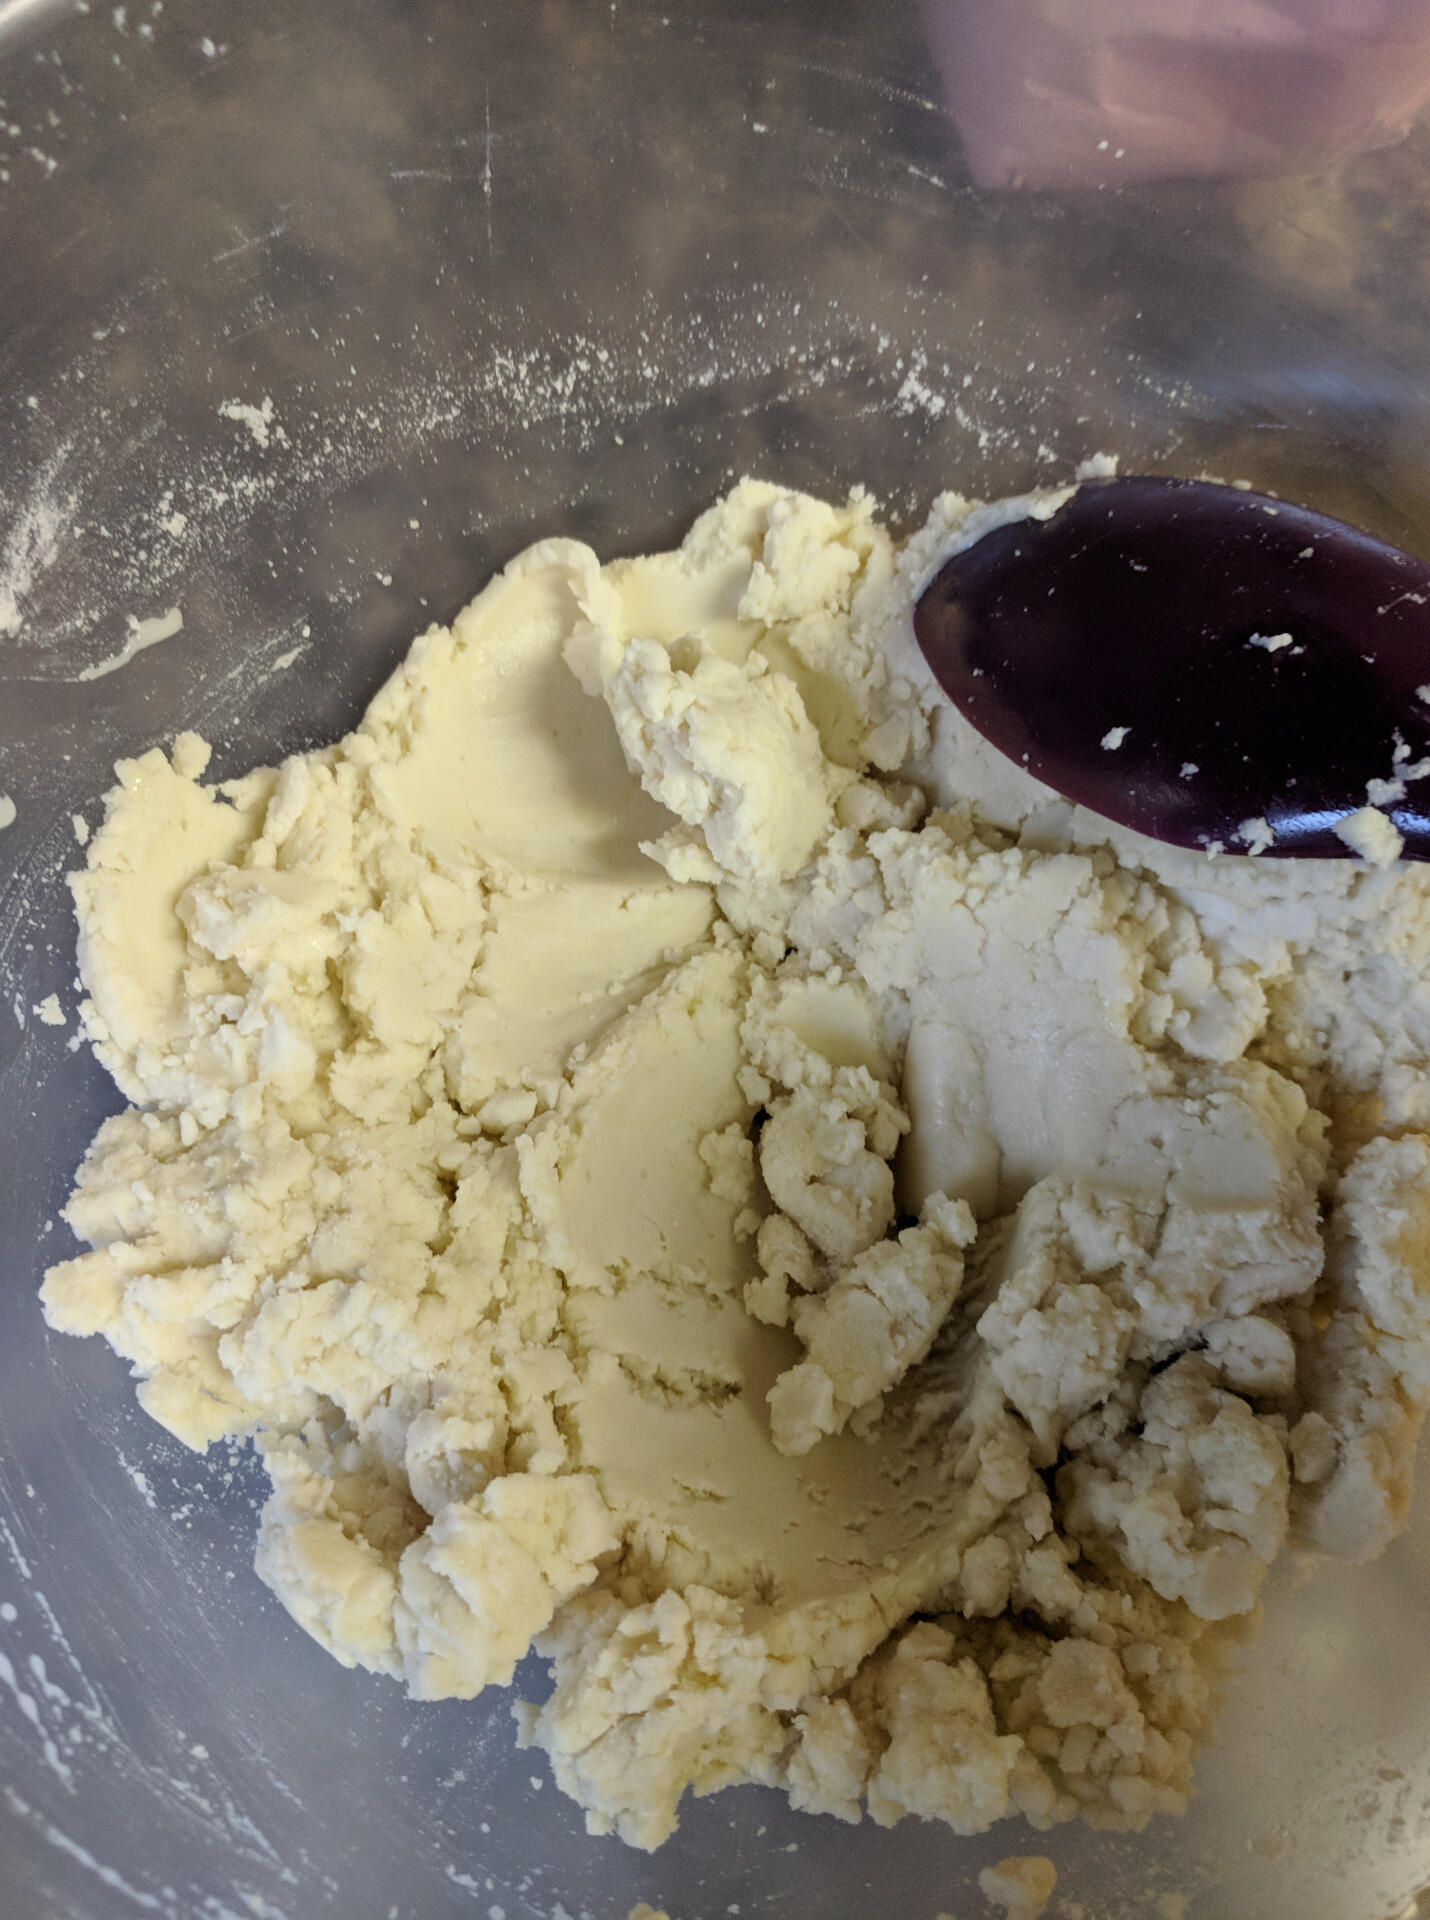
The flour used in this recipe is a standard supermarket gluten free option, I wanted to try make something simple but readily accessible. I'll repeat this recipe in the future with Gluten Free pizza dough to see how it differs. You'll notice this has a texture more similar to pastry than standard dough.If you don't suffer from celiac disease but still have an adverse reaction to normal breads and doughs, please try the Mozzafella Neapolitan dough which contains gluten but has a much lower yeast, and sugar content and is gentler on the digestive tract.
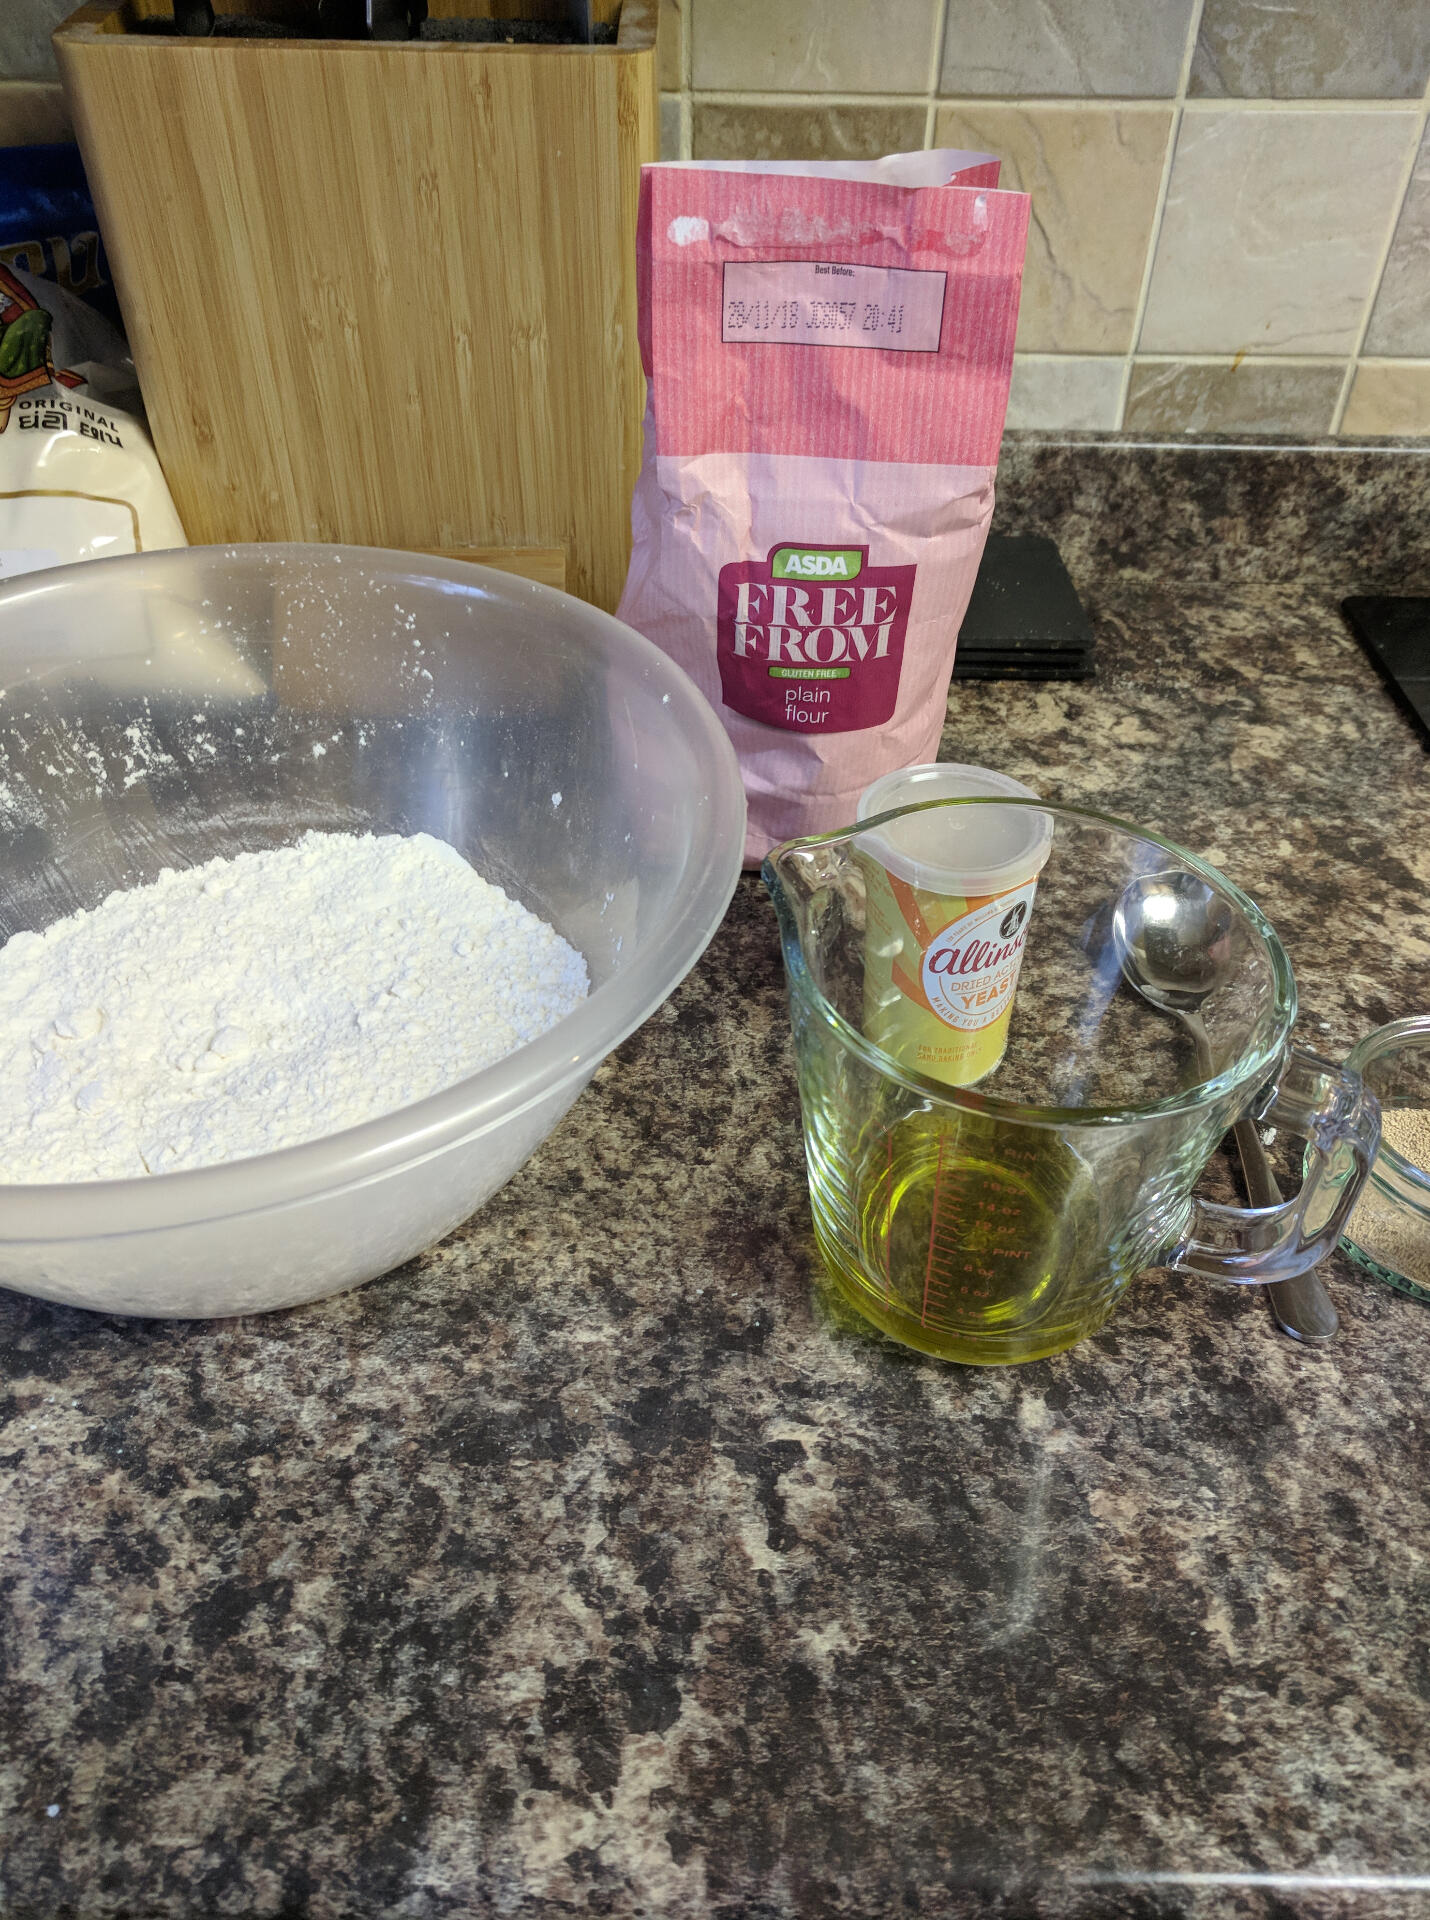
IngredientsMakes 4 200g doughballs460g gluten free flour
325g water
30g olive oil
26g salt
7g dry yeast
MethodBoil 1/3rd the amount of water, mix with 2/3rds normal tap water
pour in the yeast and mix well
add in the olive oil, stir and set aside for 10 minutes to activate the yeastIn a mixing bowl, combine the flour and salt, give the yeast a quick stir then pour in.Mix well with a spatula ensuring there are no lumps and that everything has combined.
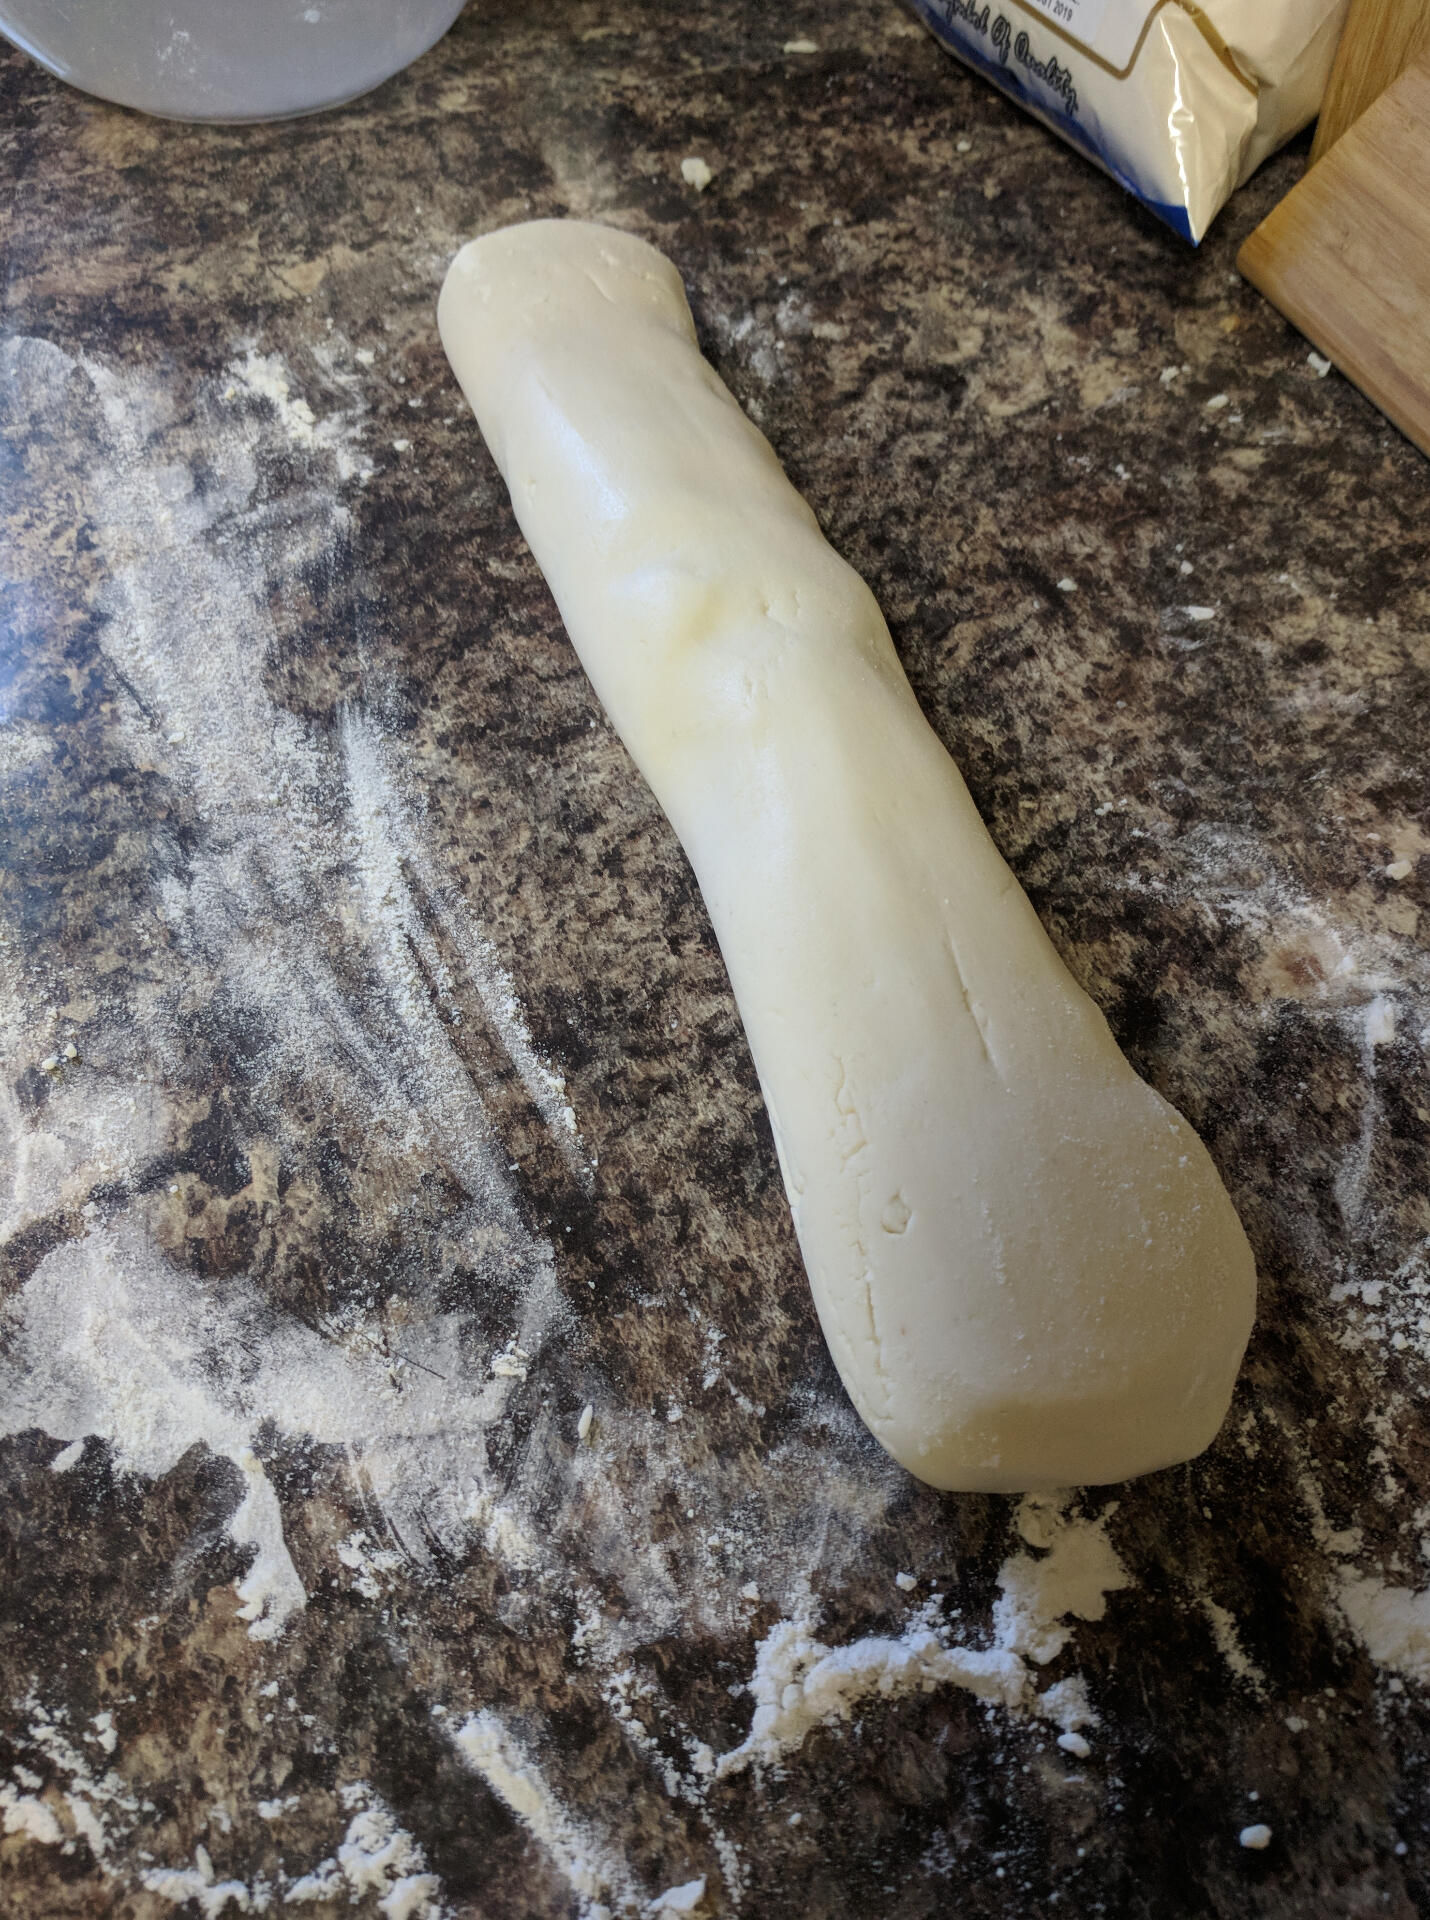
on a lightly floured work surface, form the dough into one mass and roll into a long tube, as there's no gluten there's no kneading involved.
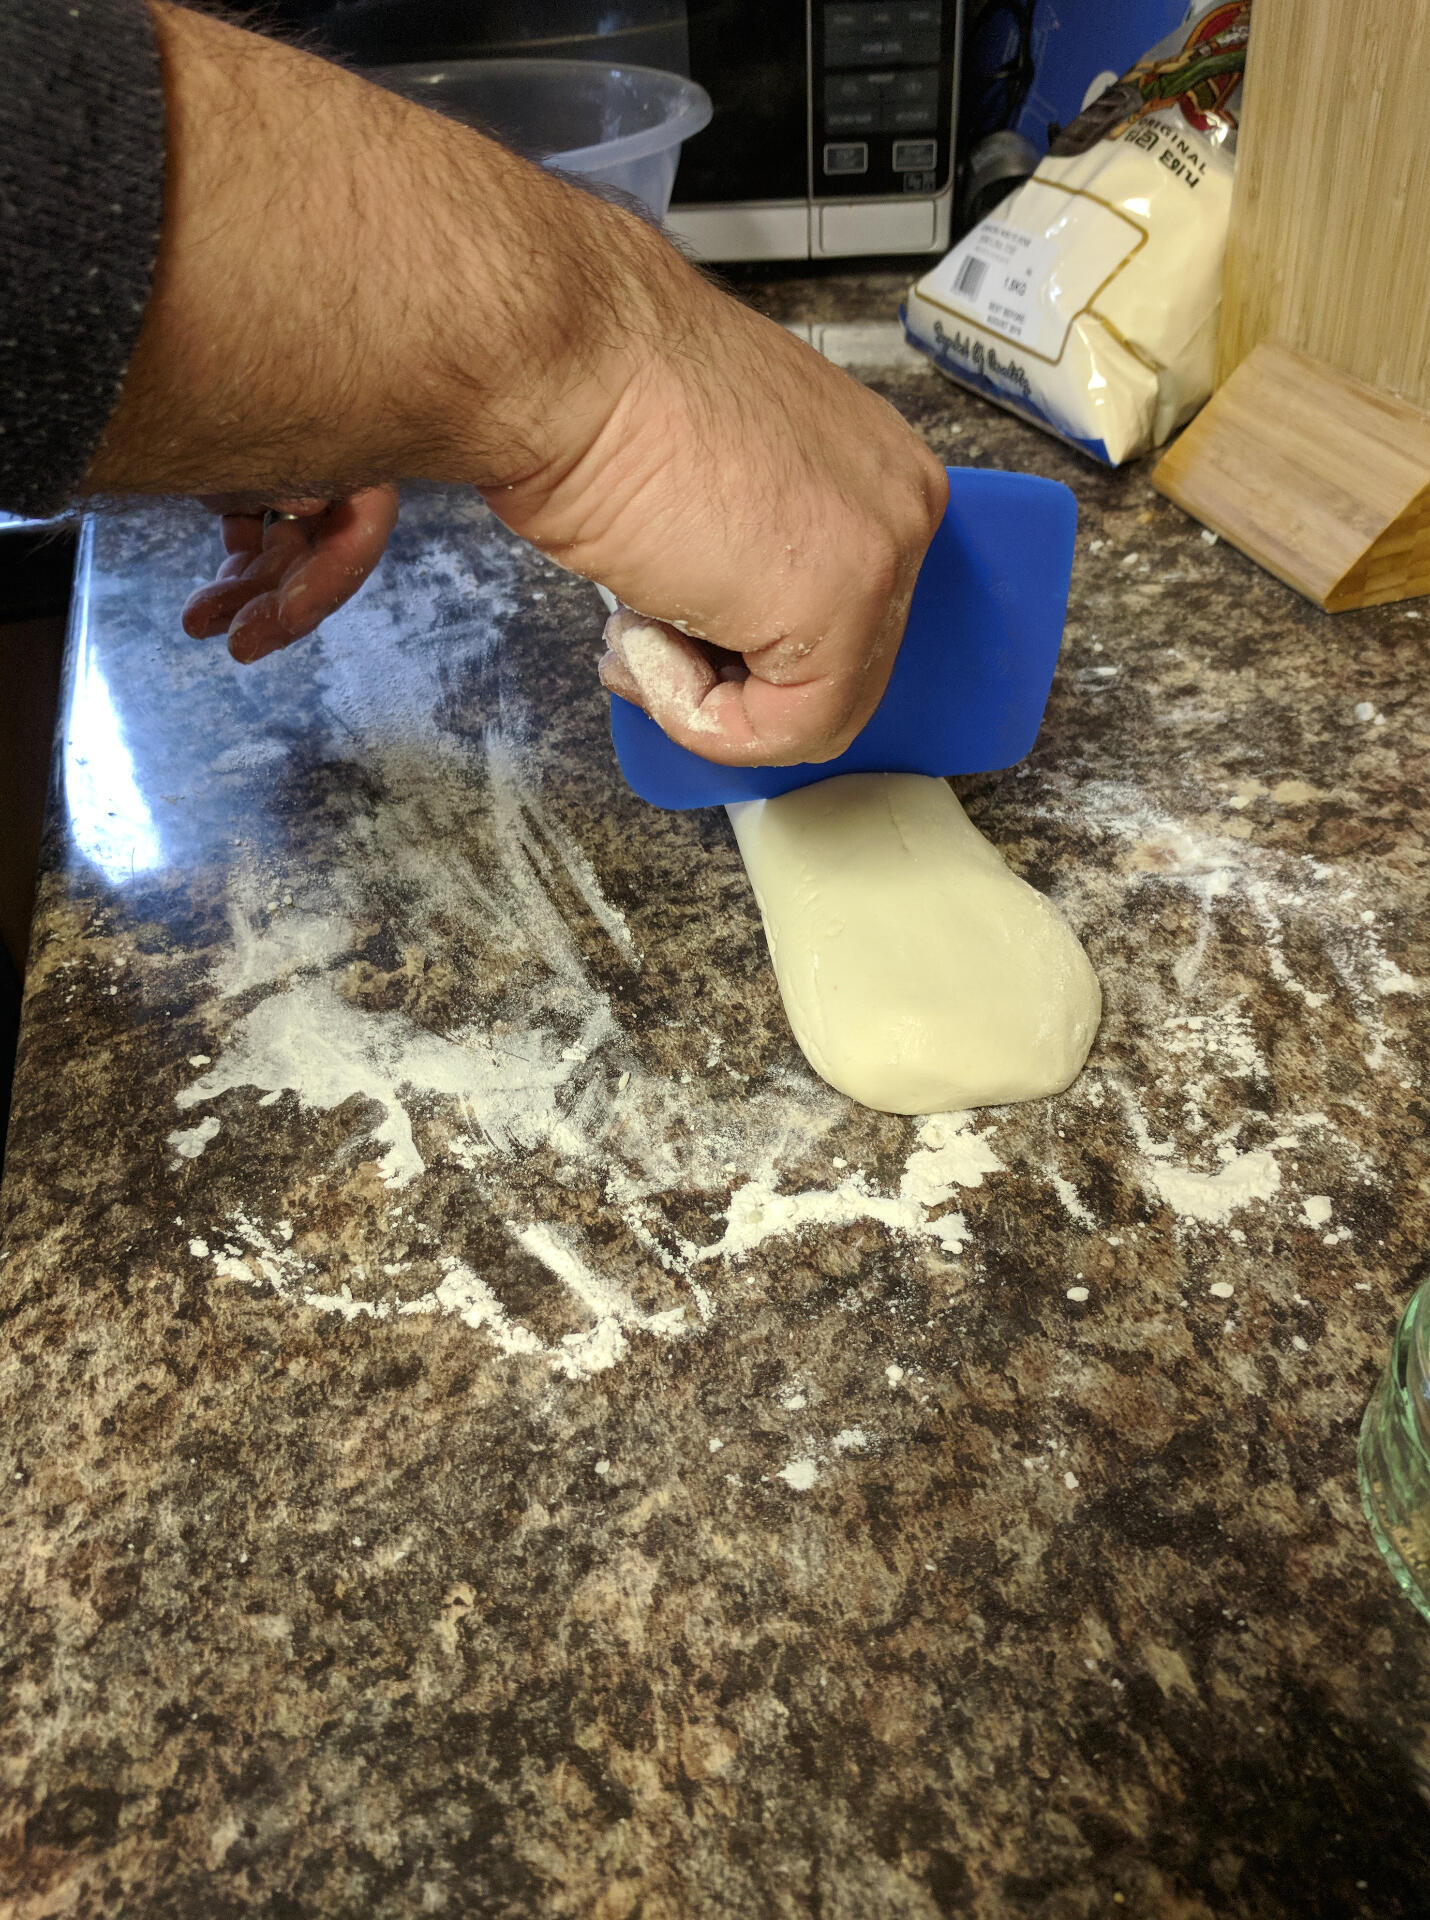
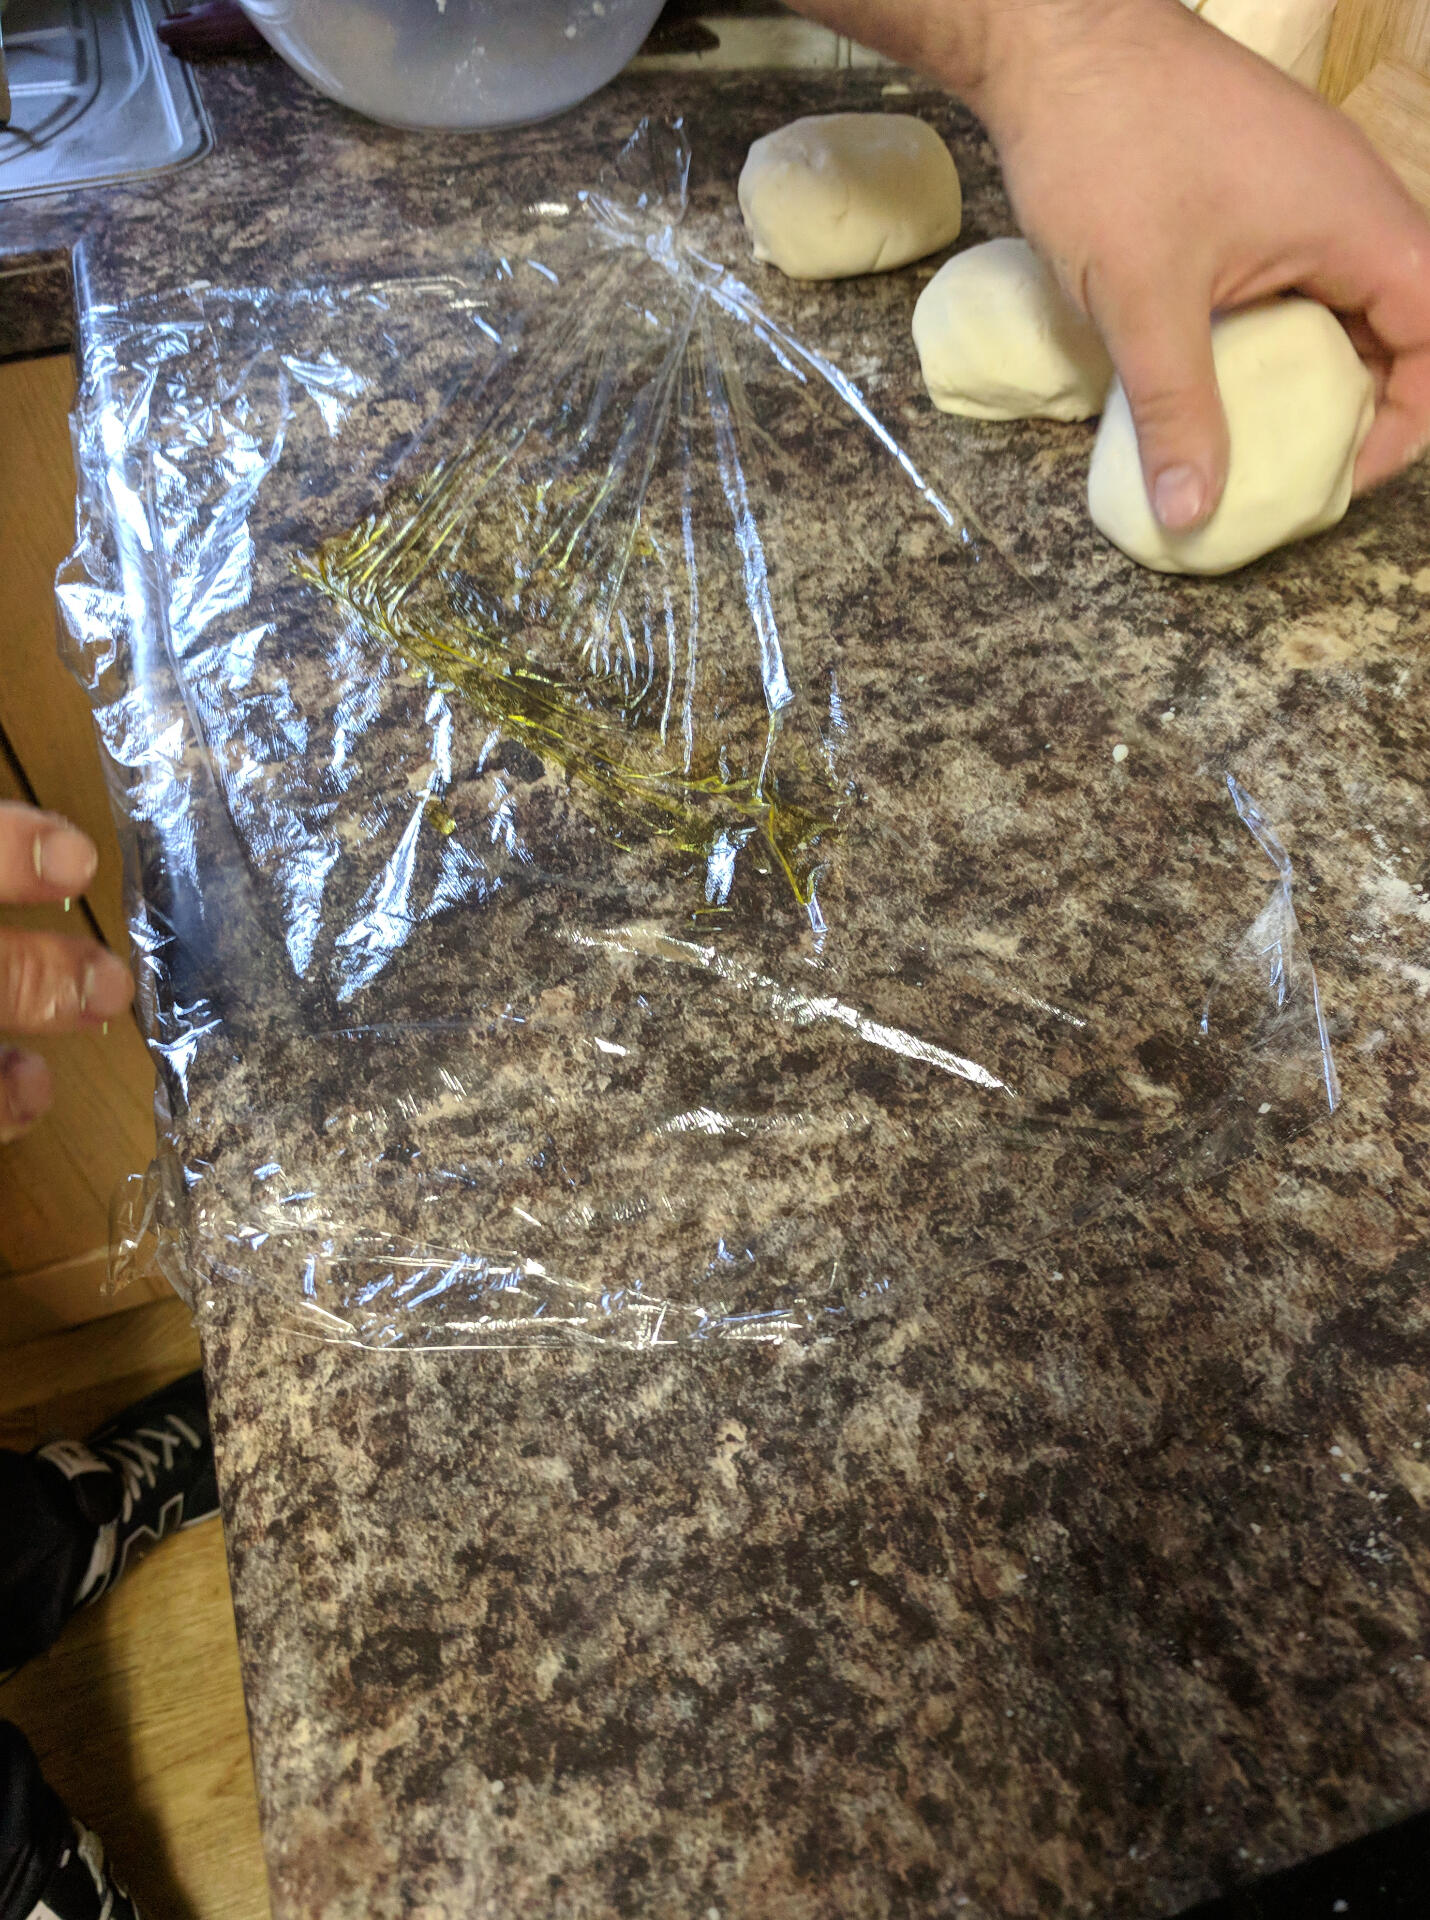
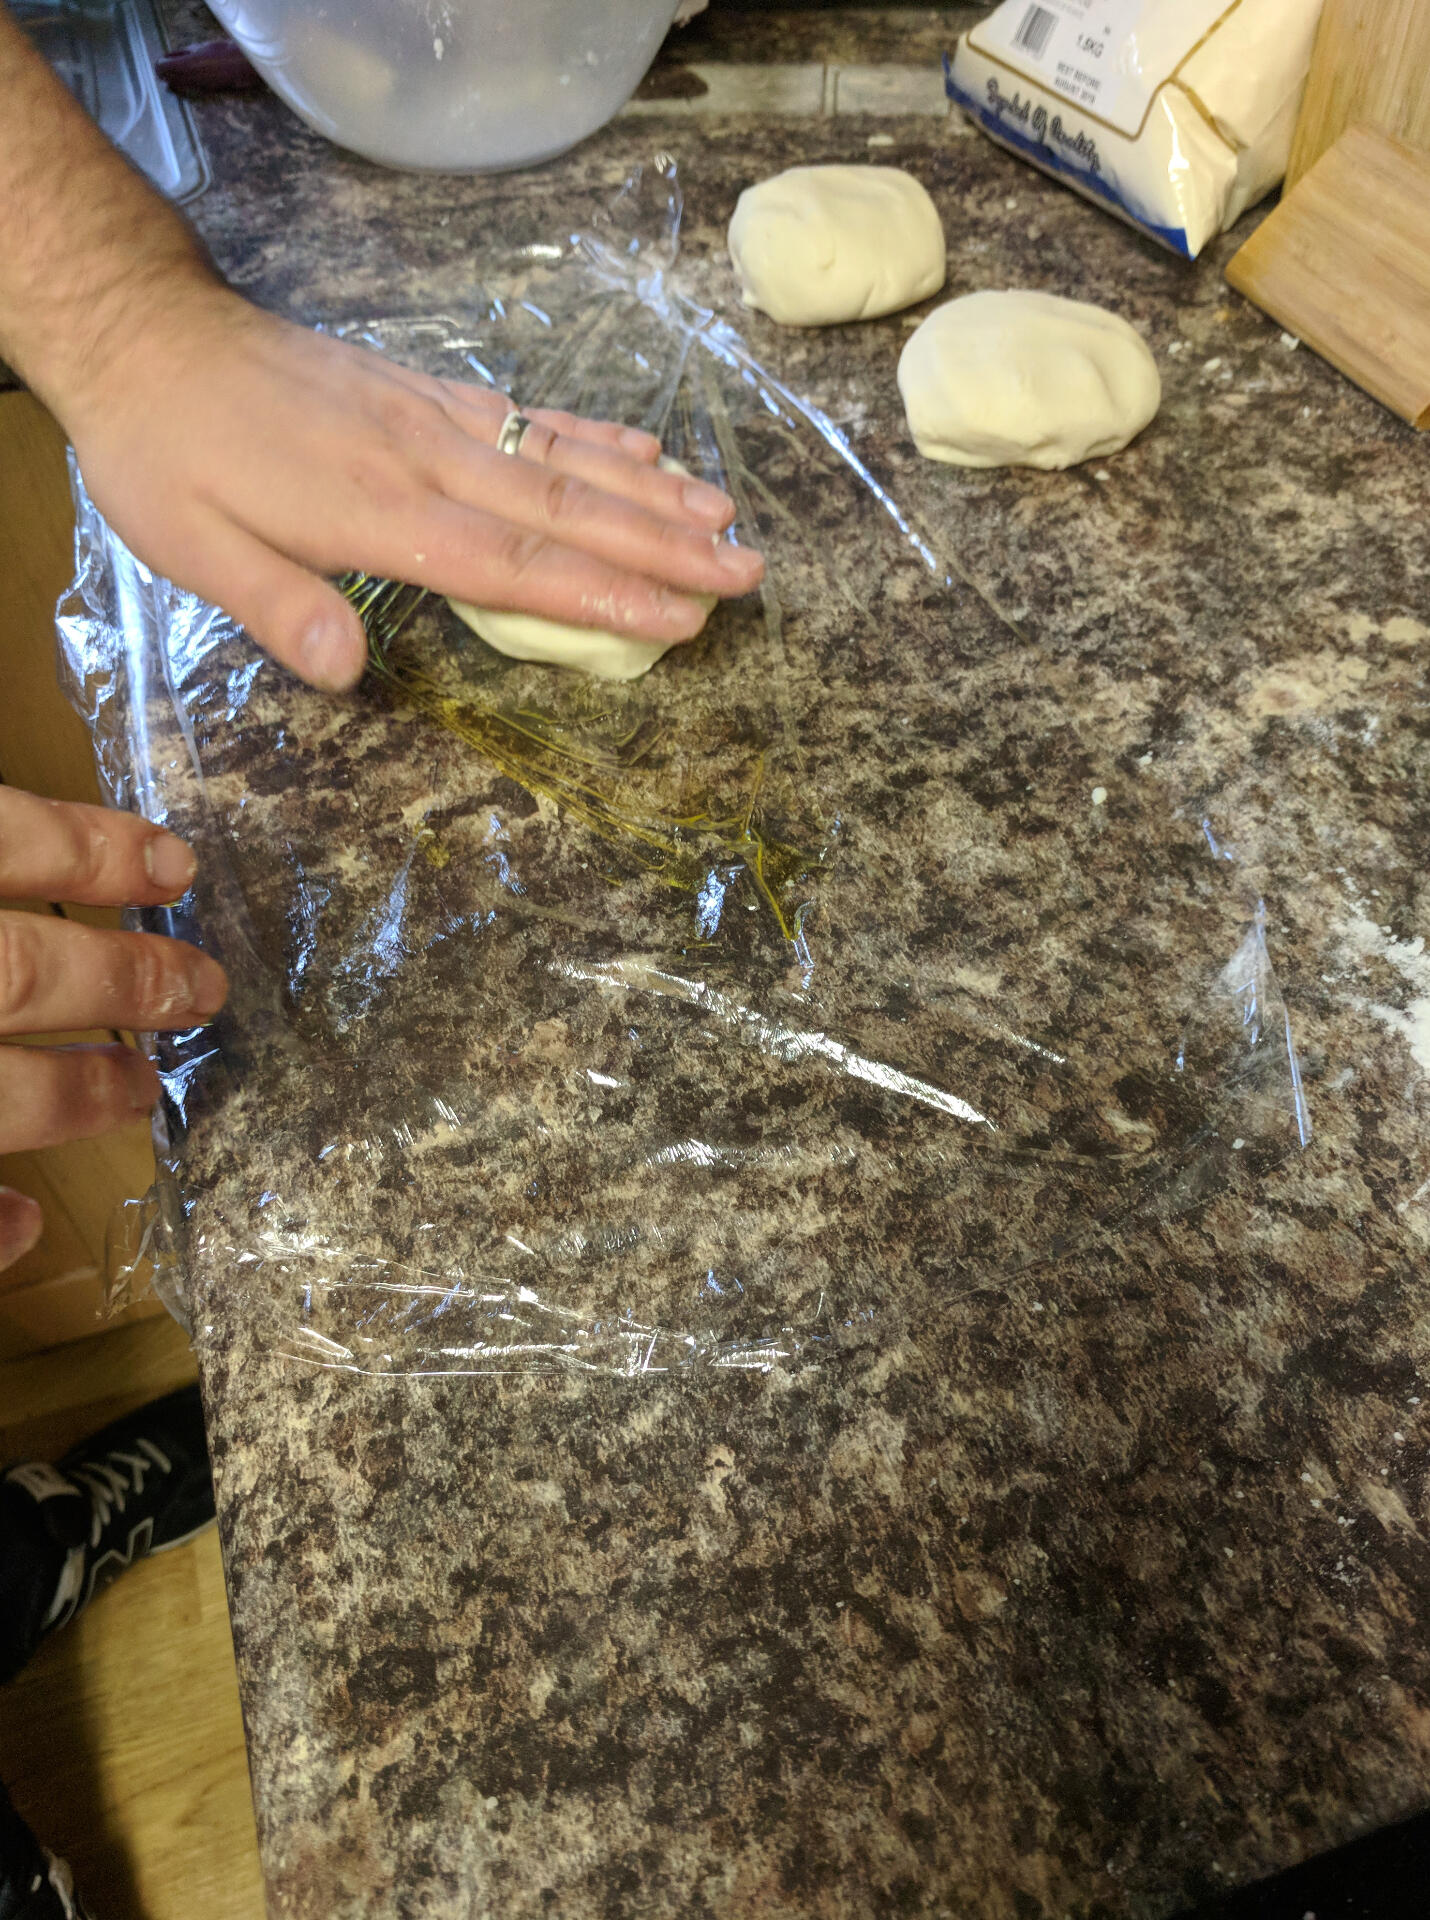
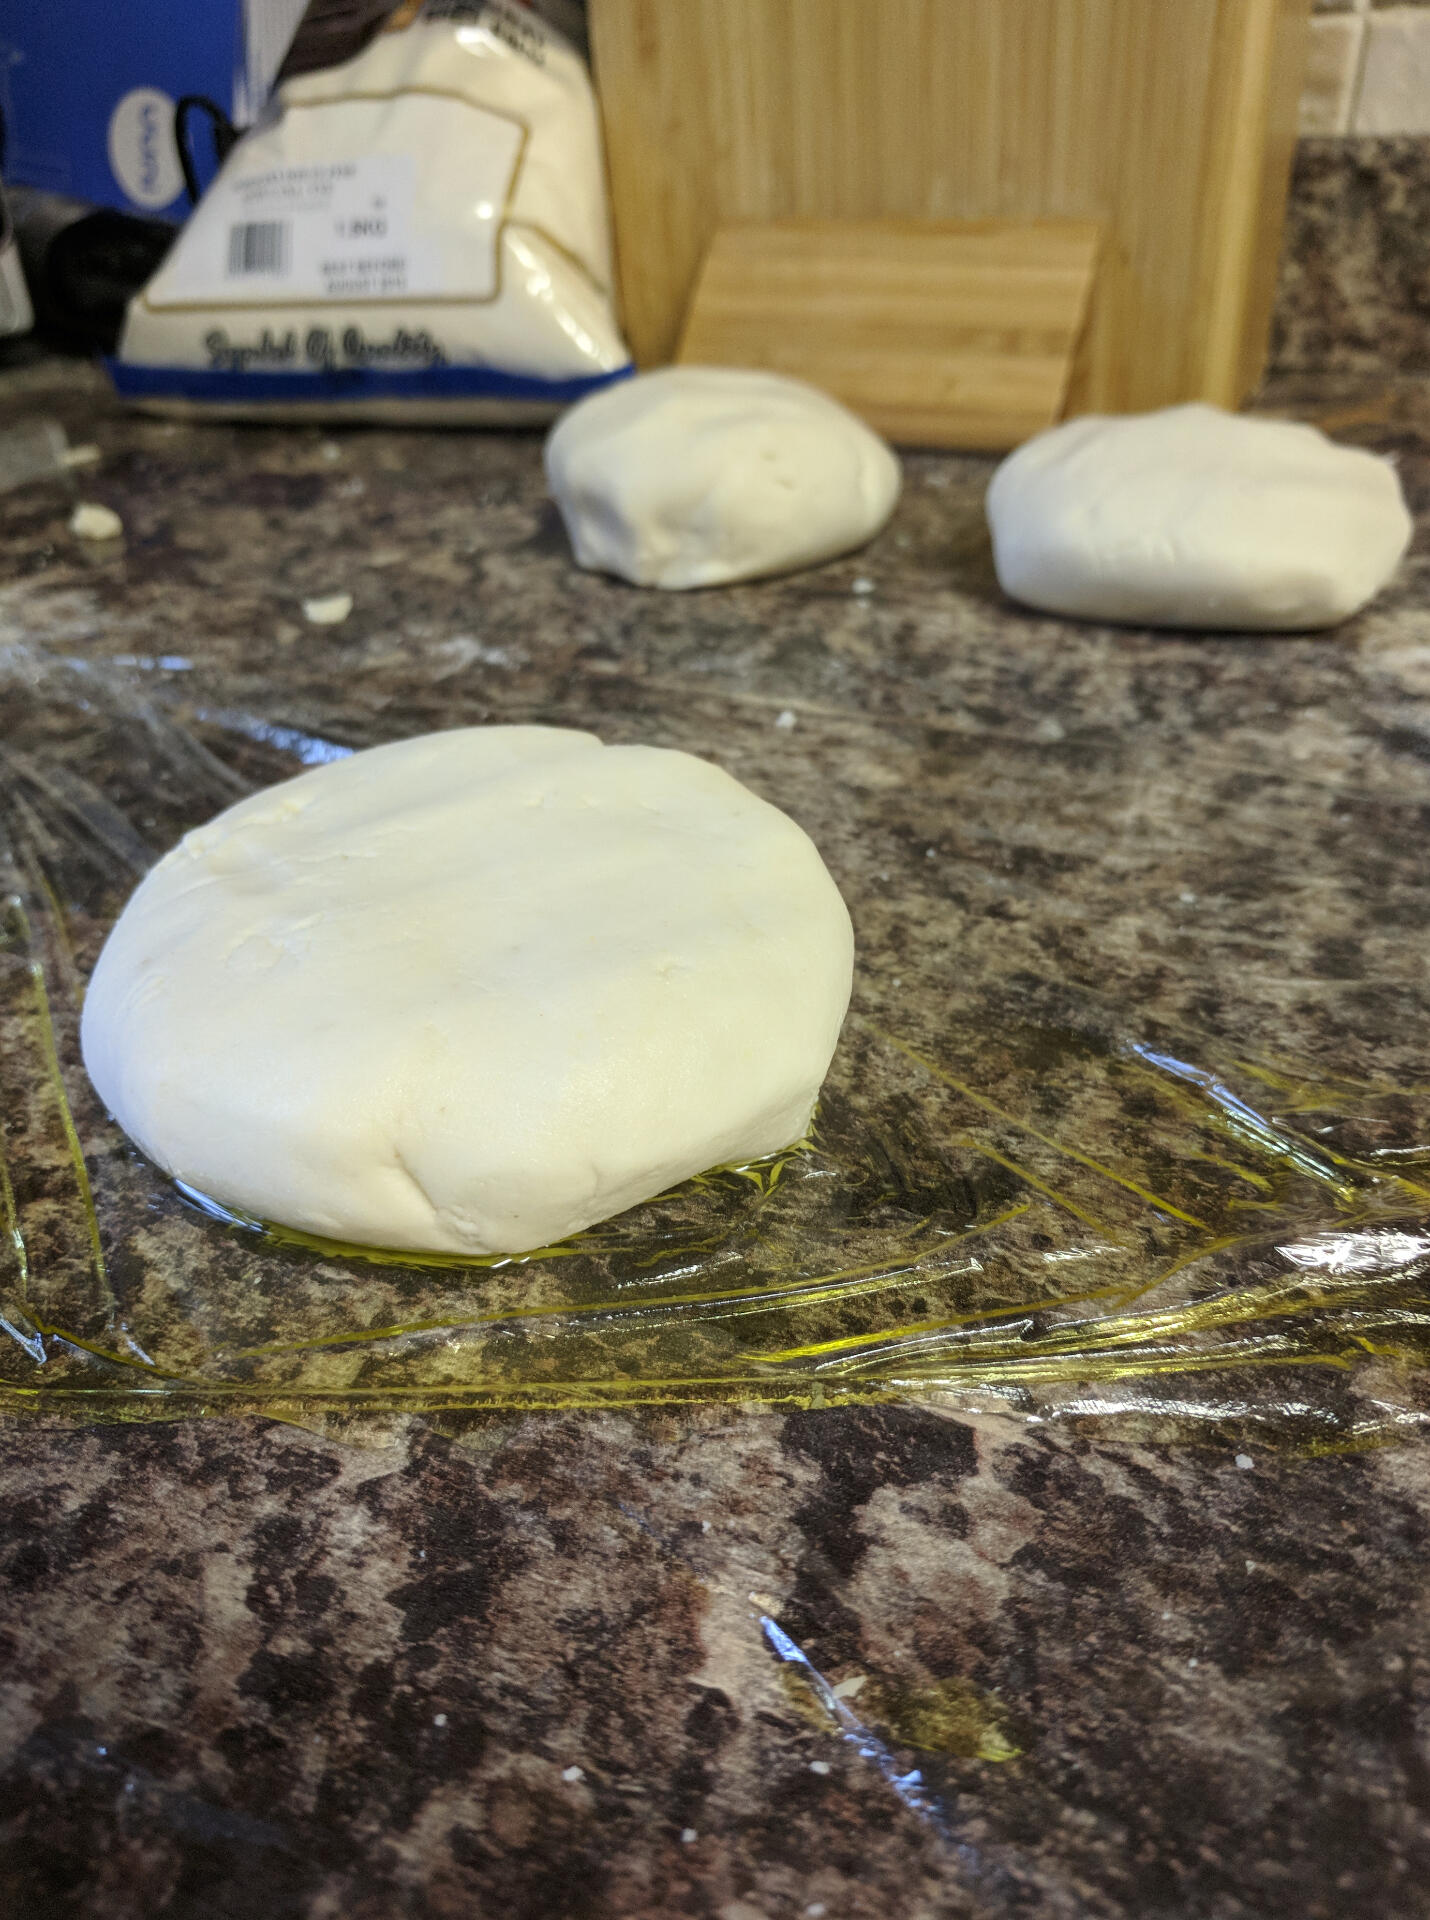
Cut the dough into 4 equal amounts, and individually wrap in oiled Clingfilm. This stops the dough, sticking
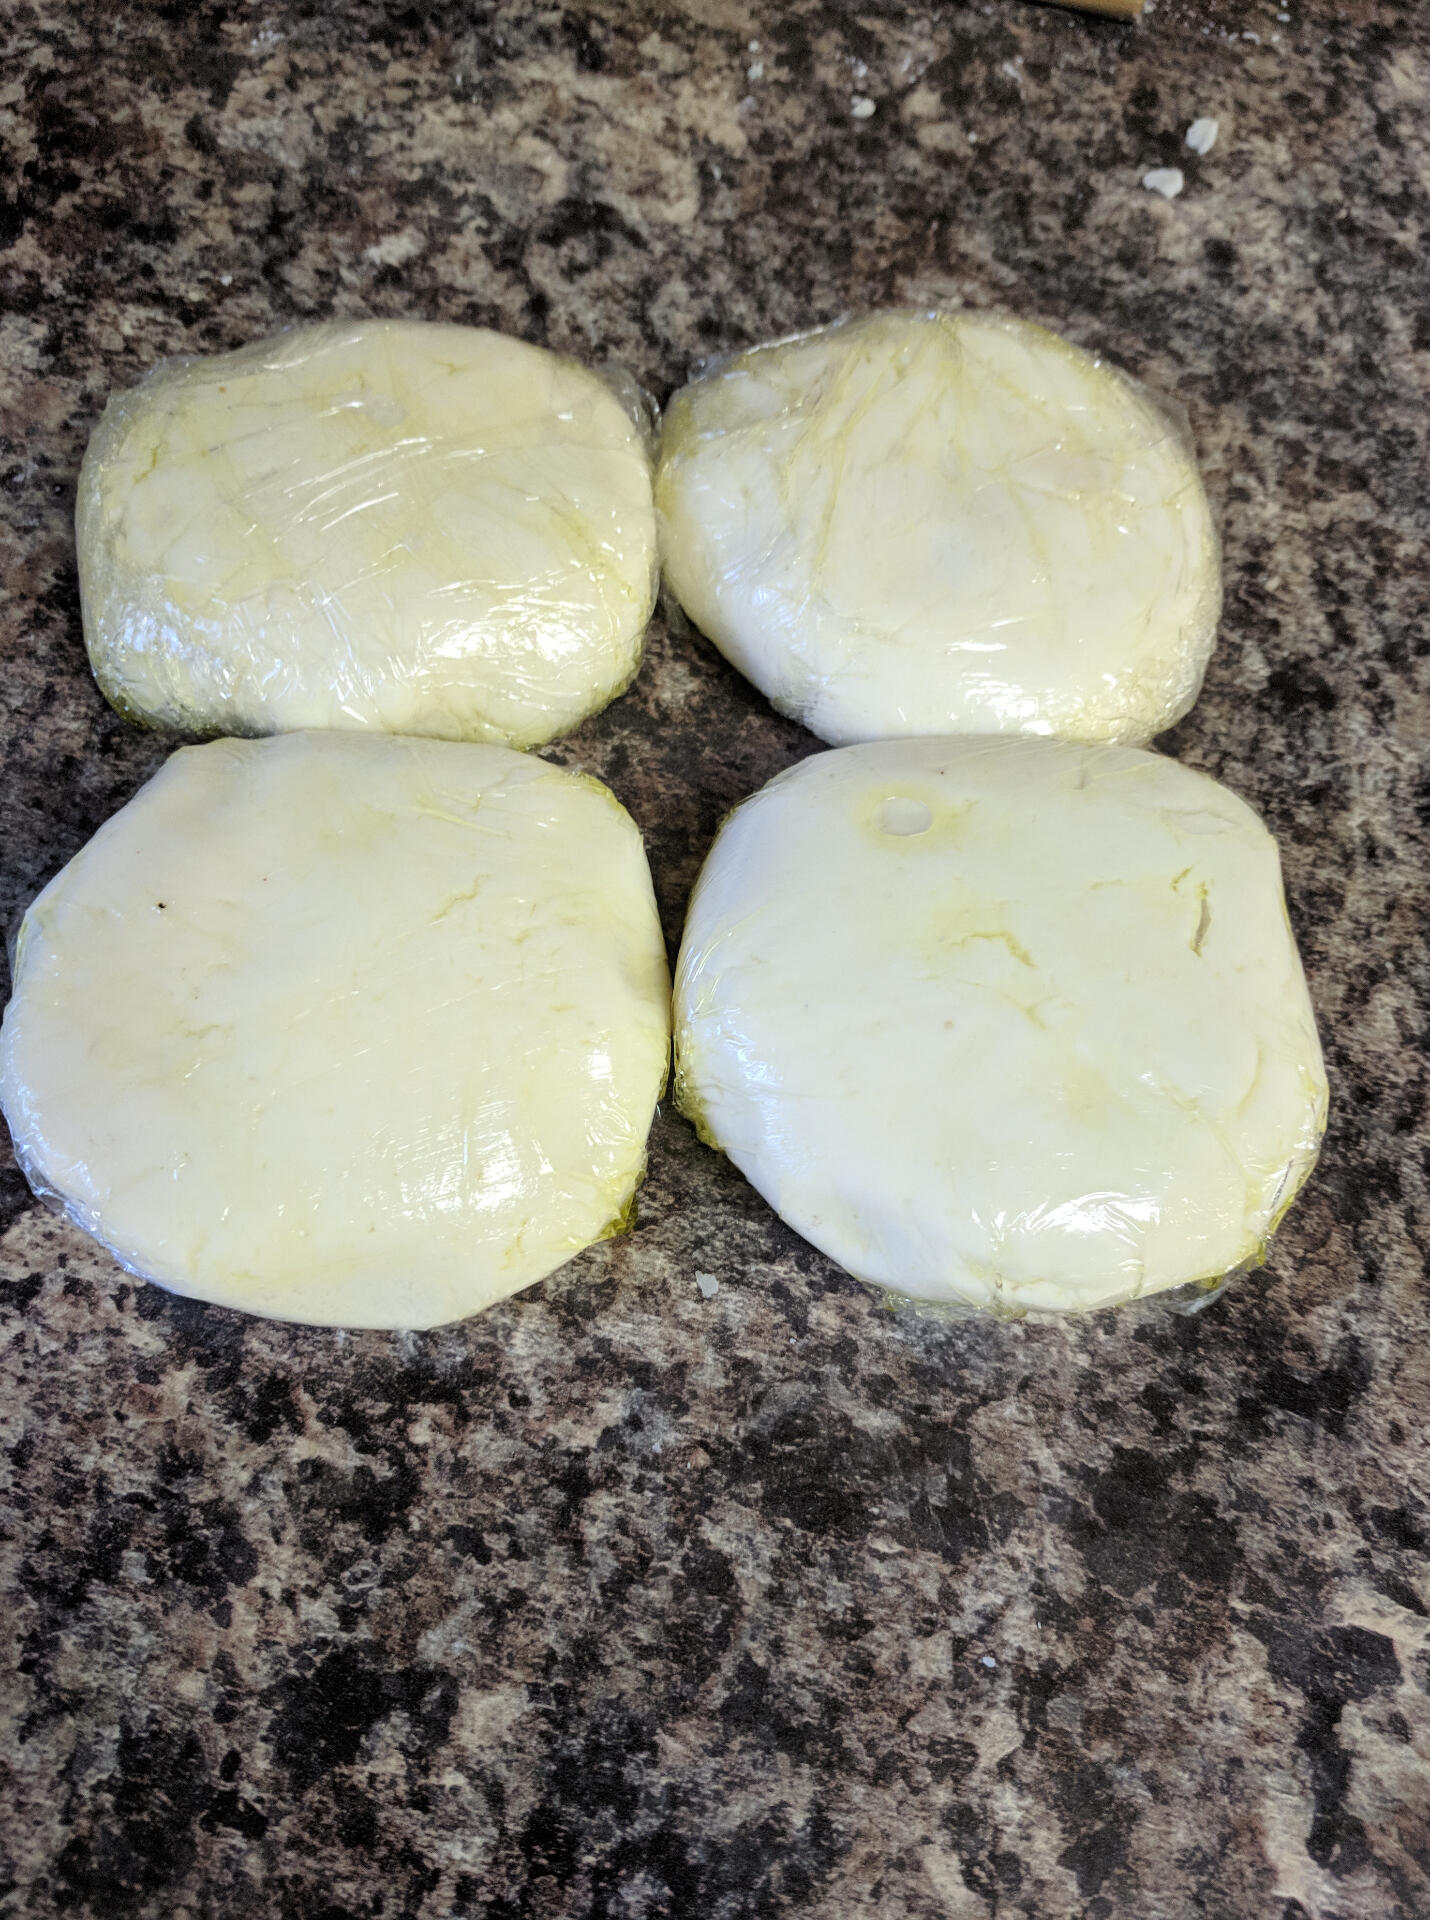
Let the dough rest for an hour or so, then place into the fridge for up to a week.
As there is no gluten in the dough, you aren't stretching it in a traditional way, instead flour your work surface and squash the dough down so it forms a flatter disk, at this point gently form a crust and thin out the dough by patting it flat, as it's a higher hydration recipe you'll need to ensure the dough doesn't stick, scrapers are particularly helpful.
Transfer to a floured pizza peel, and top.Cook at a slightly lower temperature, turning every 30 seconds or so, around 380c is ideal.
If you made this recipe, send a photo on Facebook or Instagram
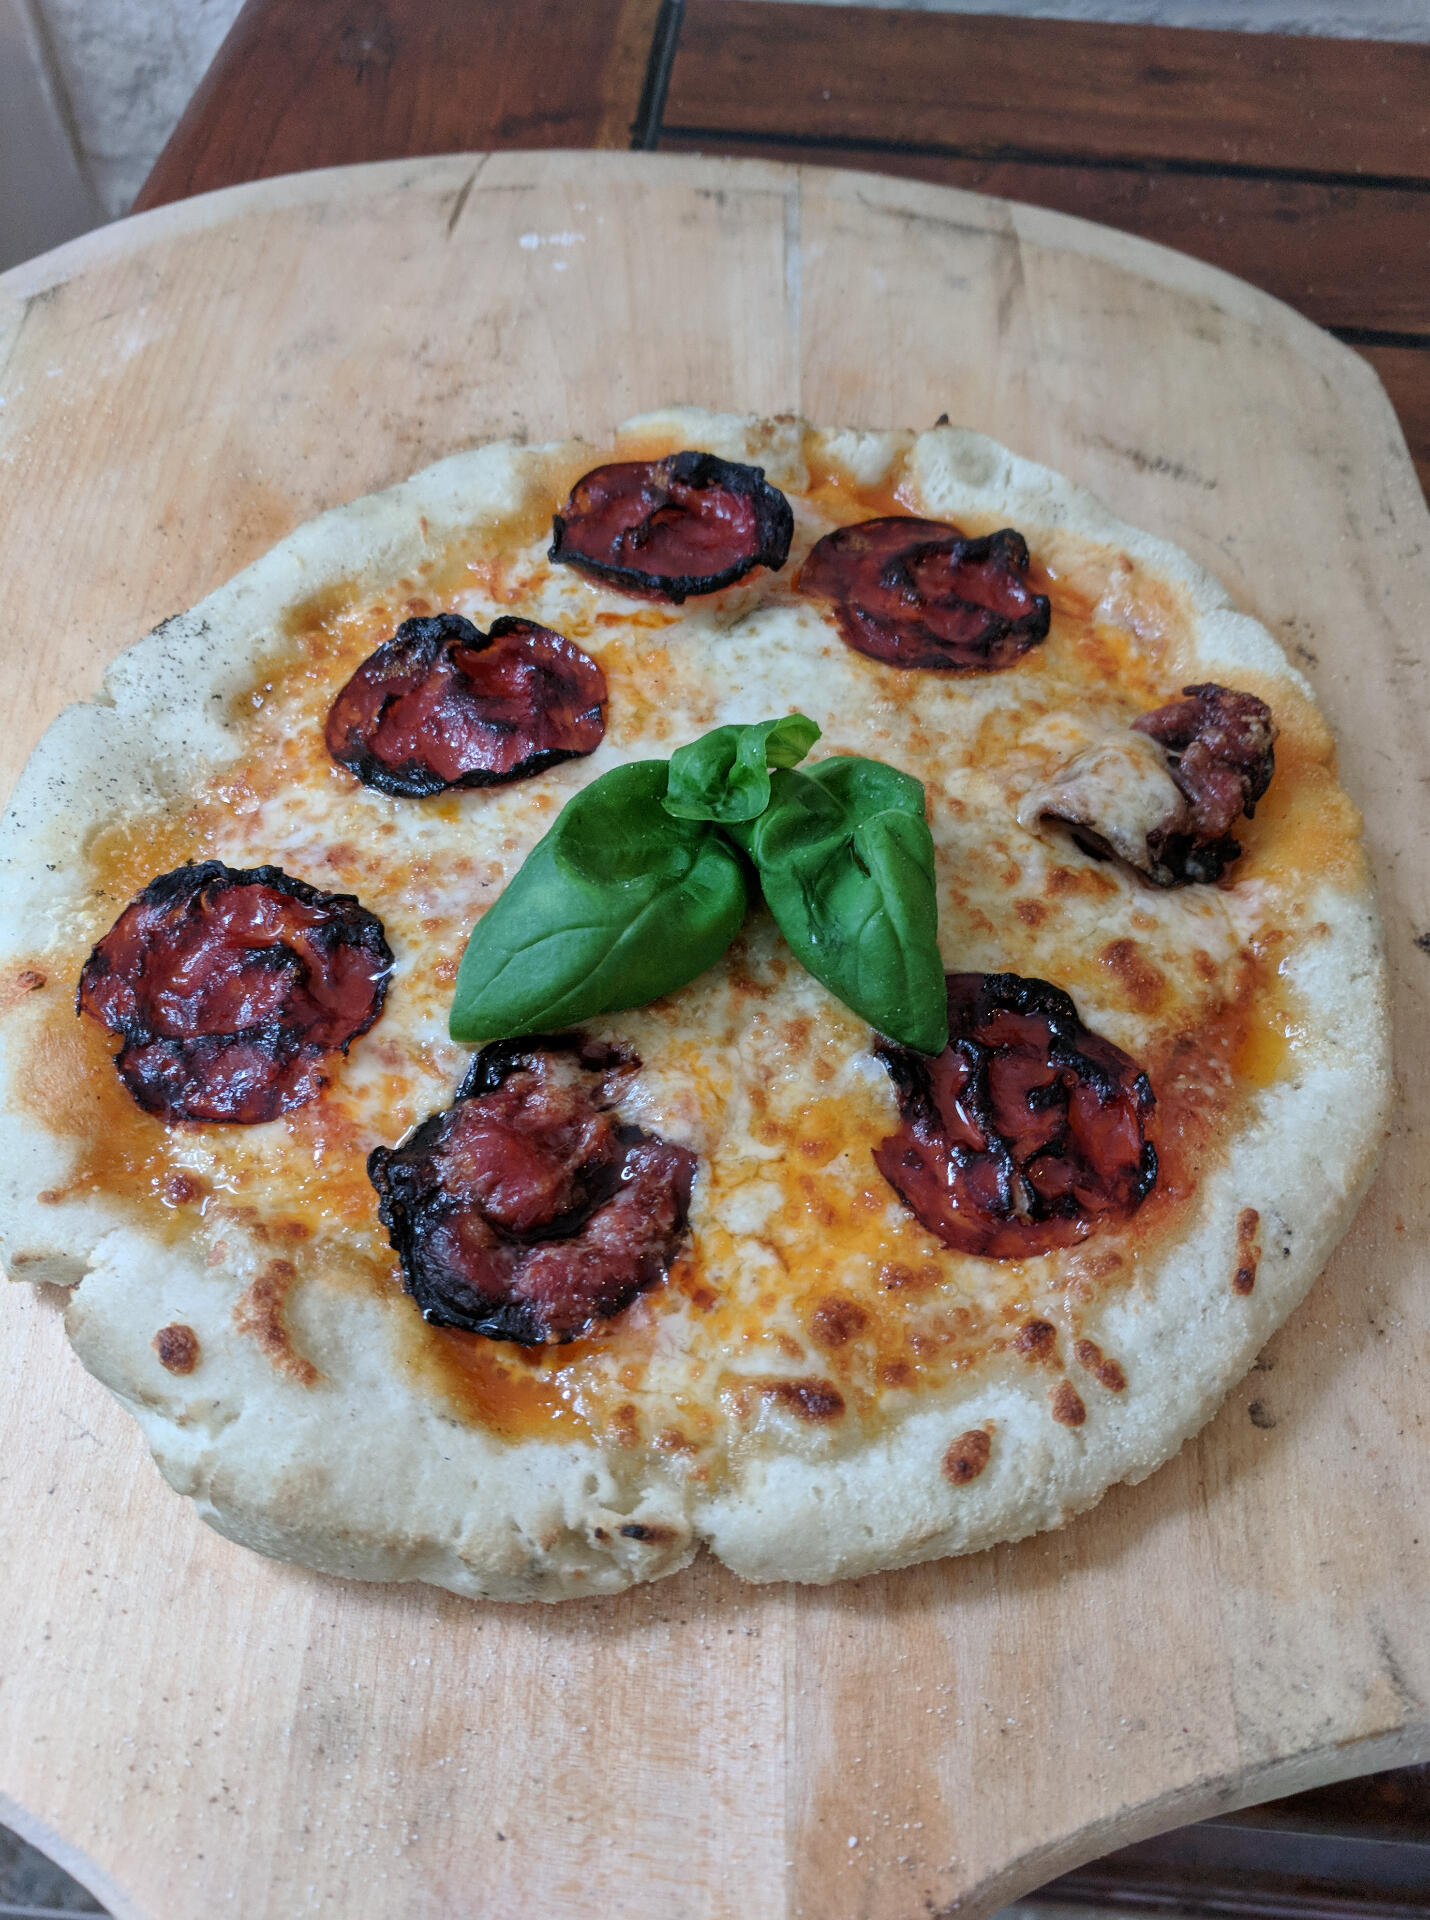
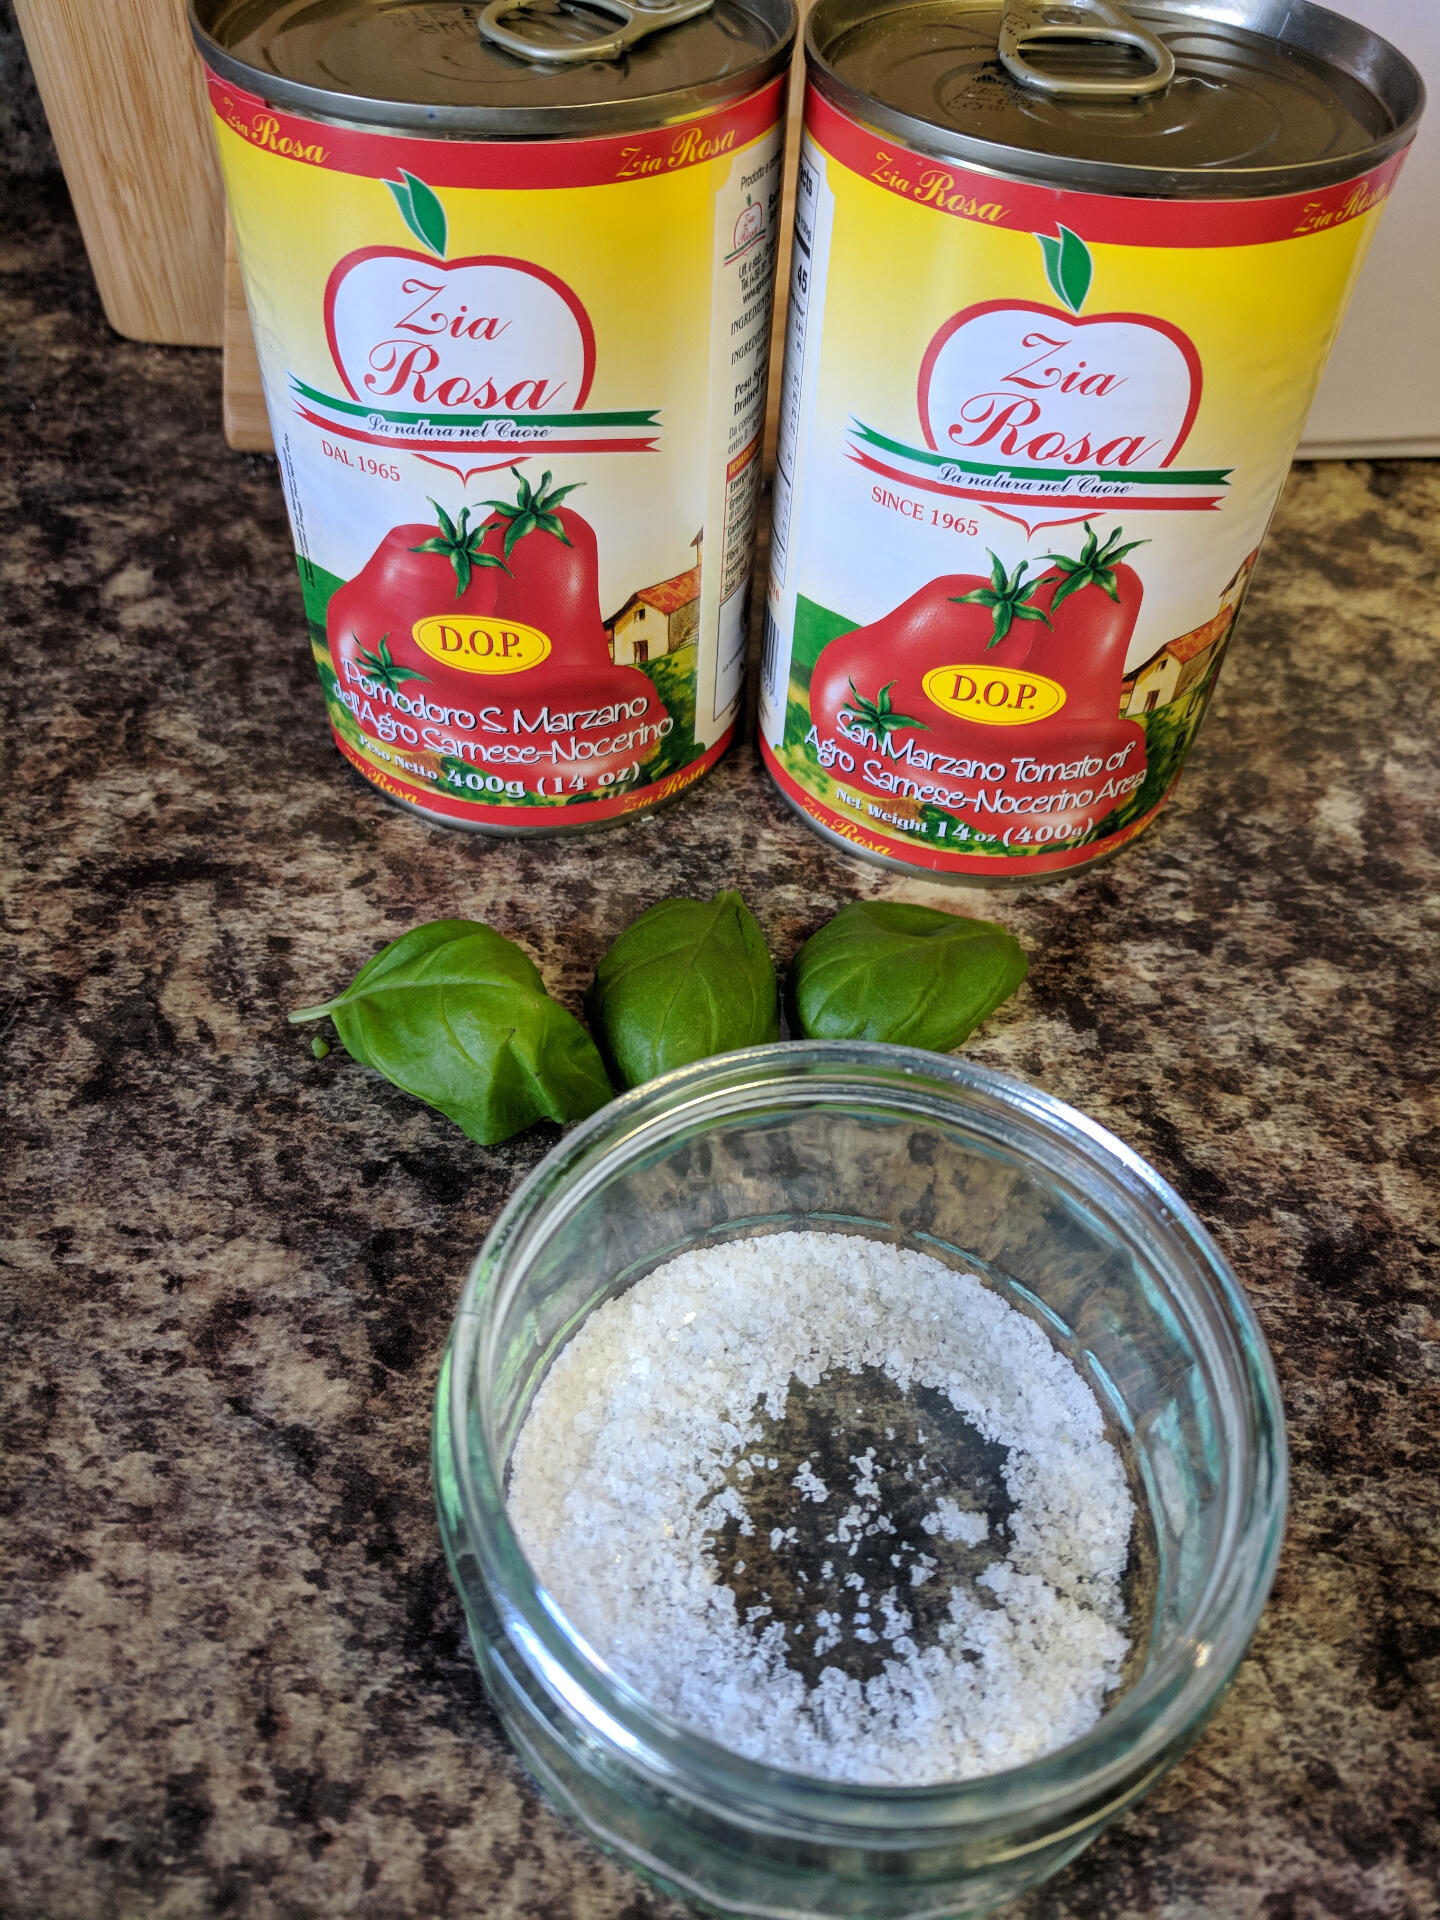
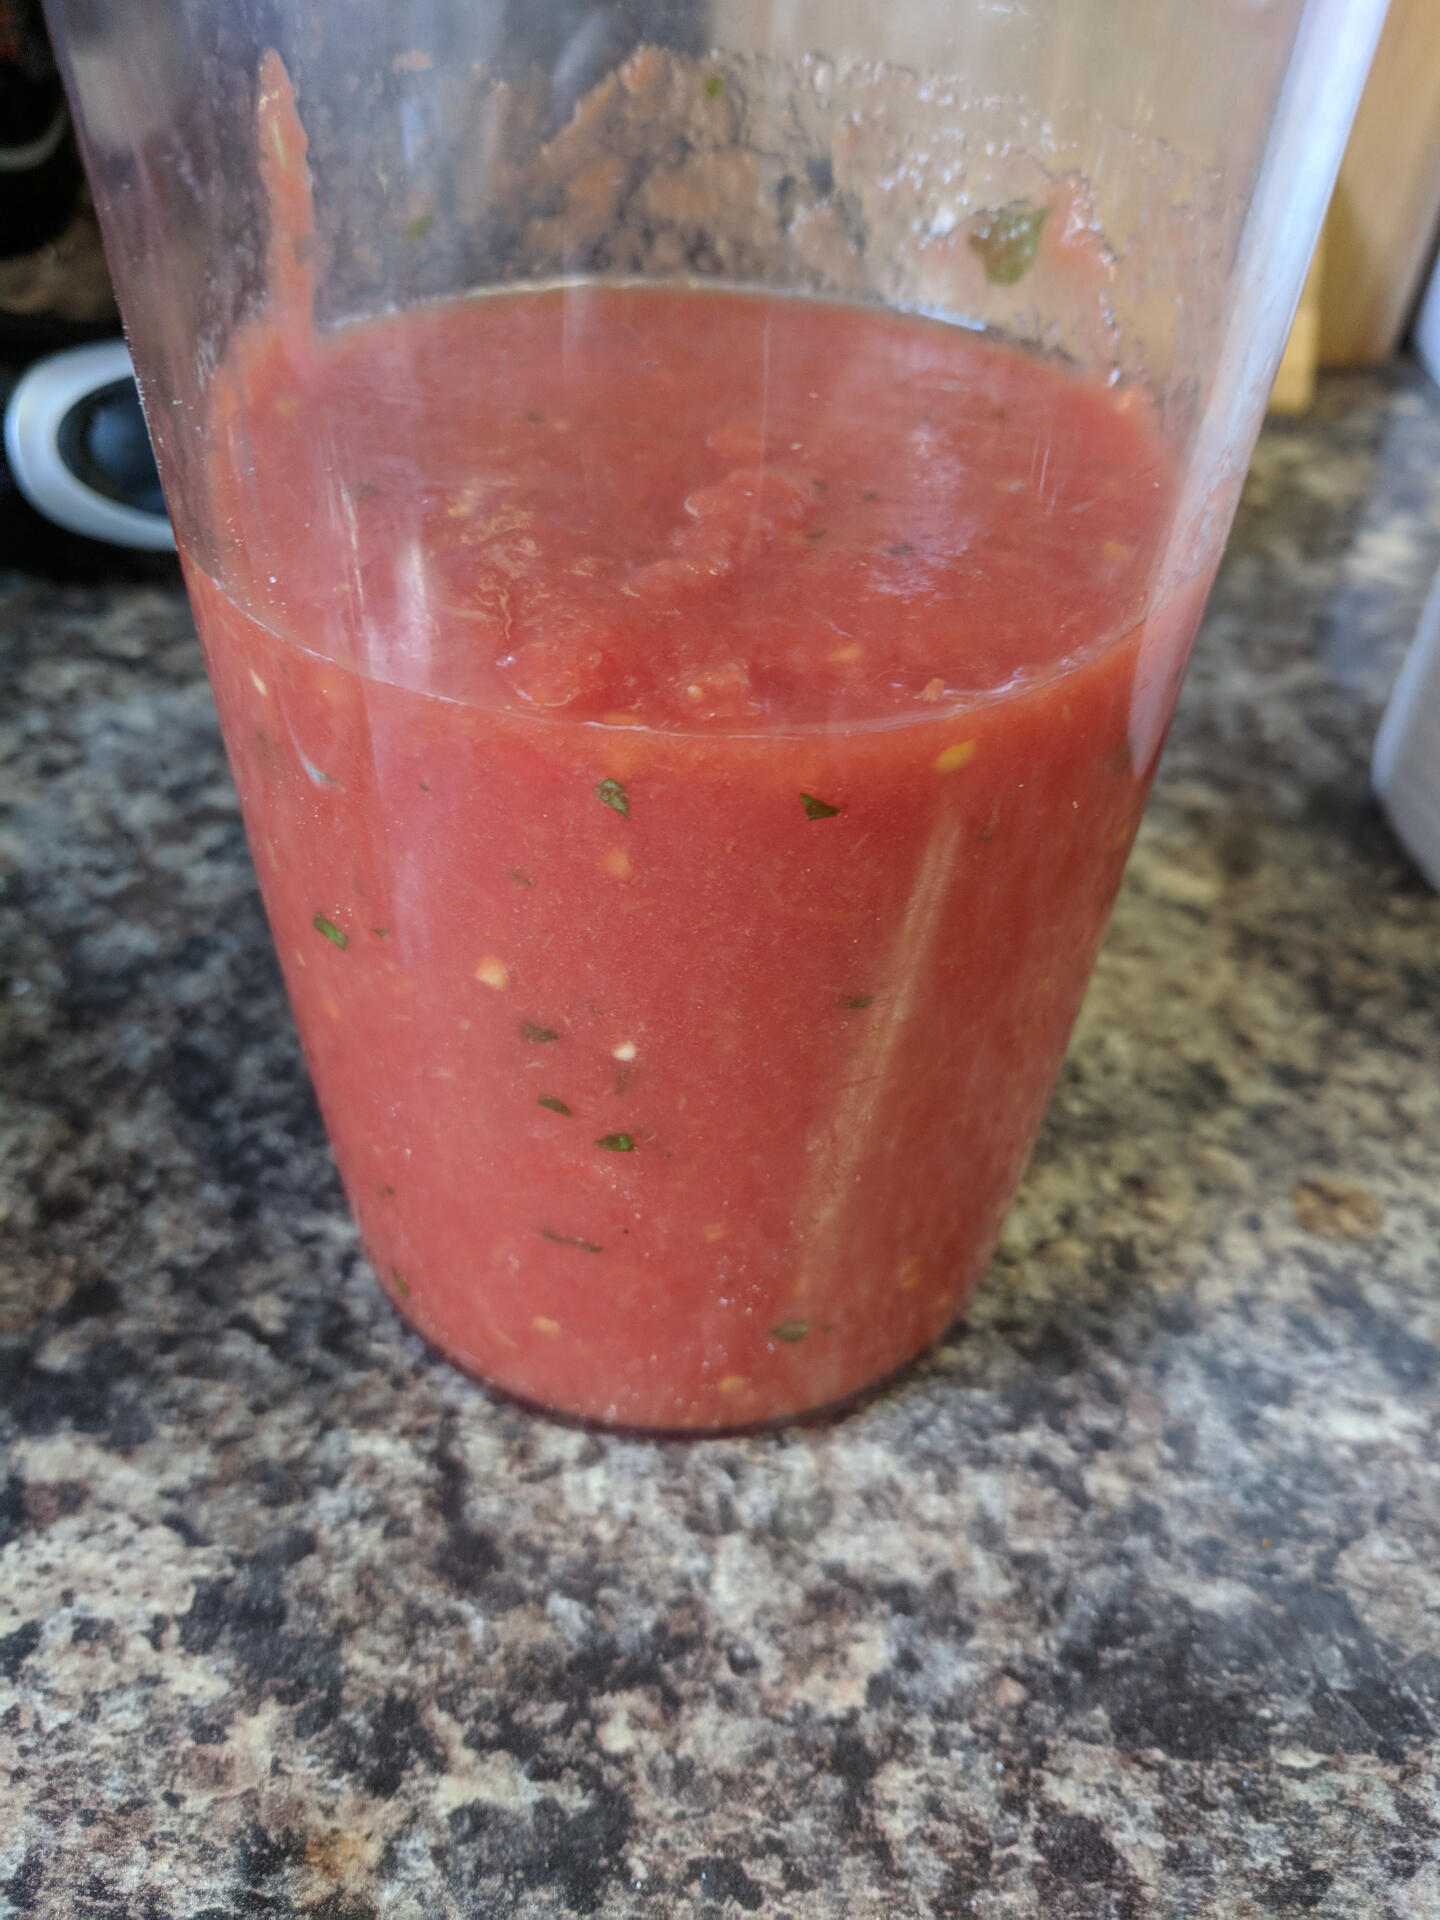
MozzaFella Pizza Sauce
If you want a simple, tasty pizza sauce, then all you need is some San Marzano tomatoes, and some salt.
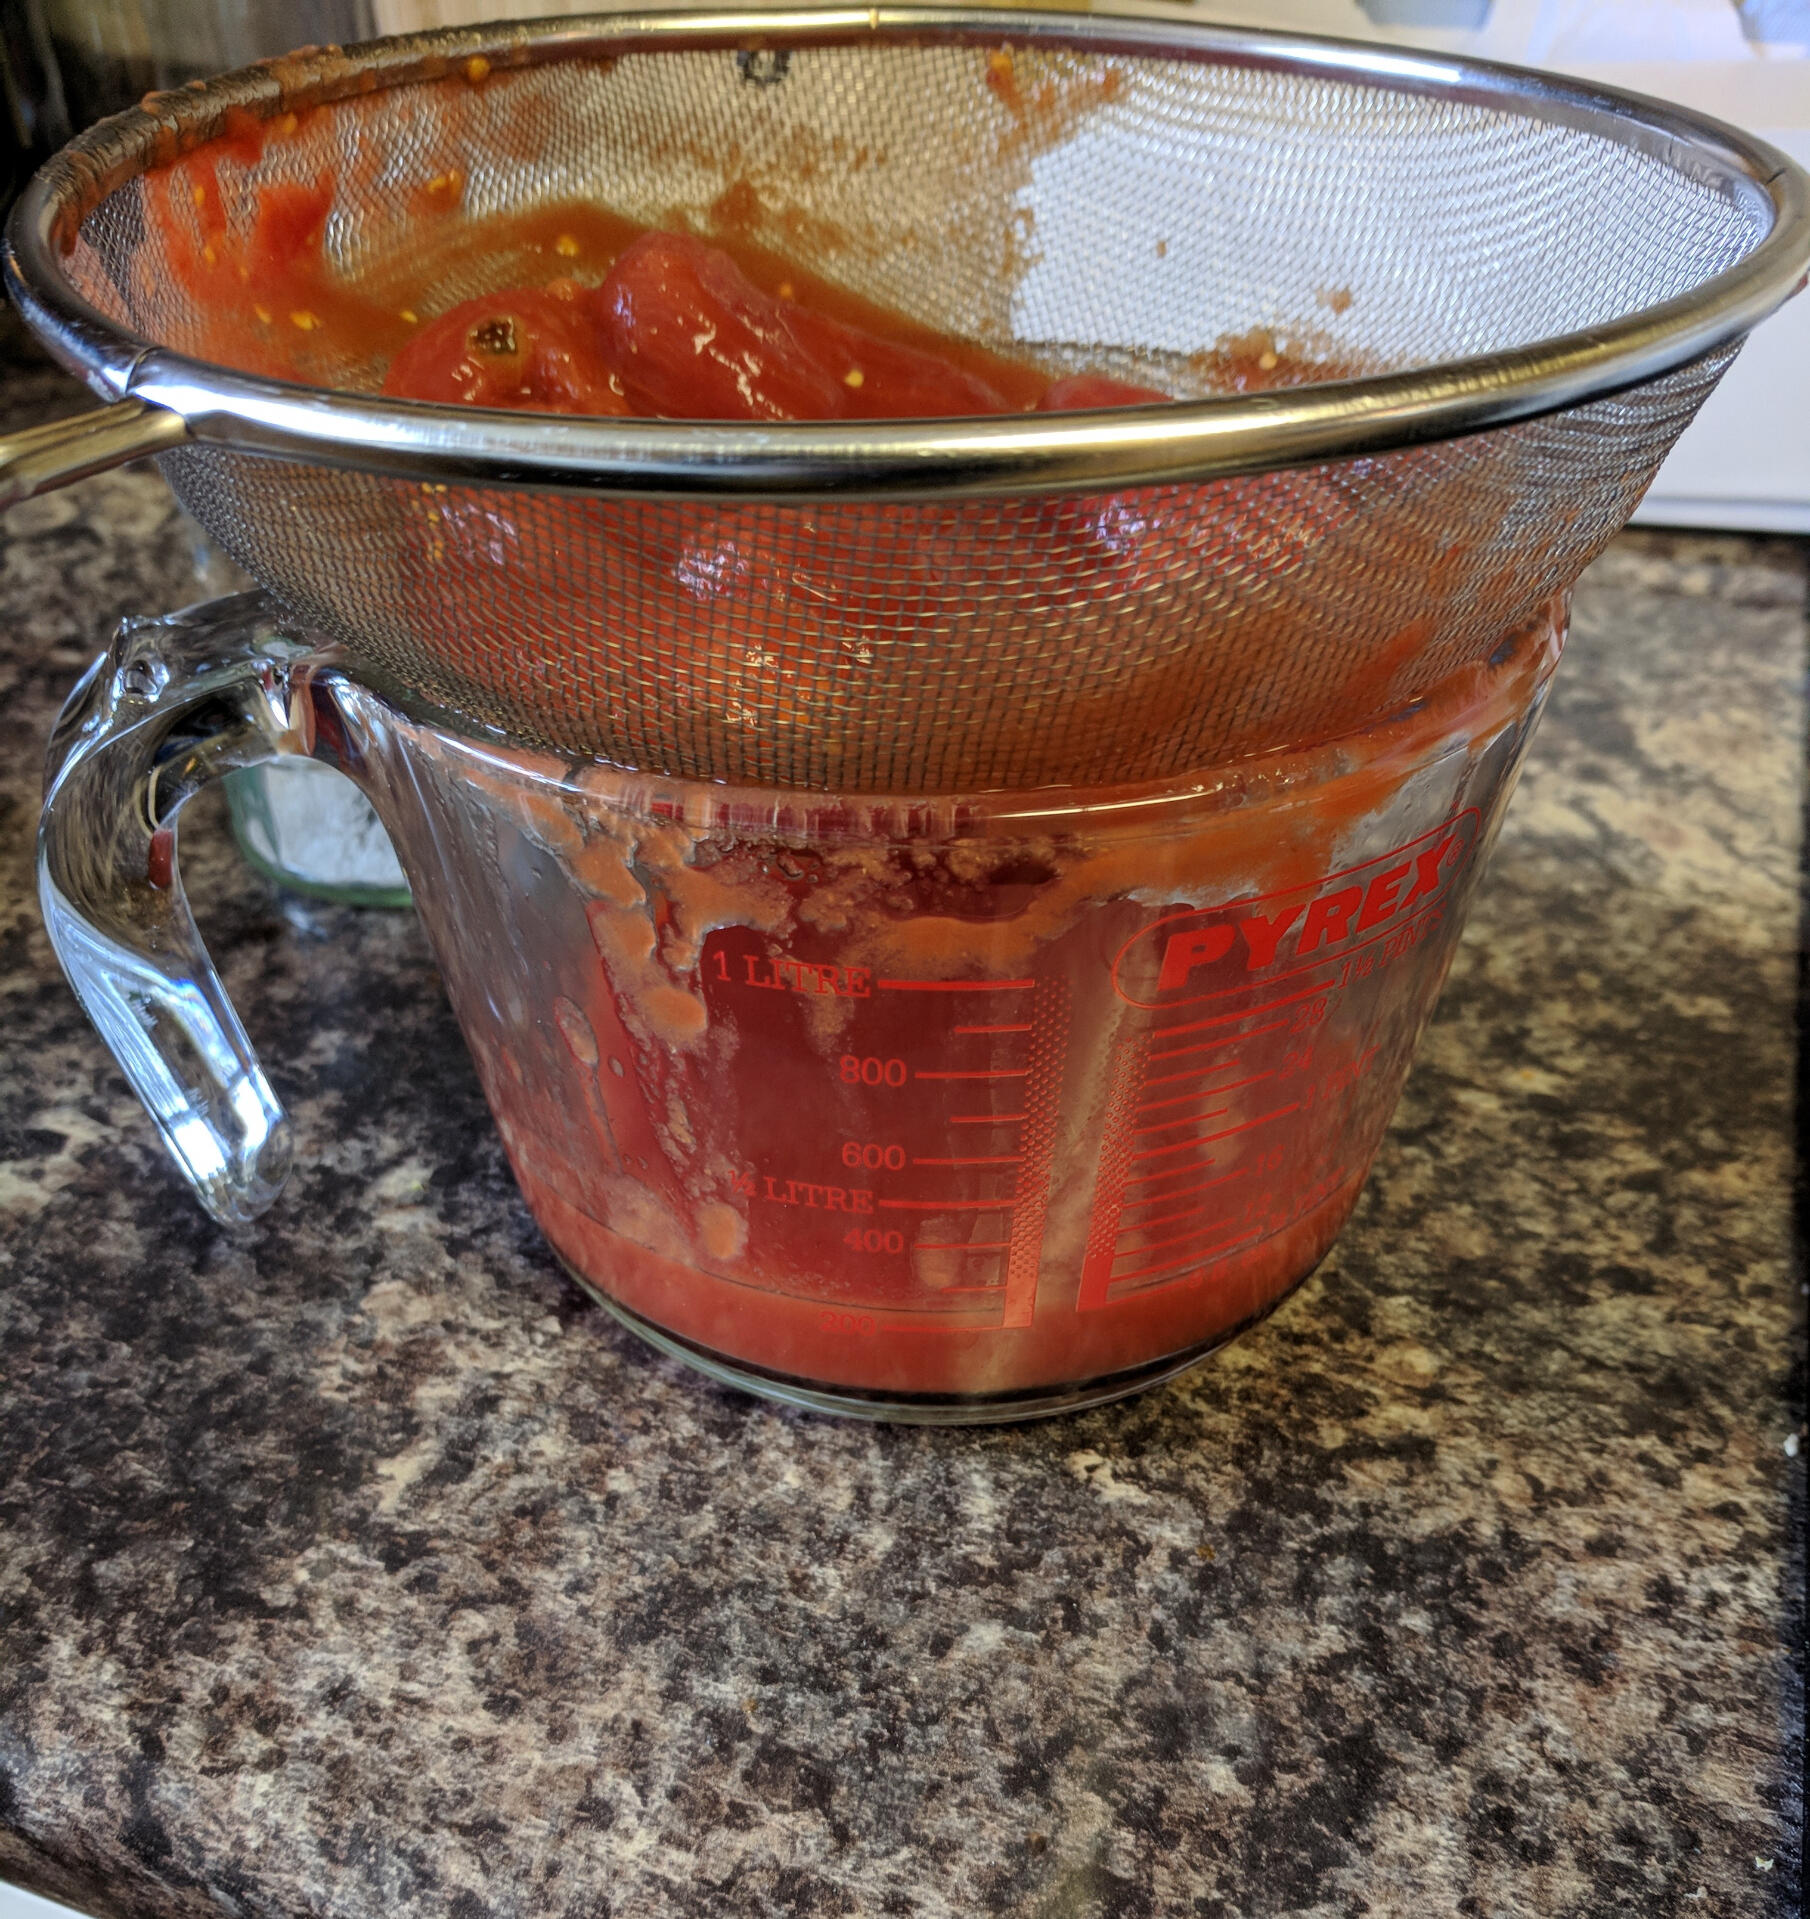
Methodopen your can(s) and drain off any excess liquid. Some brands are drier than others.
Either decant the tomatoes into a bowl and crush by hand, or pulse with a hand mixer, stir in some good quality salt, and a few basil leaves (optional).
refrigerate until needed, I find one can will cover around 4-5 12" pizzas. Any left overs make a great base for a pasta sauce or tomato soup.
If you made this recipe, send a photo on Facebook or Instagram
Contact
If you want to get in touch send me a message below or reach out to us on Facebook or Instagram